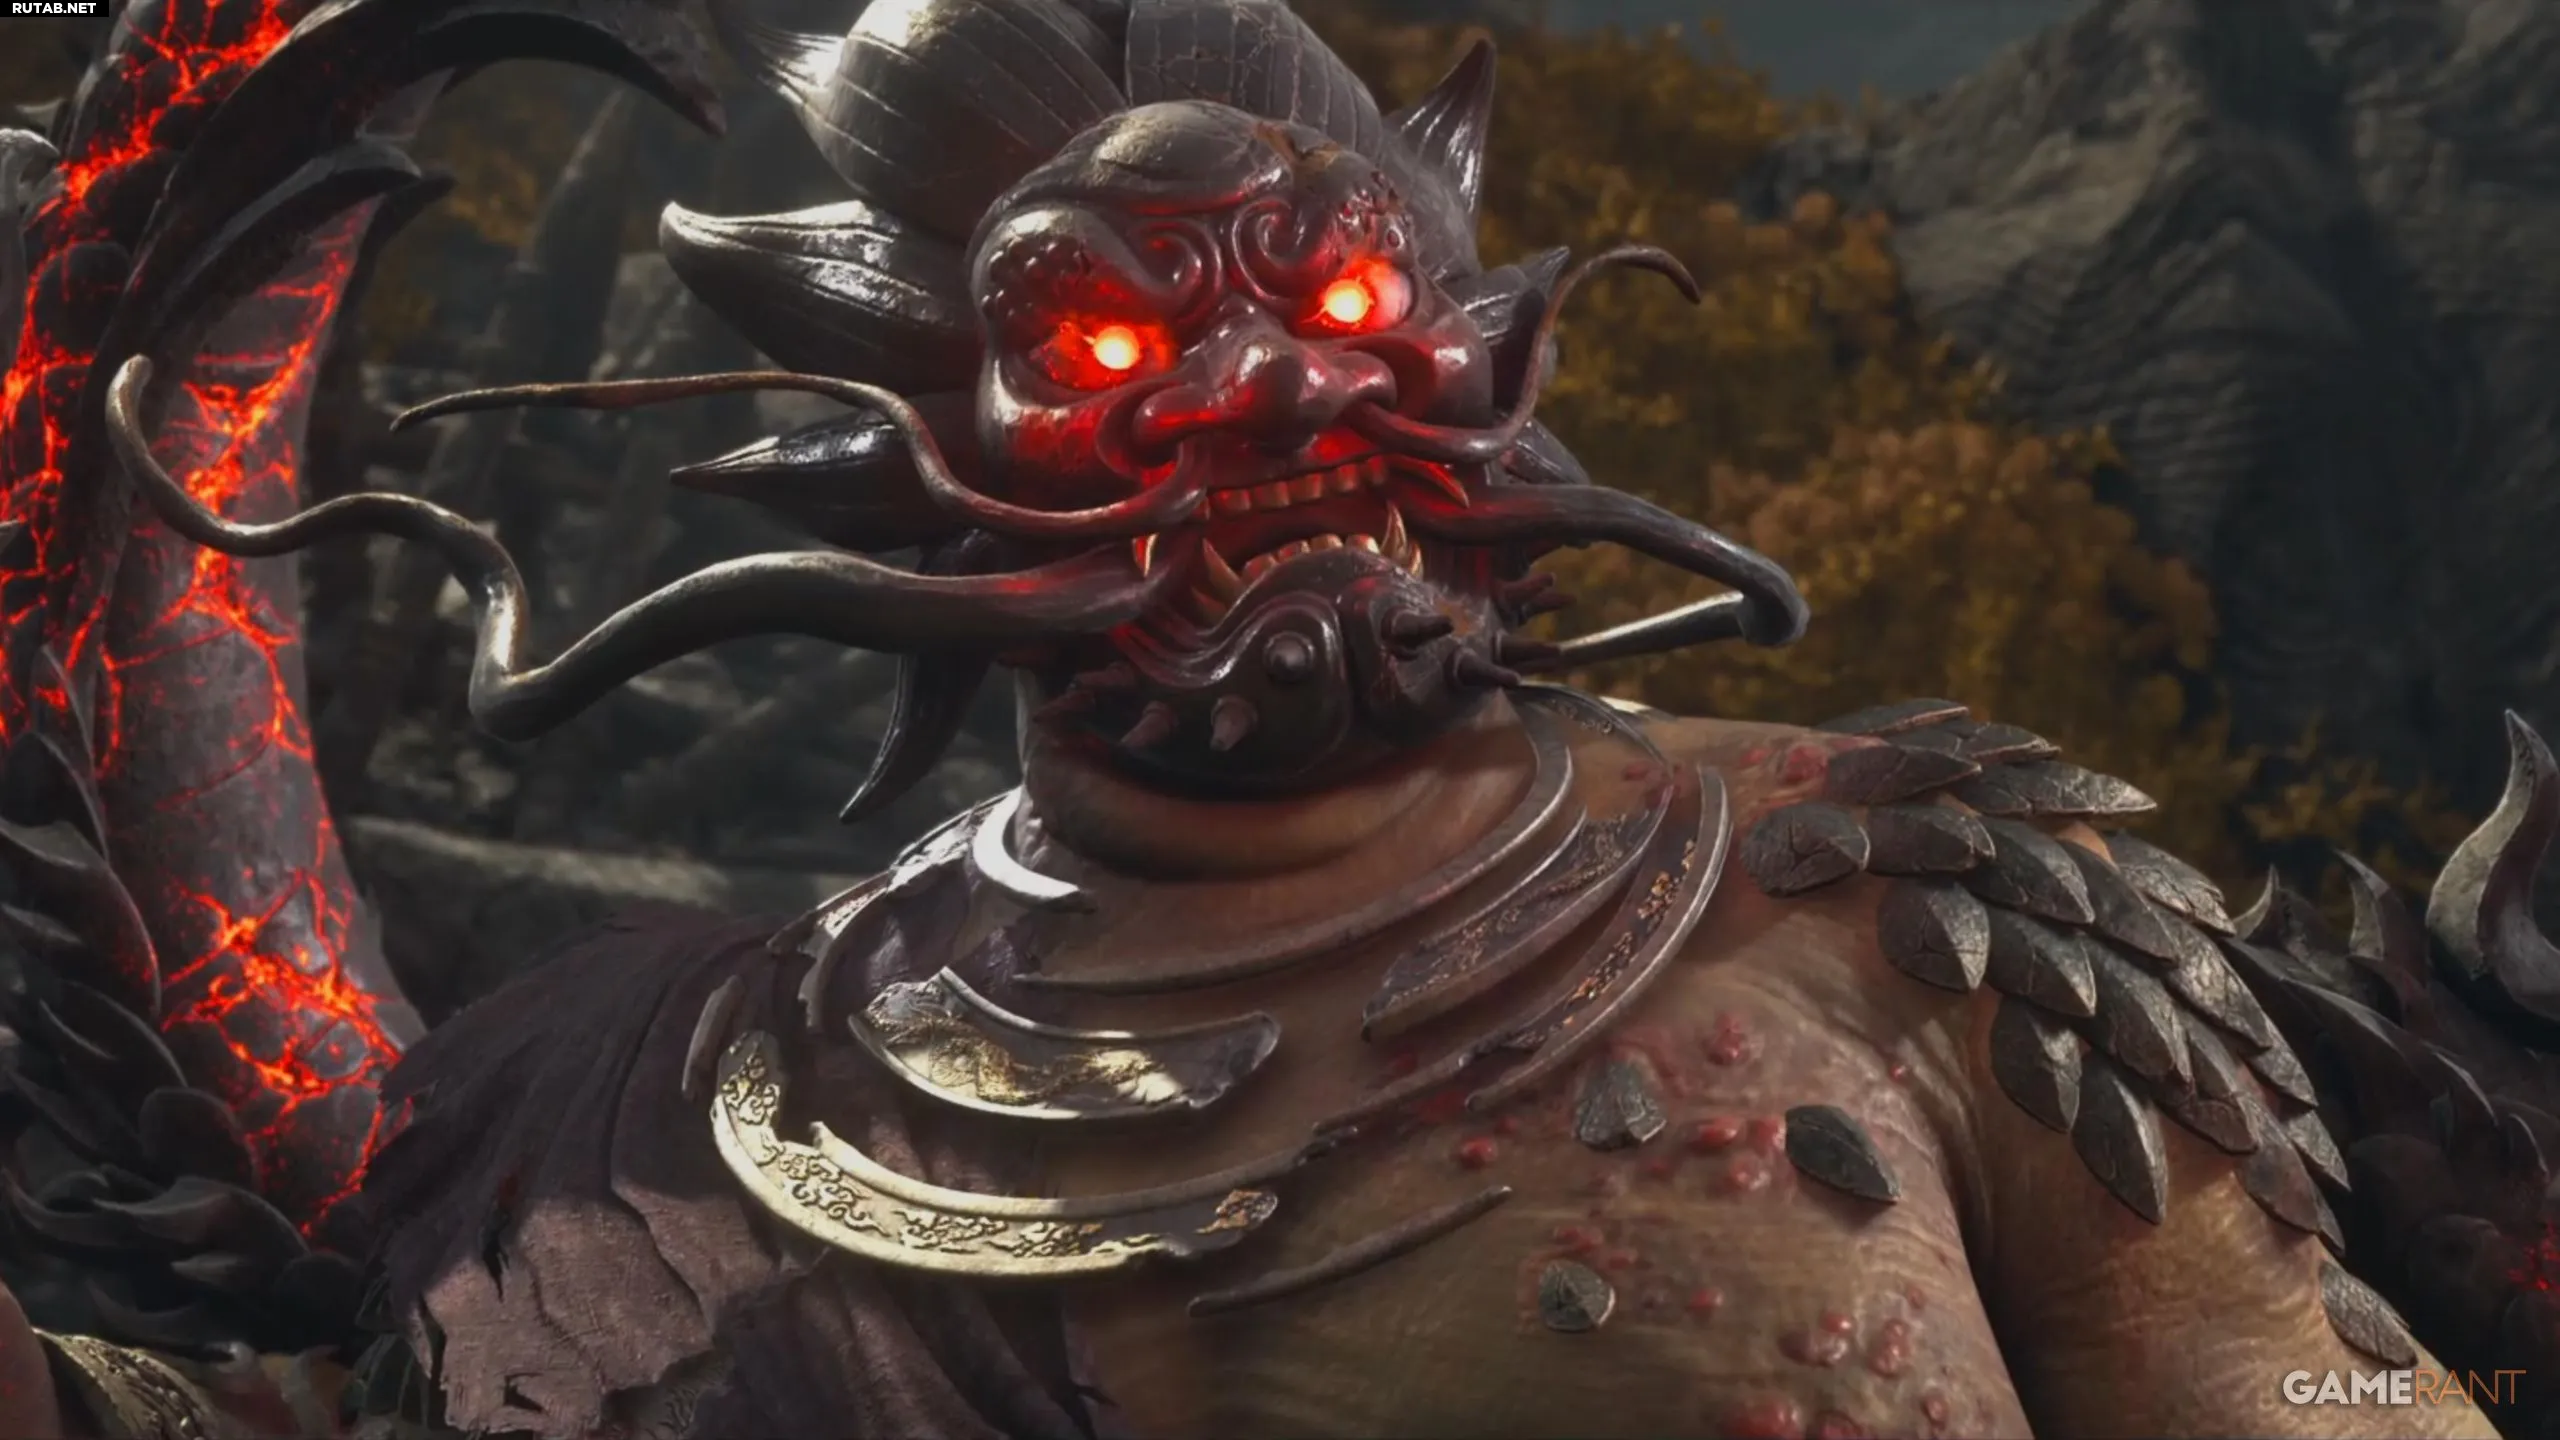
“Dragon” is one of two raids in Ghost of Yotei Legends. It’s far grander than any story mission or incursion you may have cleared so far. Expect puzzles, waves of enemies, and a punishing boss fight at the end. Clearing the entire raid can take anywhere from one to one-and-a-half hours. This guide walks you through the whole raid and offers tips for defeating the Dragon boss in Ghost of Yotei Legends.
Finishing both raids unlocks the “Kaibyaku” trophy and unique cosmetic outfits for every class.
How to clear the “Dragon” raid in Ghost of Yotei Legends
Save
Save
Save
Start the raid and head through the Sulfur Canyons until you spot a pressure plate that raises a stone platform ahead. One player must stand on the plate to lift the platform while another scales the left wall to find a second plate that lights a brazier. The remaining two can then hop onto the platform and use their grappling hooks to reach the far side.
Save
Two more plates sit immediately to your left and right. The two players who crossed must stand on them to open a path for the rest of the squad.
Save
Save
Save
When you reach the area with a distant gate, you’ll see a path on the right leading to a plate. It activates stone platforms you can use to reach another plate on the left. Two players should cross, clear the Jubokko trees, and stand on the isolated pressure plate away from the four plates at the gate’s base. This lets the other two cross, after which everyone can step on the gate plates to open it.
Save
Beyond the gate, the first enemy wave spawns, including several Dragon archers on high ground. They can down a guardian in seconds, so dash left or right behind the rocks for cover.
Save
Push up the side paths to reach the upper ledge and eliminate the archers. Prioritize the Bo-Hiya gunners—they’re the real nuisance. A second wave spawns once the first is cleared; finish them and rally at the checkpoint ahead.
Save
Save
Save
You’ll enter the Collapsing Approach, where more enemies and several waves await. Clear them to earn the Kami’s Blessing buff that grants Teleportation for the rest of the raid. Use it to cross the chasm and activate the rally flag. Split into two teams and teleport into the left and right portals to clear each side.
Save
As new waves spawn, large arrow-like projectiles rain down from above, creating red circles. They explode shortly after, so leave the danger zones. You can destroy them, but with their high health and constant enemy fire it’s usually safer to ignore them.
Save
Save
Save
Head to the Jubokko Garden. After clearing the trees, three players step on the side plates so the fourth can teleport onto a stone platform. Go right, clear more Jubokko, and step on the plate to open a teleport above you, letting the rest join.
Then move into the left area for even more trees.
Here, one plate raises a platform and another, higher up, spawns an extra ledge so two players can advance. Once they activate those plates, the rest can use the raised platforms to hop across.
Save
Save
Finally, all four stand on the plates beyond the Cursed Gates to activate them. The gates periodically spawn enemies, but you can ignore them and focus fire on the gates themselves. A bow user works well, or throw the bombs that spawn nearby. Once the gates fall, walk through to reach the Dragon’s boss arena.
Save
On the left of the arena sits a Class Change Stone where you can swap gear, upgrade weapons, or change class before the fight. Even if your team wipes, you’ll respawn here and can tweak your loadout before the next attempt. When ready, rally and watch the cut-scene.
Dragon boss fight in Ghost of Yotei Legends
Save
When the fight starts, the Dragon tags one player with a flaming skull above their head. This causes explosives to drop on that player, creating small detonation circles that explode after a short delay. Instead of rolling constantly, the marked player should keep running to avoid damage.
These blasts can hurt allies, so communication is key. The marked player should run along the arena’s edge while the rest stay clear. The boss can mark several players at once; they should run in opposite directions so their paths never cross. A Smoke Bomb instantly removes the mark if you have one.
Save
Save
The Dragon’s attacks mirror Oni enemies—tight timing is required to dodge uninterruptible combos. Focus on clearing any adds the boss summons before burning the boss itself.
Once you chip away a chunk of its health, the Dragon fills the arena with explosive arrows, leaving almost no safe ground. All four players should focus-fire a single arrow to blow open a safe zone.
Shinobi shine here: their class ability can cloak the whole team, or they can stealth-revive an ally without interruption.
Save
The pattern repeats, though the boss may mark everyone at once. A solid strategy: two players kite along the rim while the other two run a tight circle in the center. As more adds spawn, always prioritize elite Bo-Hiya units—their explosive shots can blanket a huge area and almost one-shot you inside the blast radius.
Save
Once the boss falls, take the final teleport and walk through the torii gates to finish the raid.