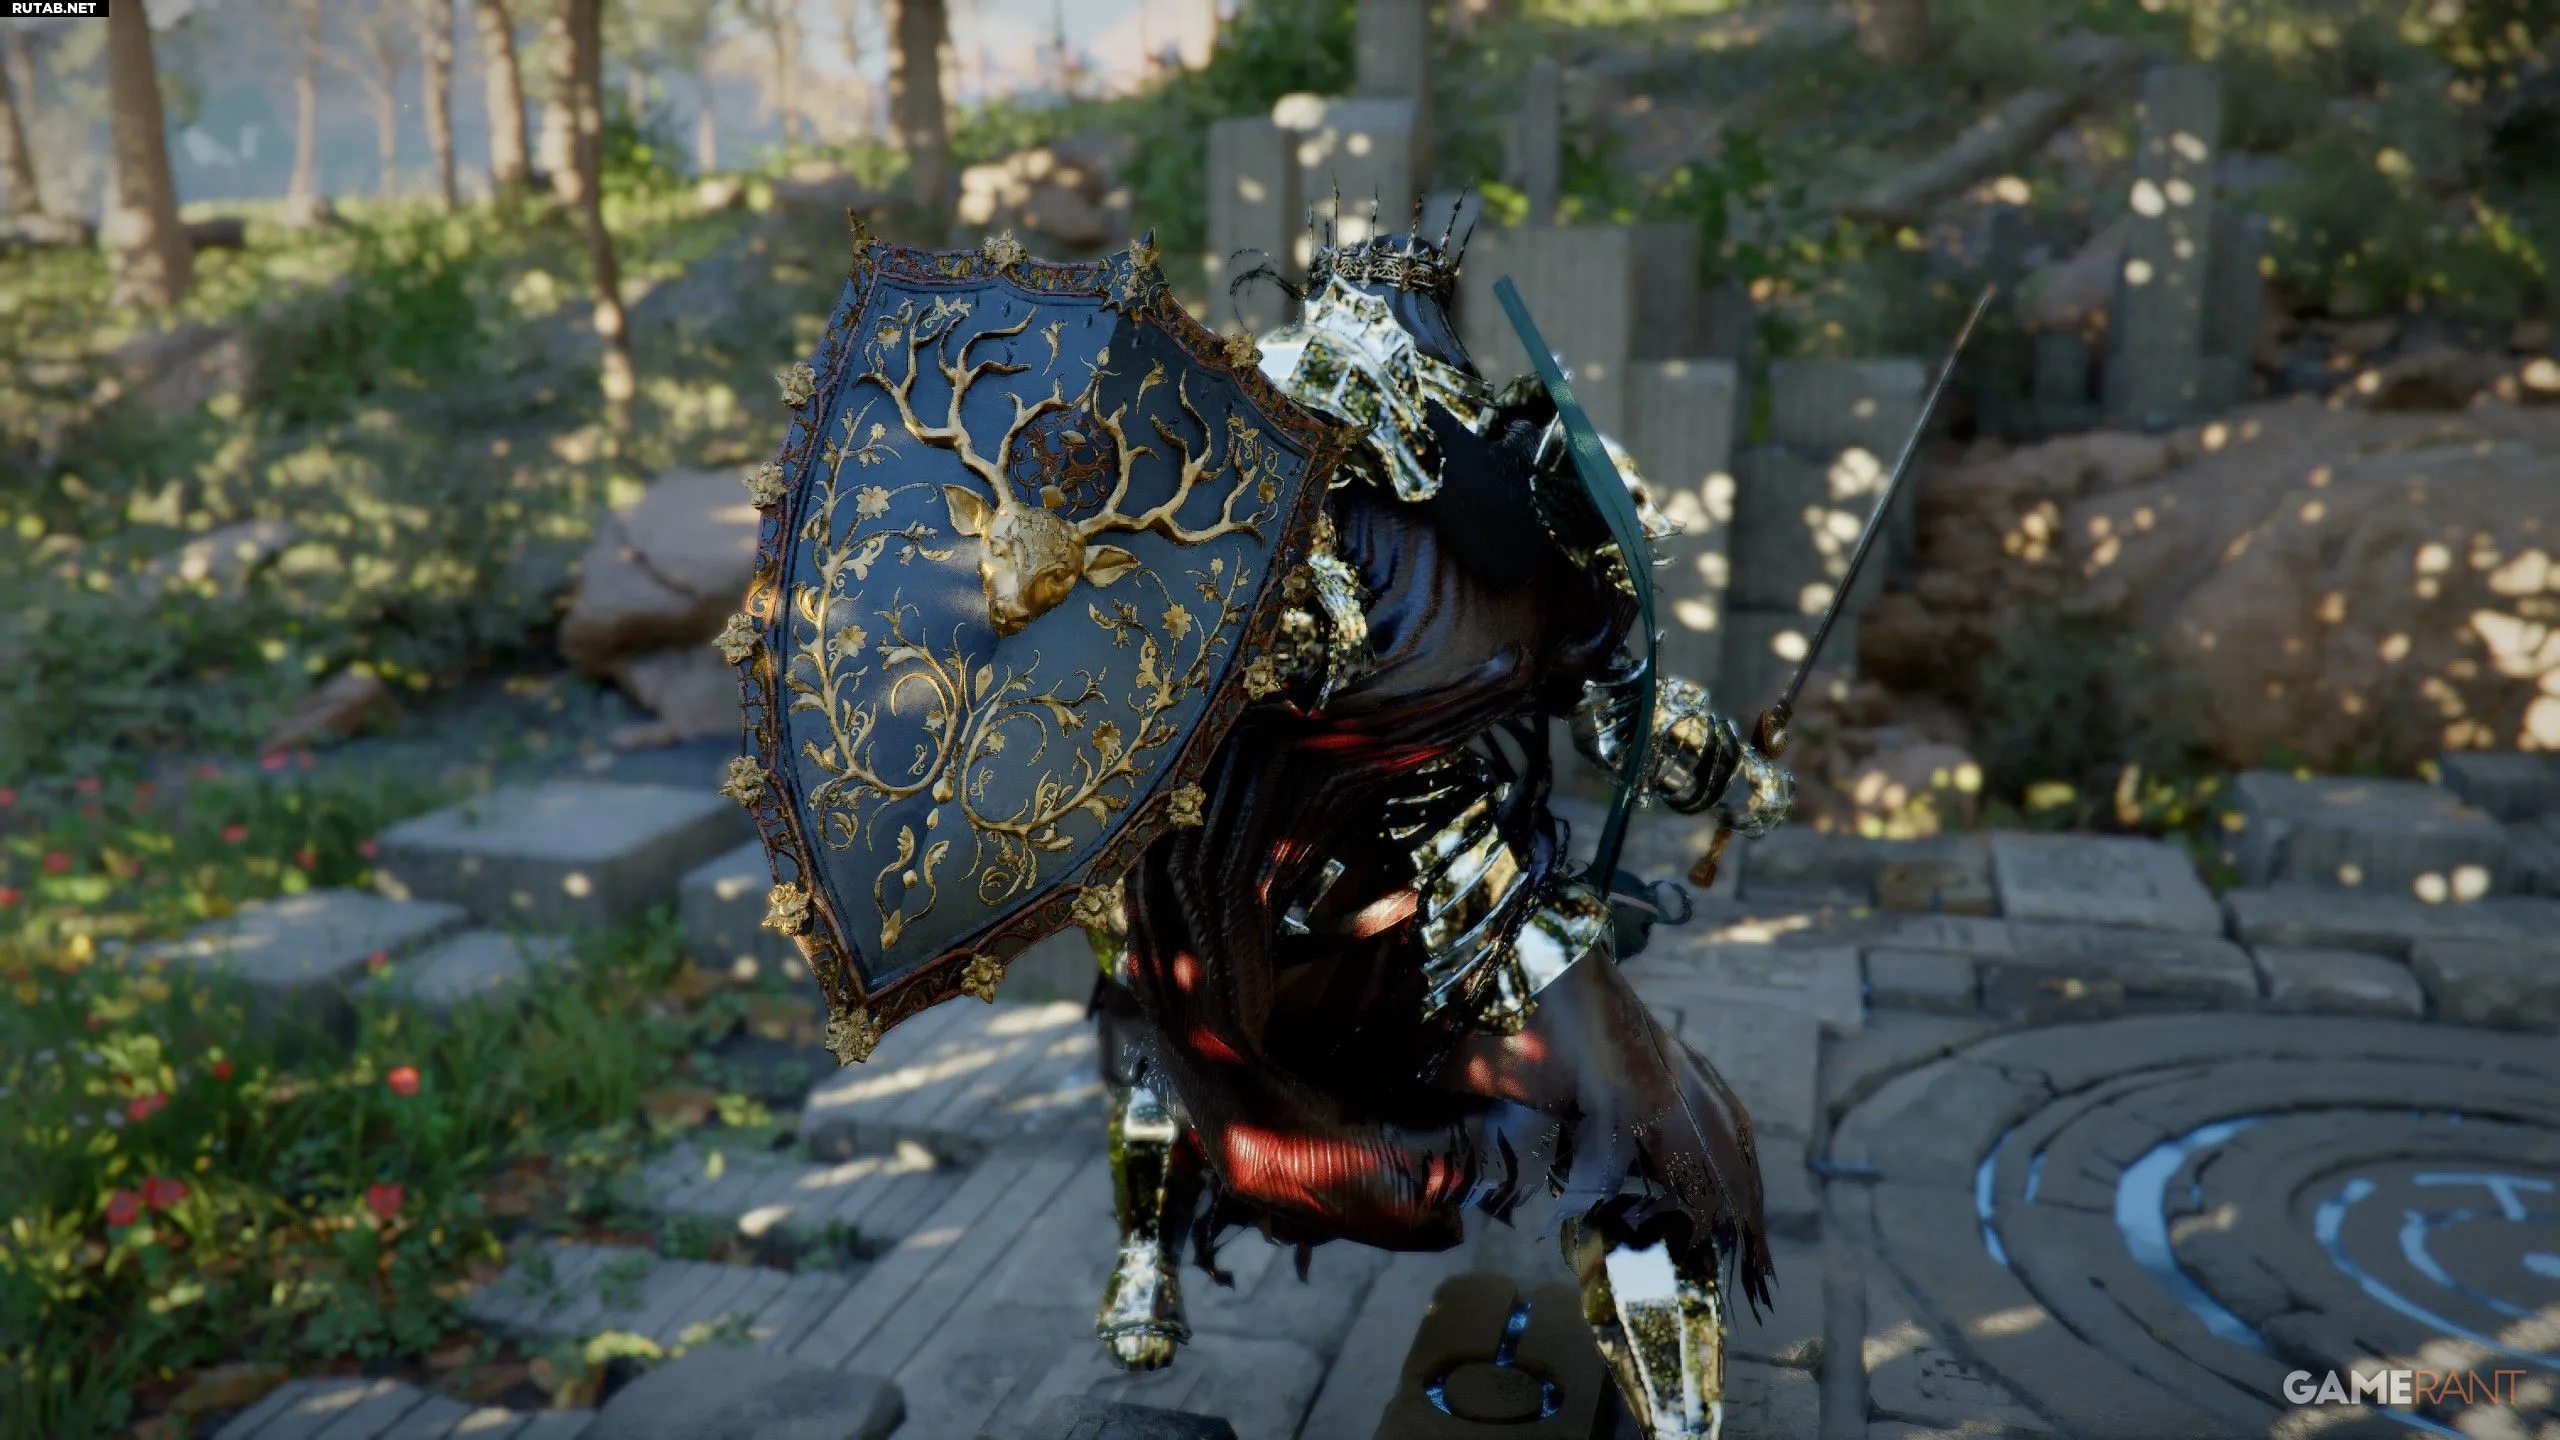
In Crimson Desert, there are 6 shield trials, all of which are located in unique places that we have listed below. To access the trial, you need to find the sealed Abyssal artifacts.
The trials associated with each artifact can be quite challenging, so we have prepared useful tips to help you easily complete all shield trials in Crimson Desert. There are also rewards for completing them.
All these trials can be completed as Cliff, so there is no need to switch to Damiana or Unka.
How to Get and Complete the “Unwavering Will Shield 1” Trial in Crimson Desert
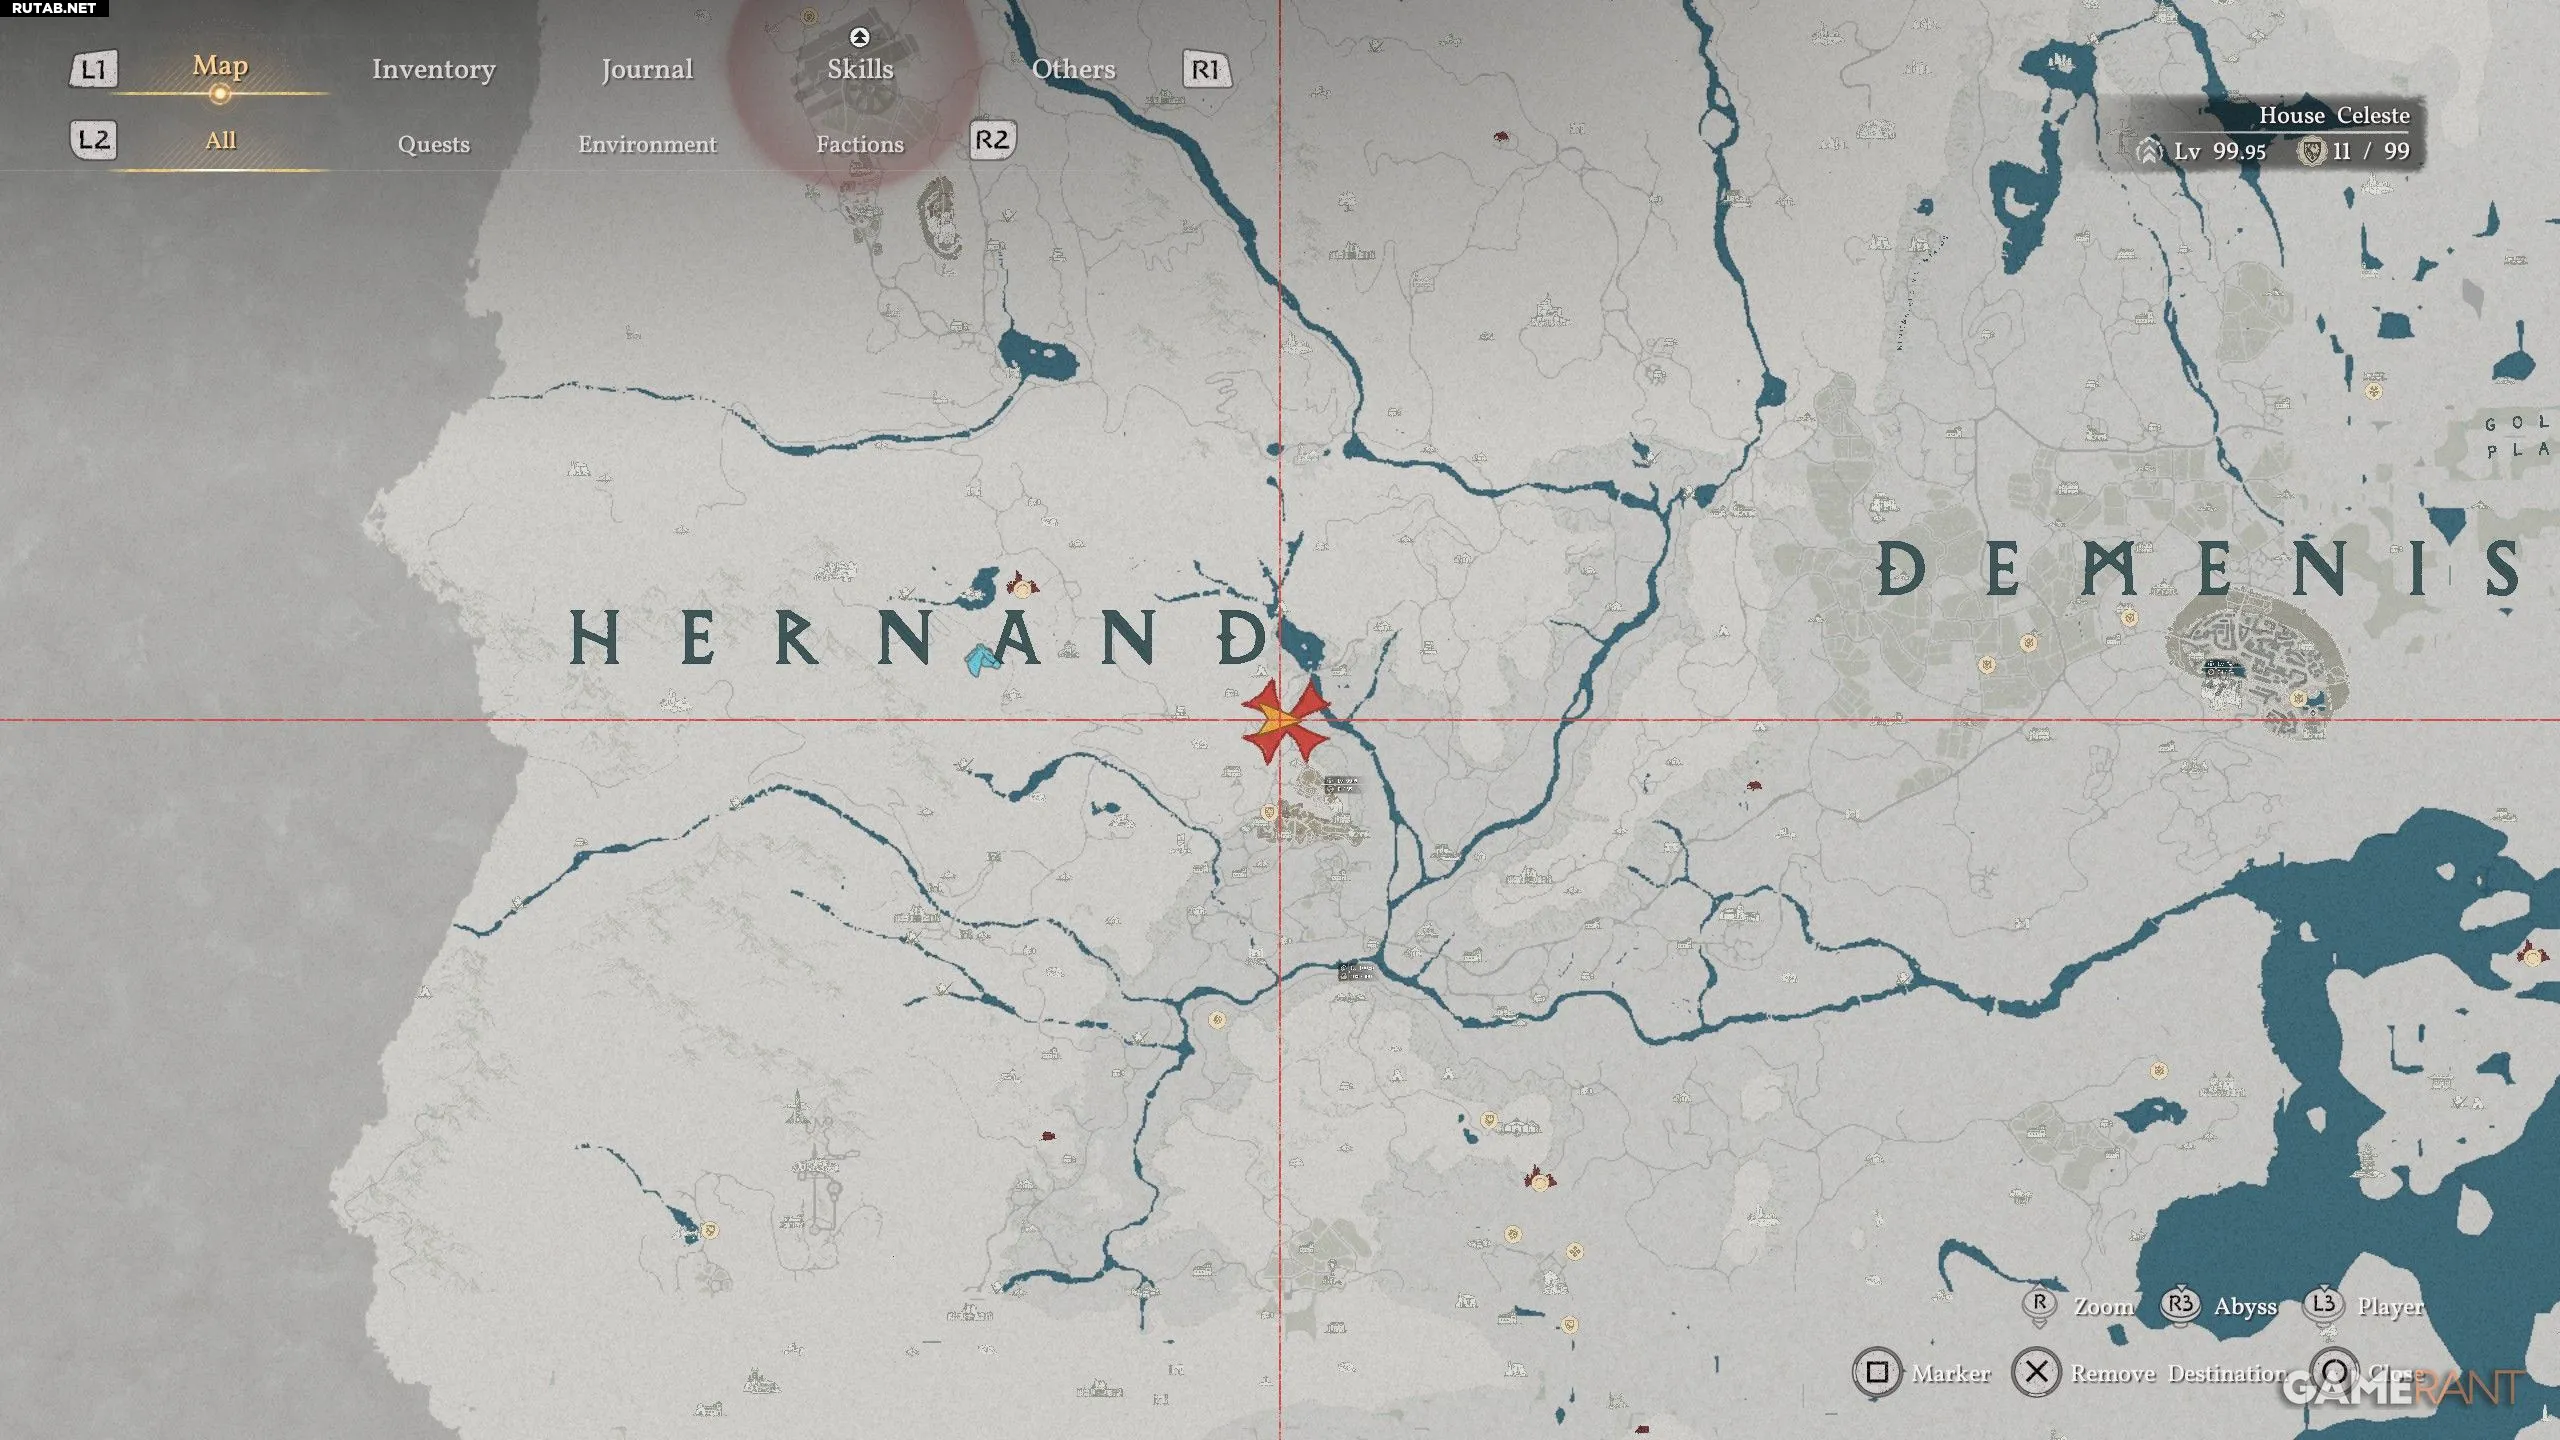
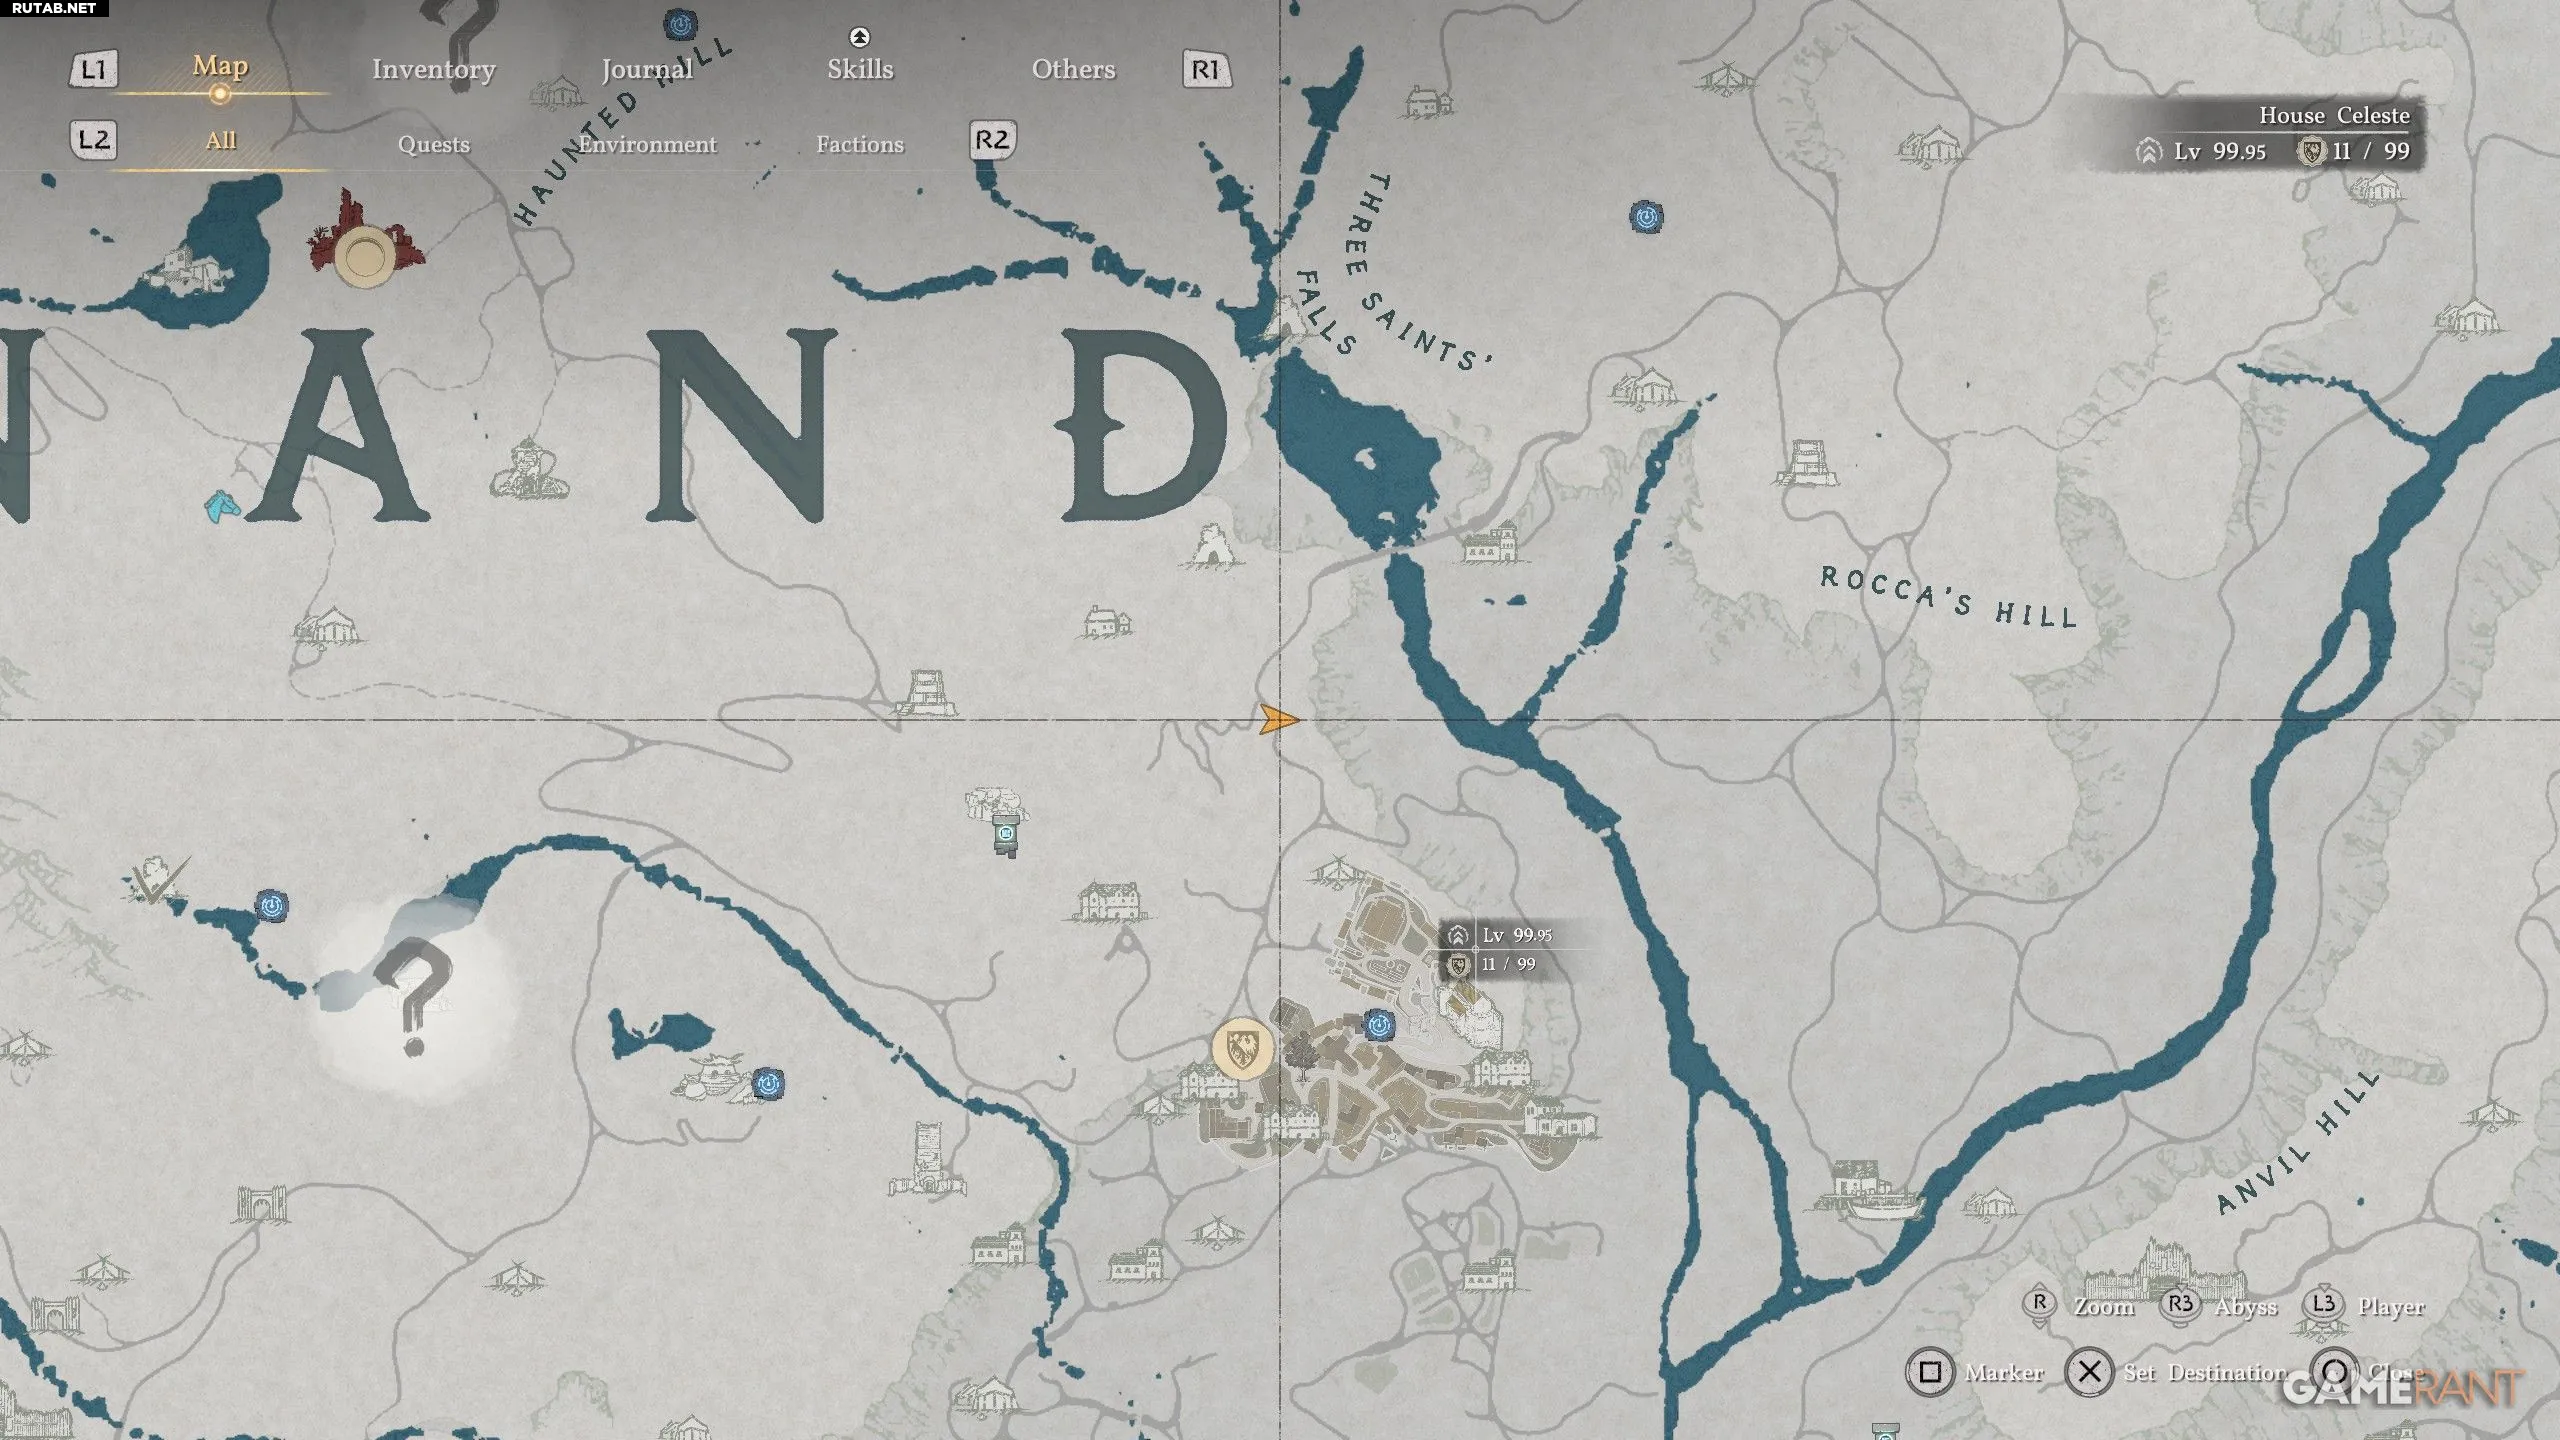
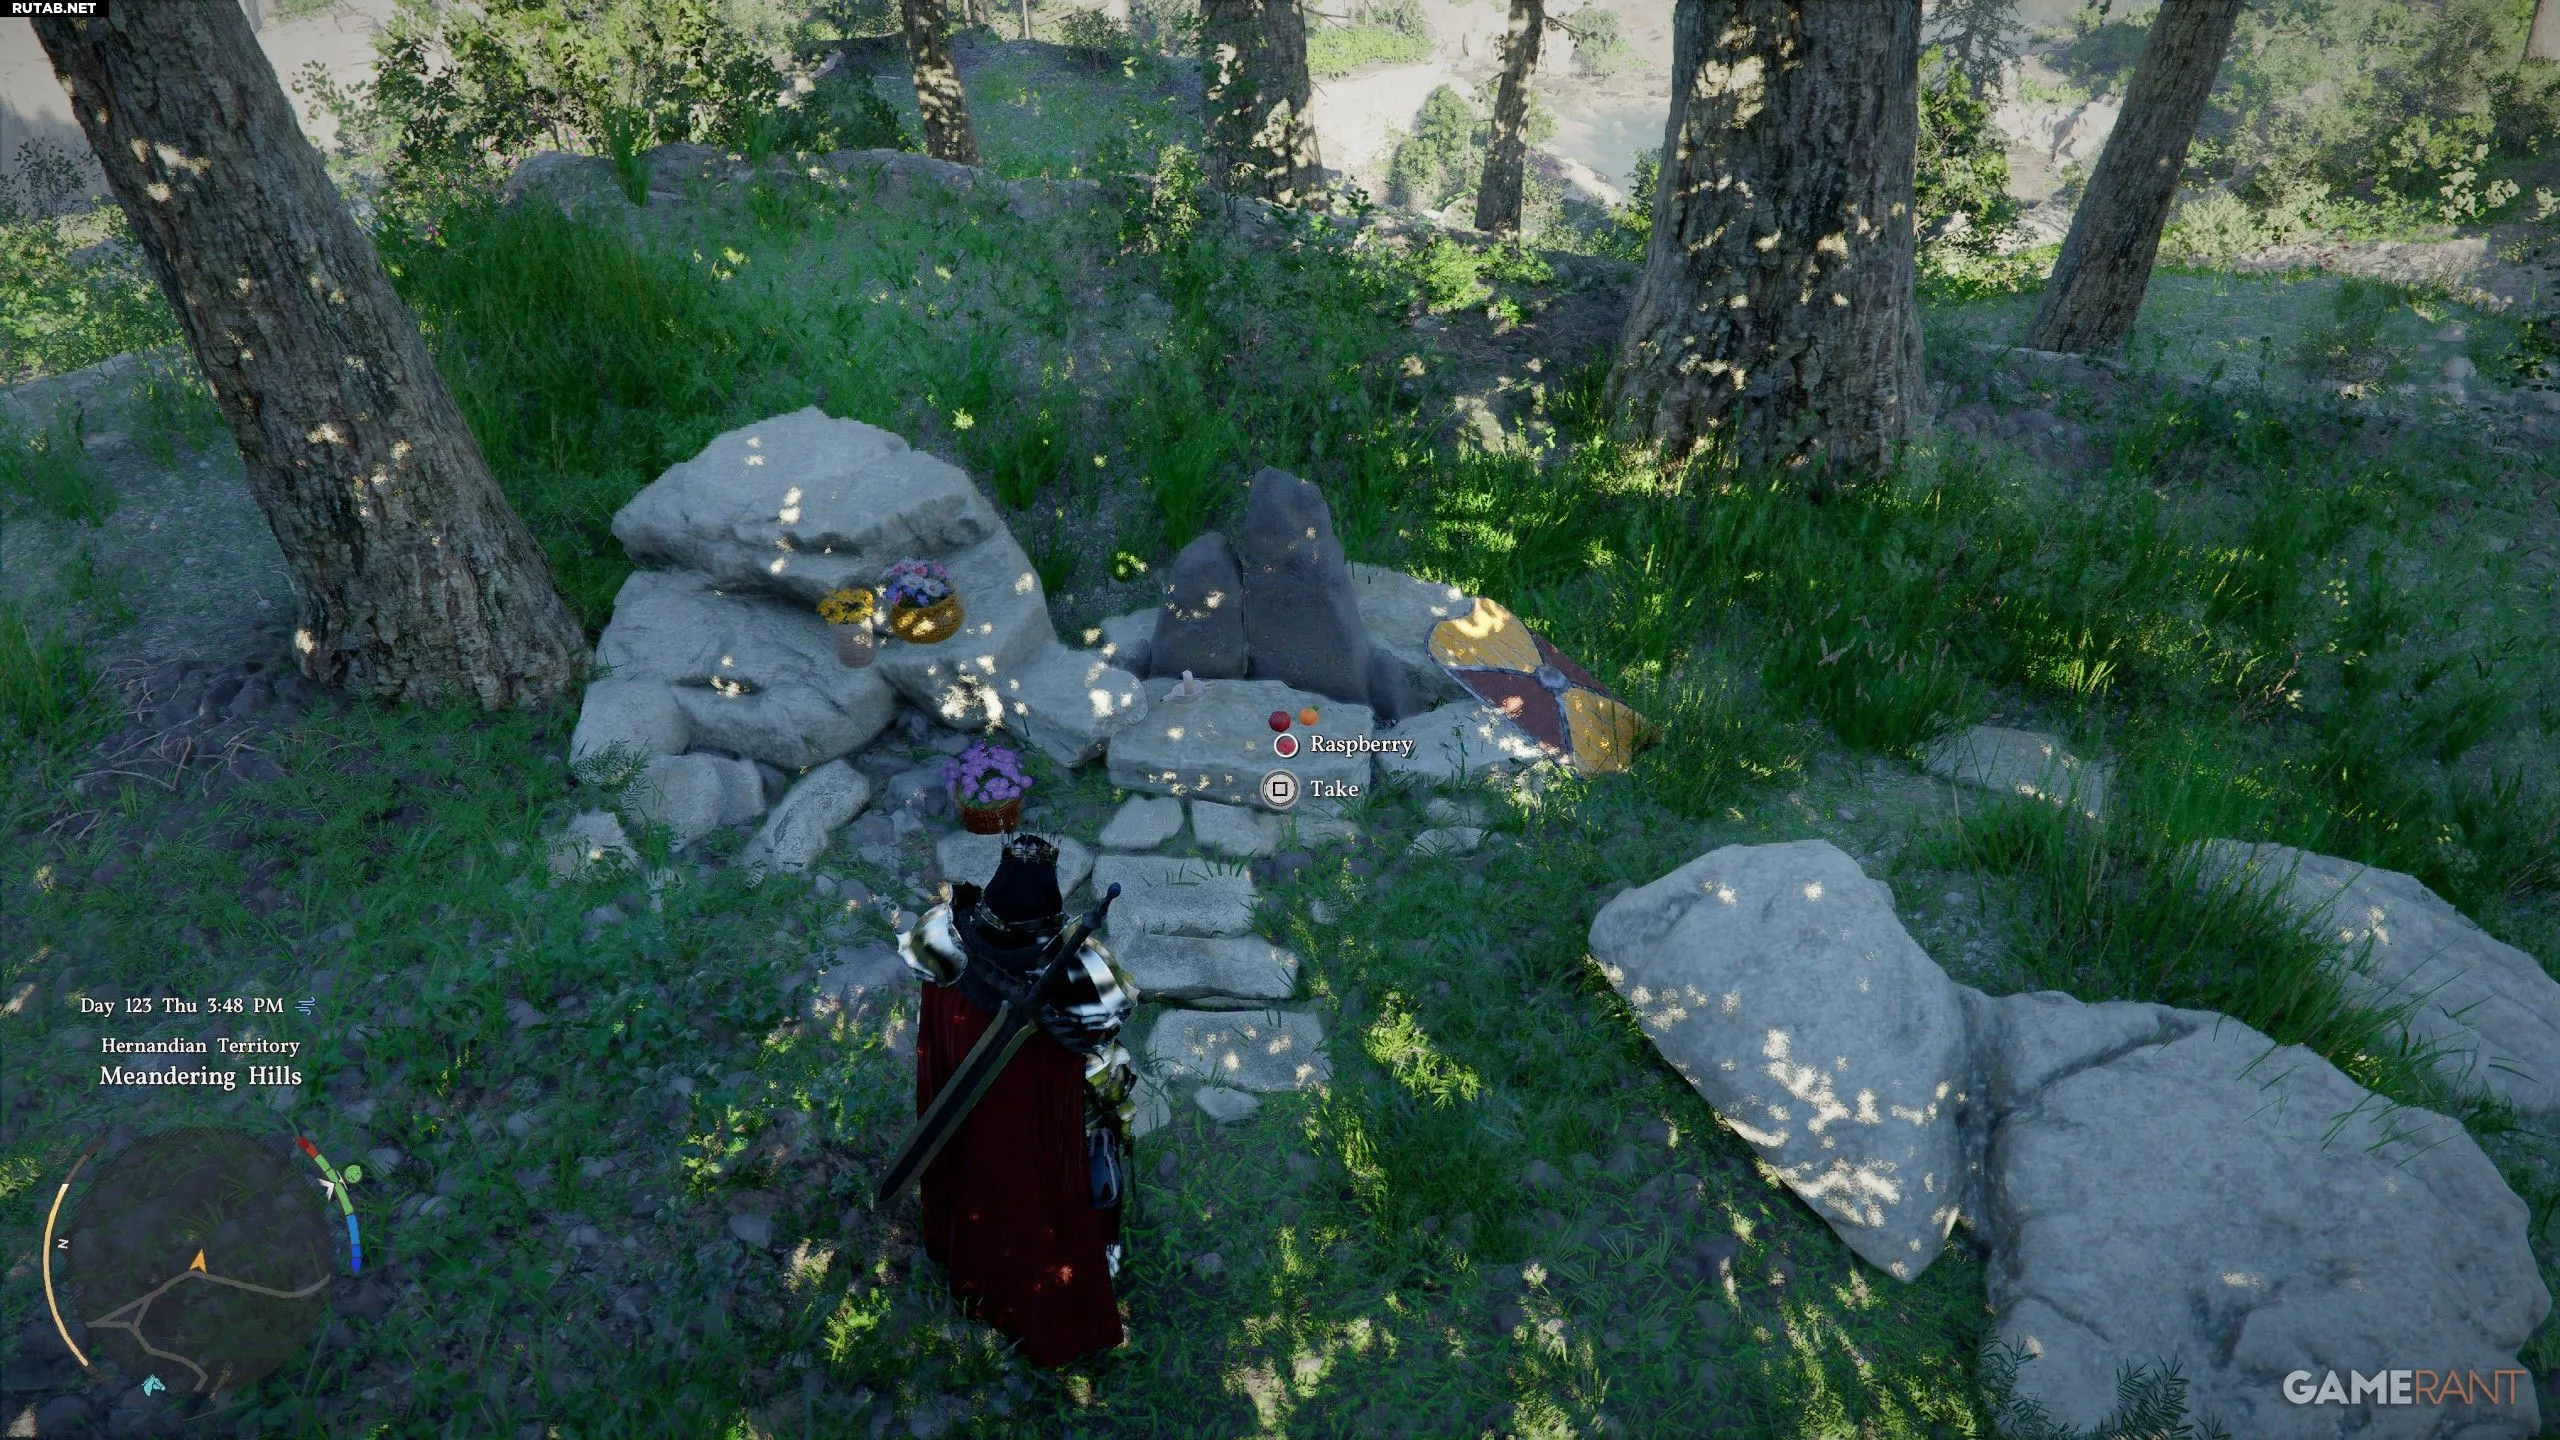
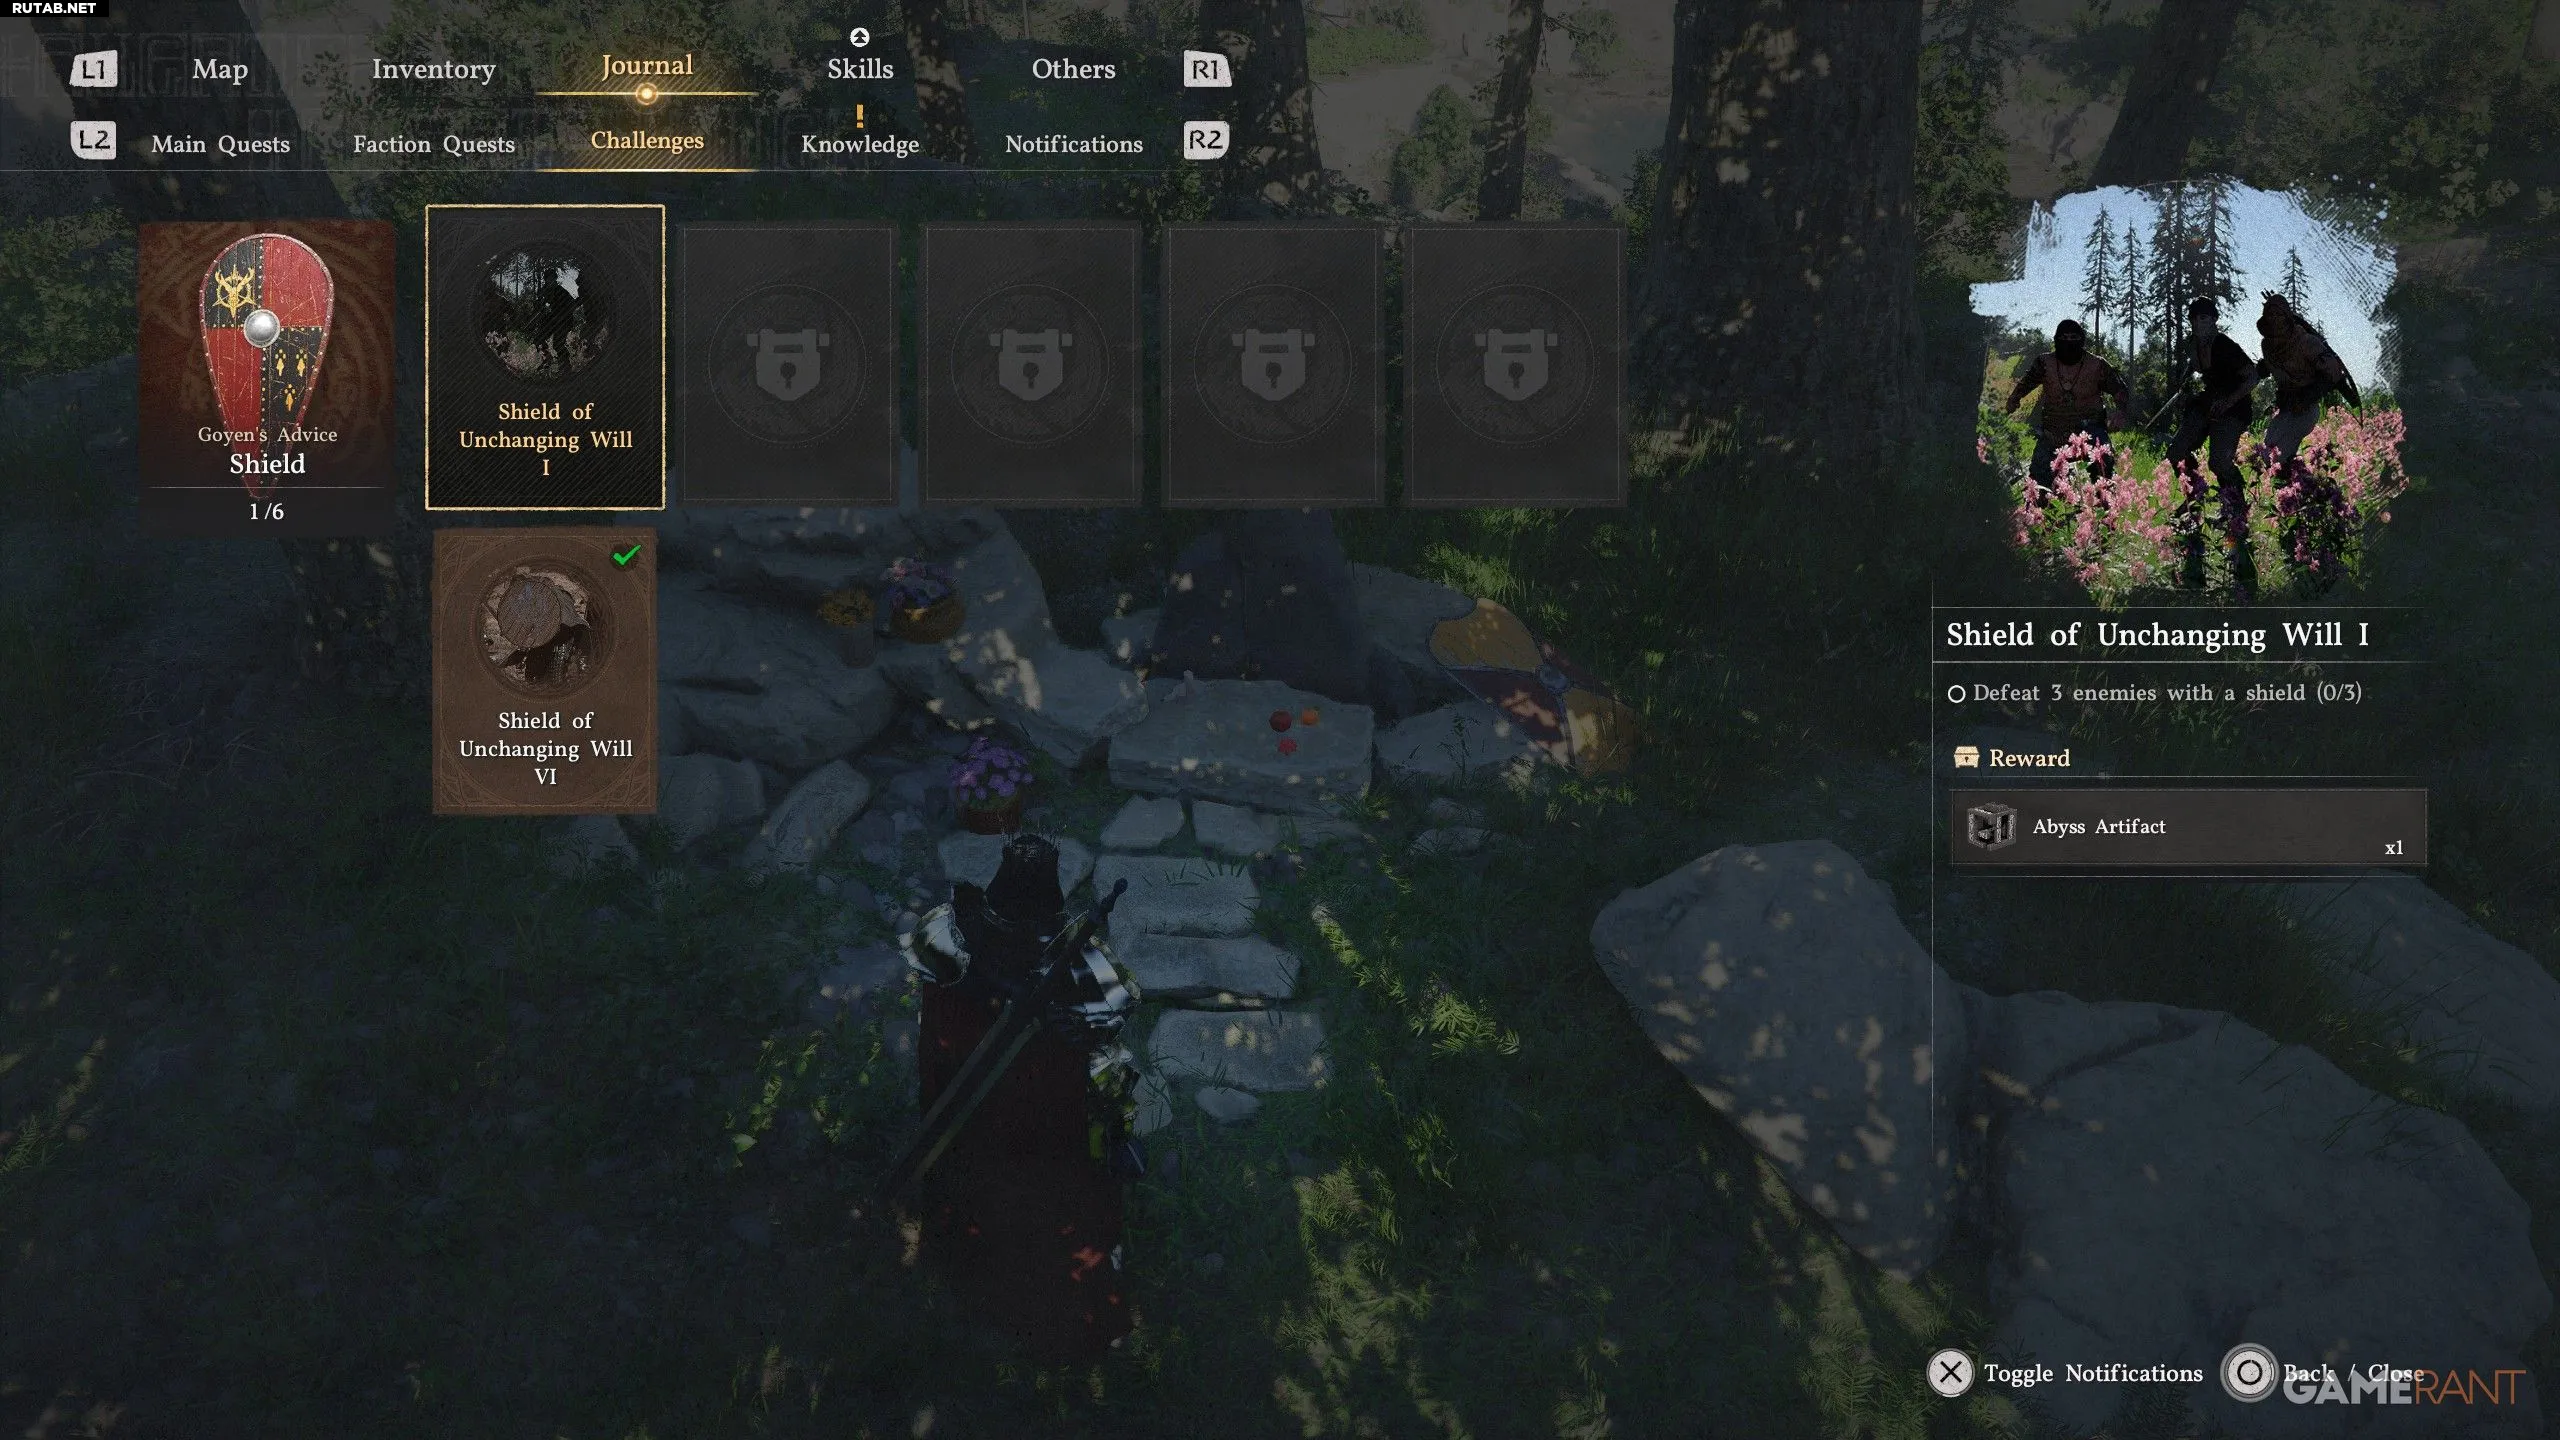
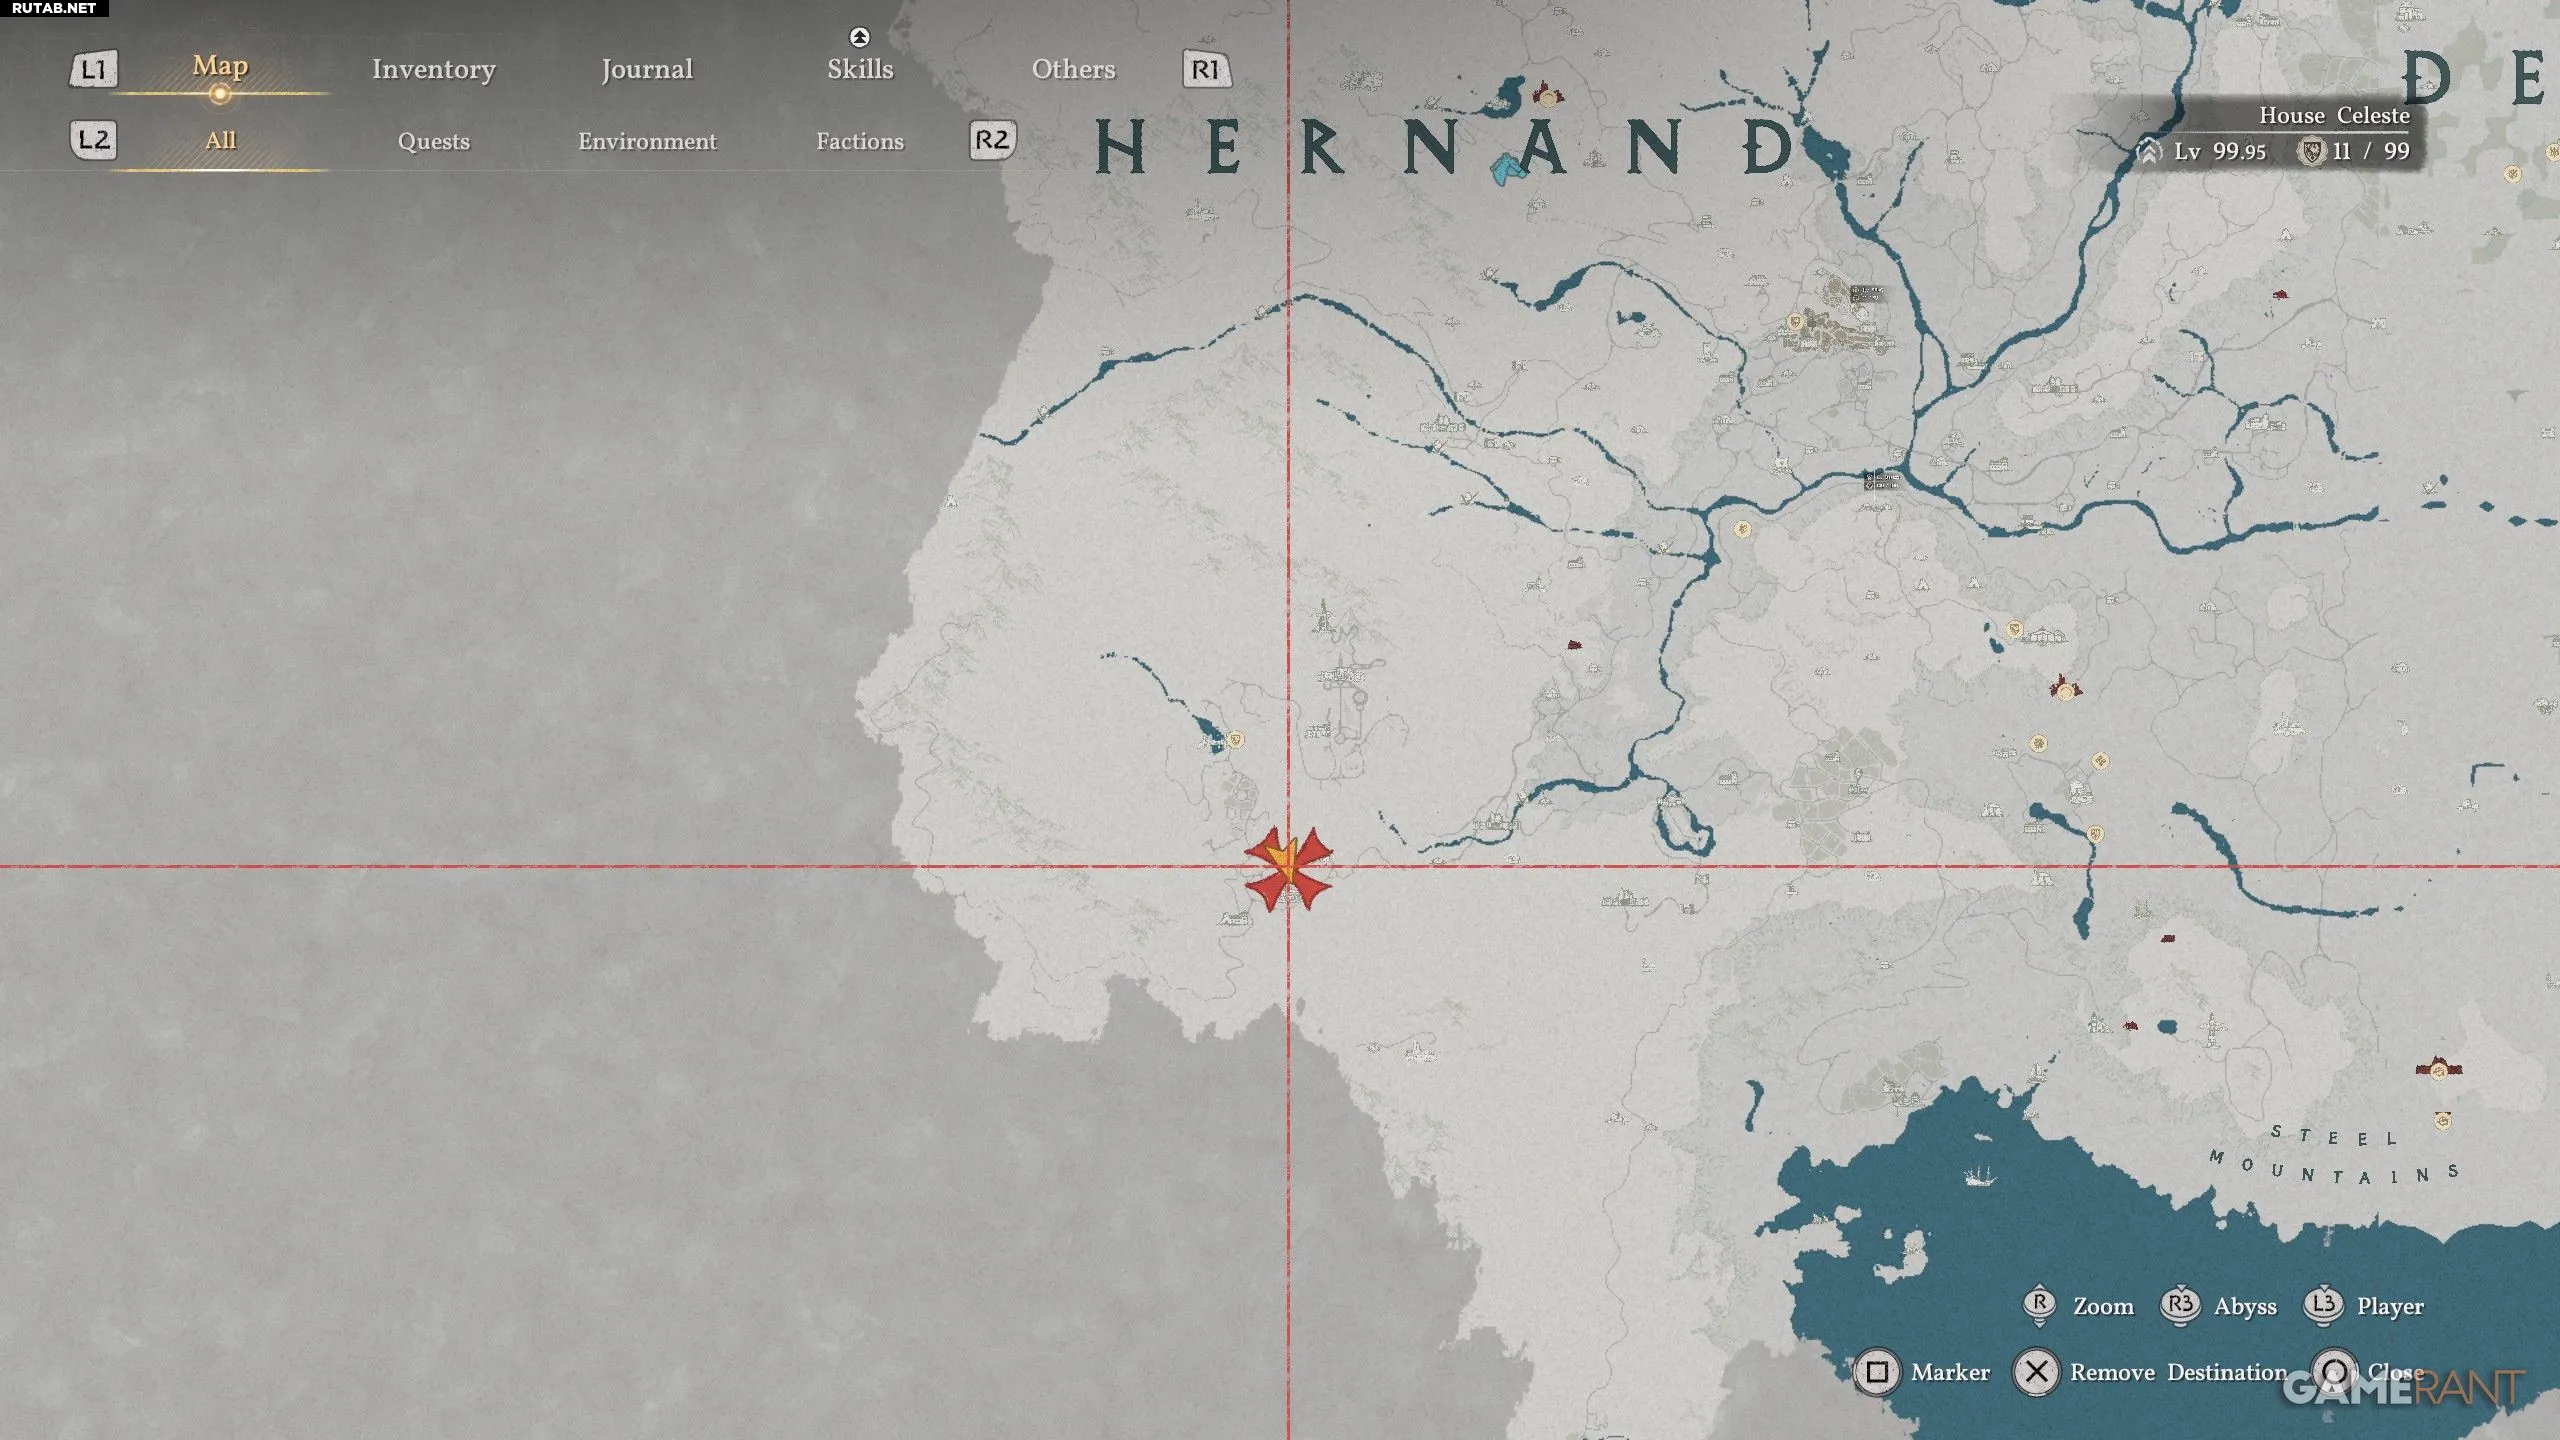
- How to Get: Located in a sealed Abyssal artifact, which is south of the letter “D” in the name “Ernand”, north of the stable in Ernand city.
- Trial: Defeat 3 enemies with a shield.
- Reward: 1x Abyssal artifact
To defeat enemies with a shield, you need to deliver the final blow with this weapon. This is only possible with the “Shield Bash” attack from the blue skill tree (L1+R2). Block with L1, then strike with R2.
Luckily, you don’t need to kill three enemies in a row. However, the process can be tedious, as the shield is not known for its high damage. Head to Ernand, where the weakest enemies live, weaken them with your sword, and finish them off with a shield strike.
You can also use a health gauge device to see how weakened the enemy is.
How to Get and Complete the “Unwavering Will Shield 2” Trial in Crimson Desert
You might also be interested in:
All mounts in Crimson Desert: from horses to dragons and mechs
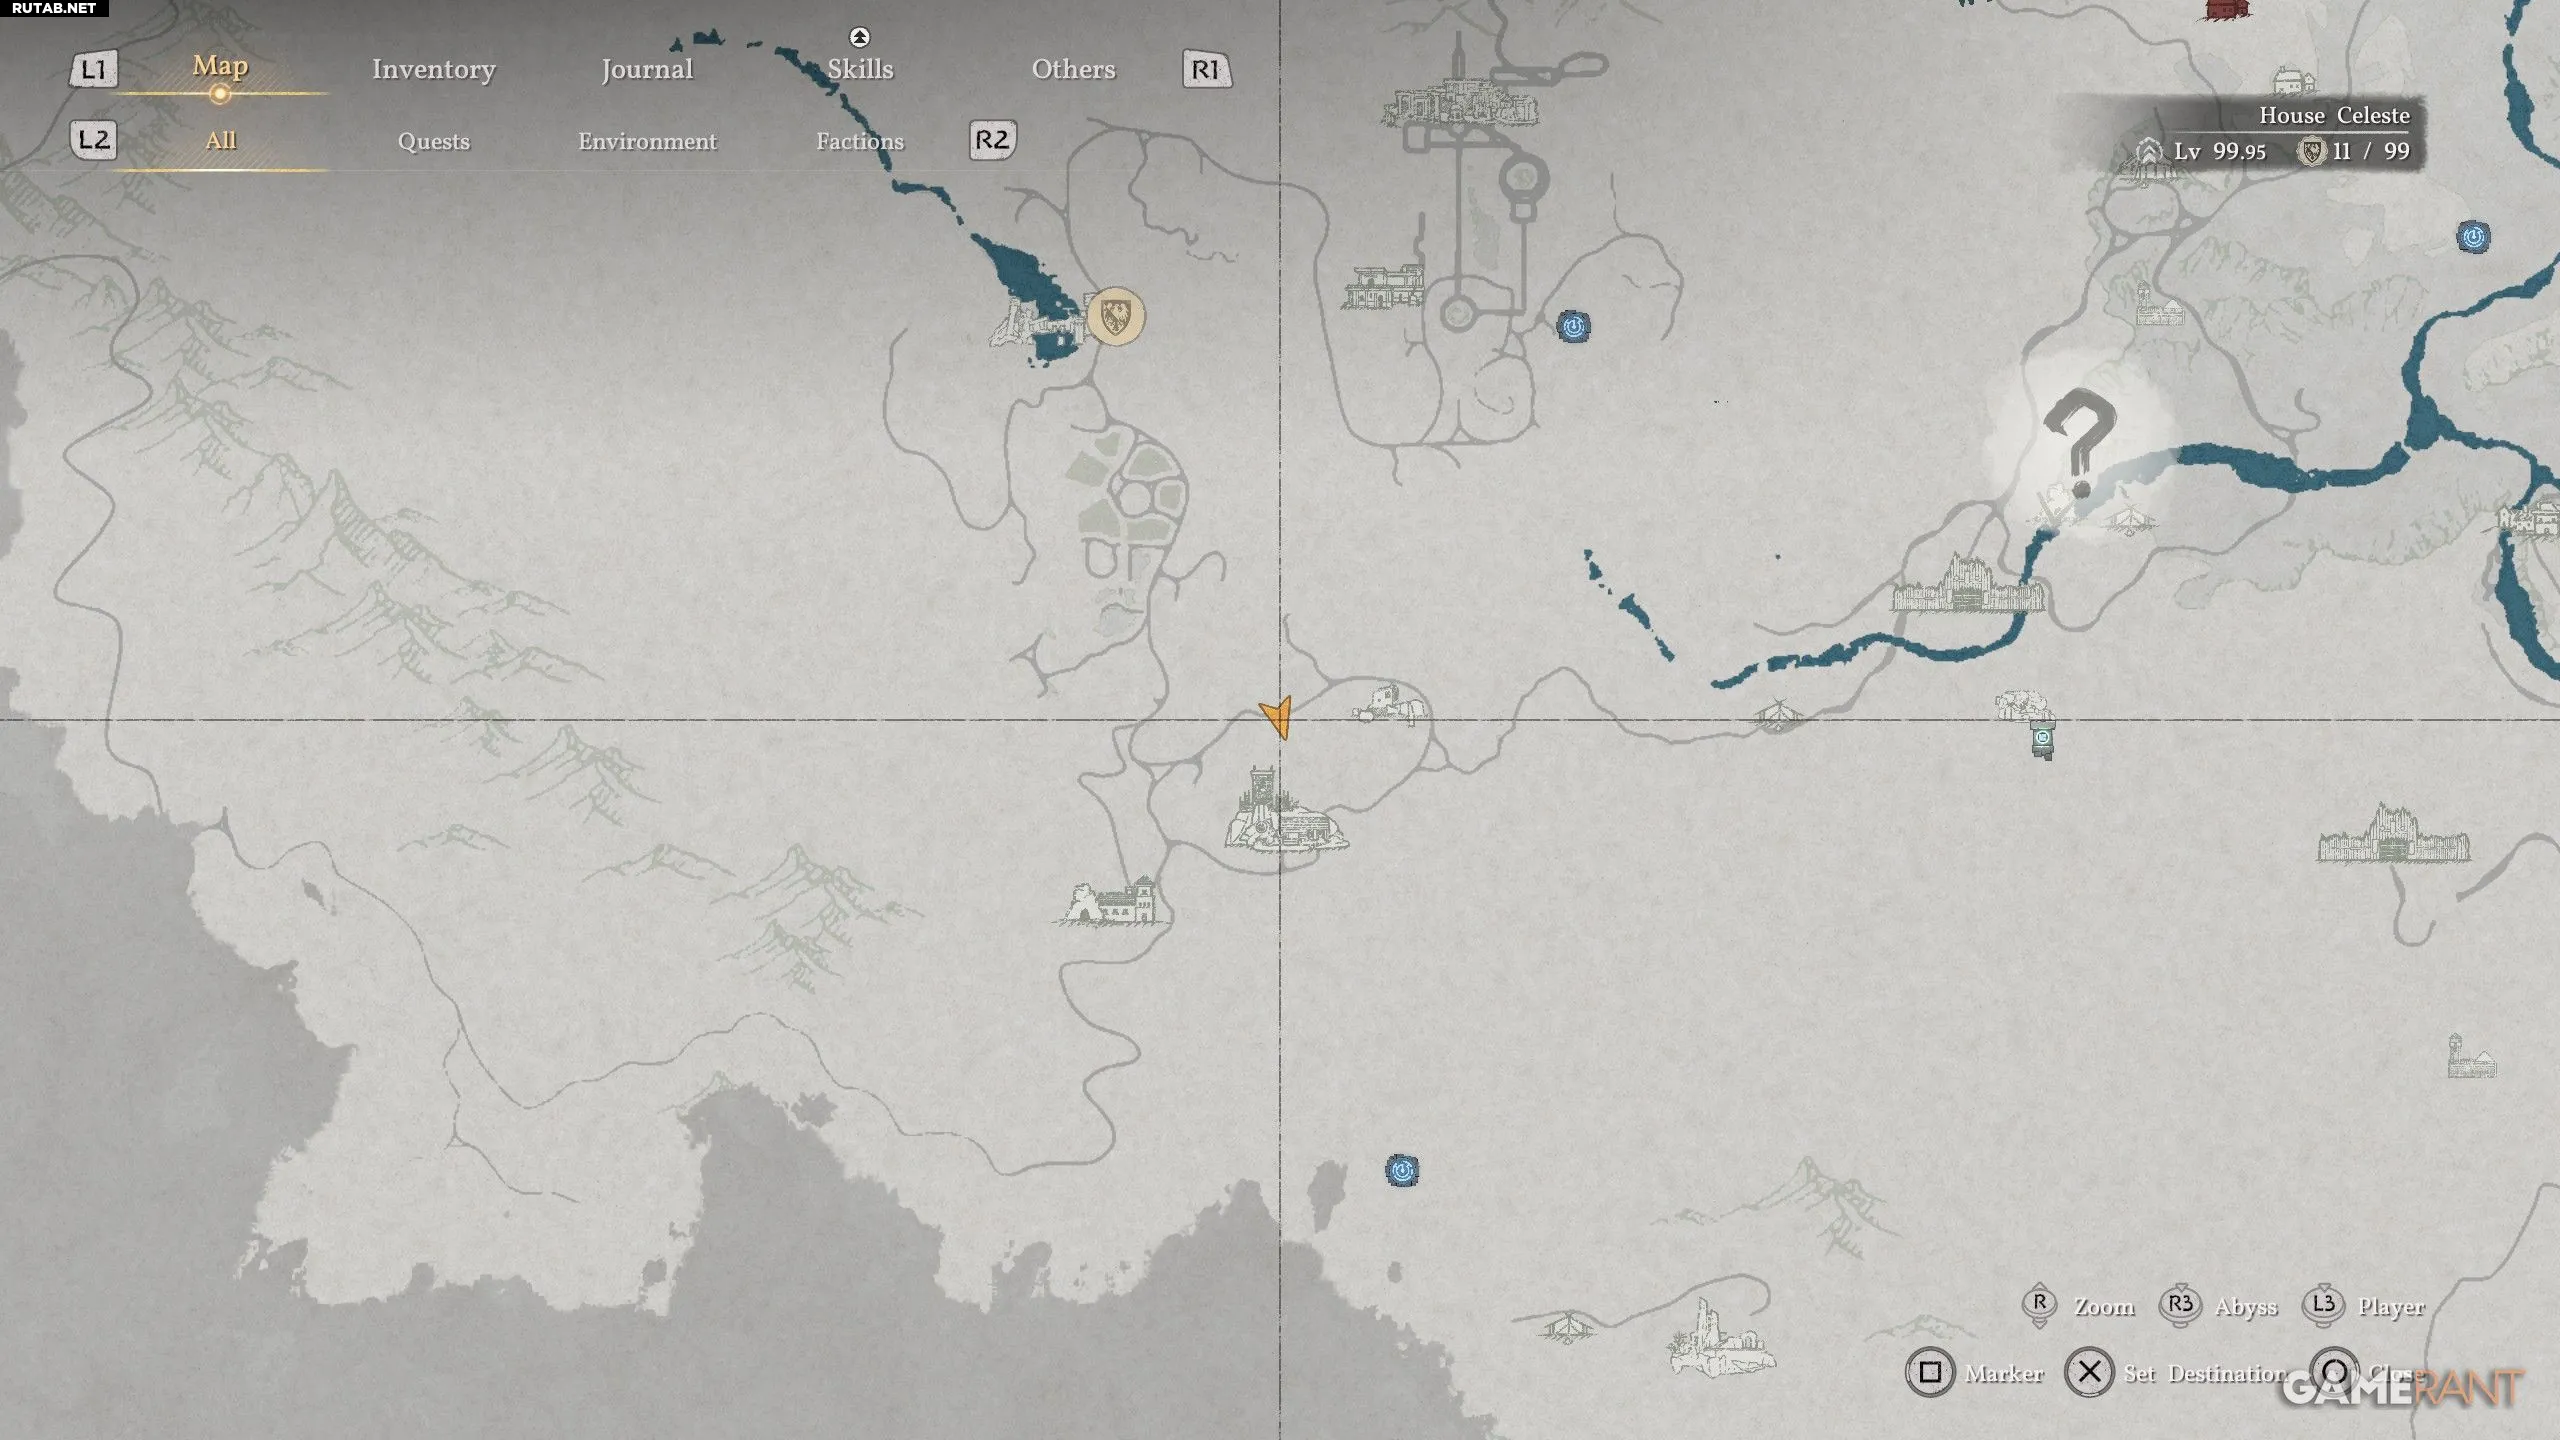
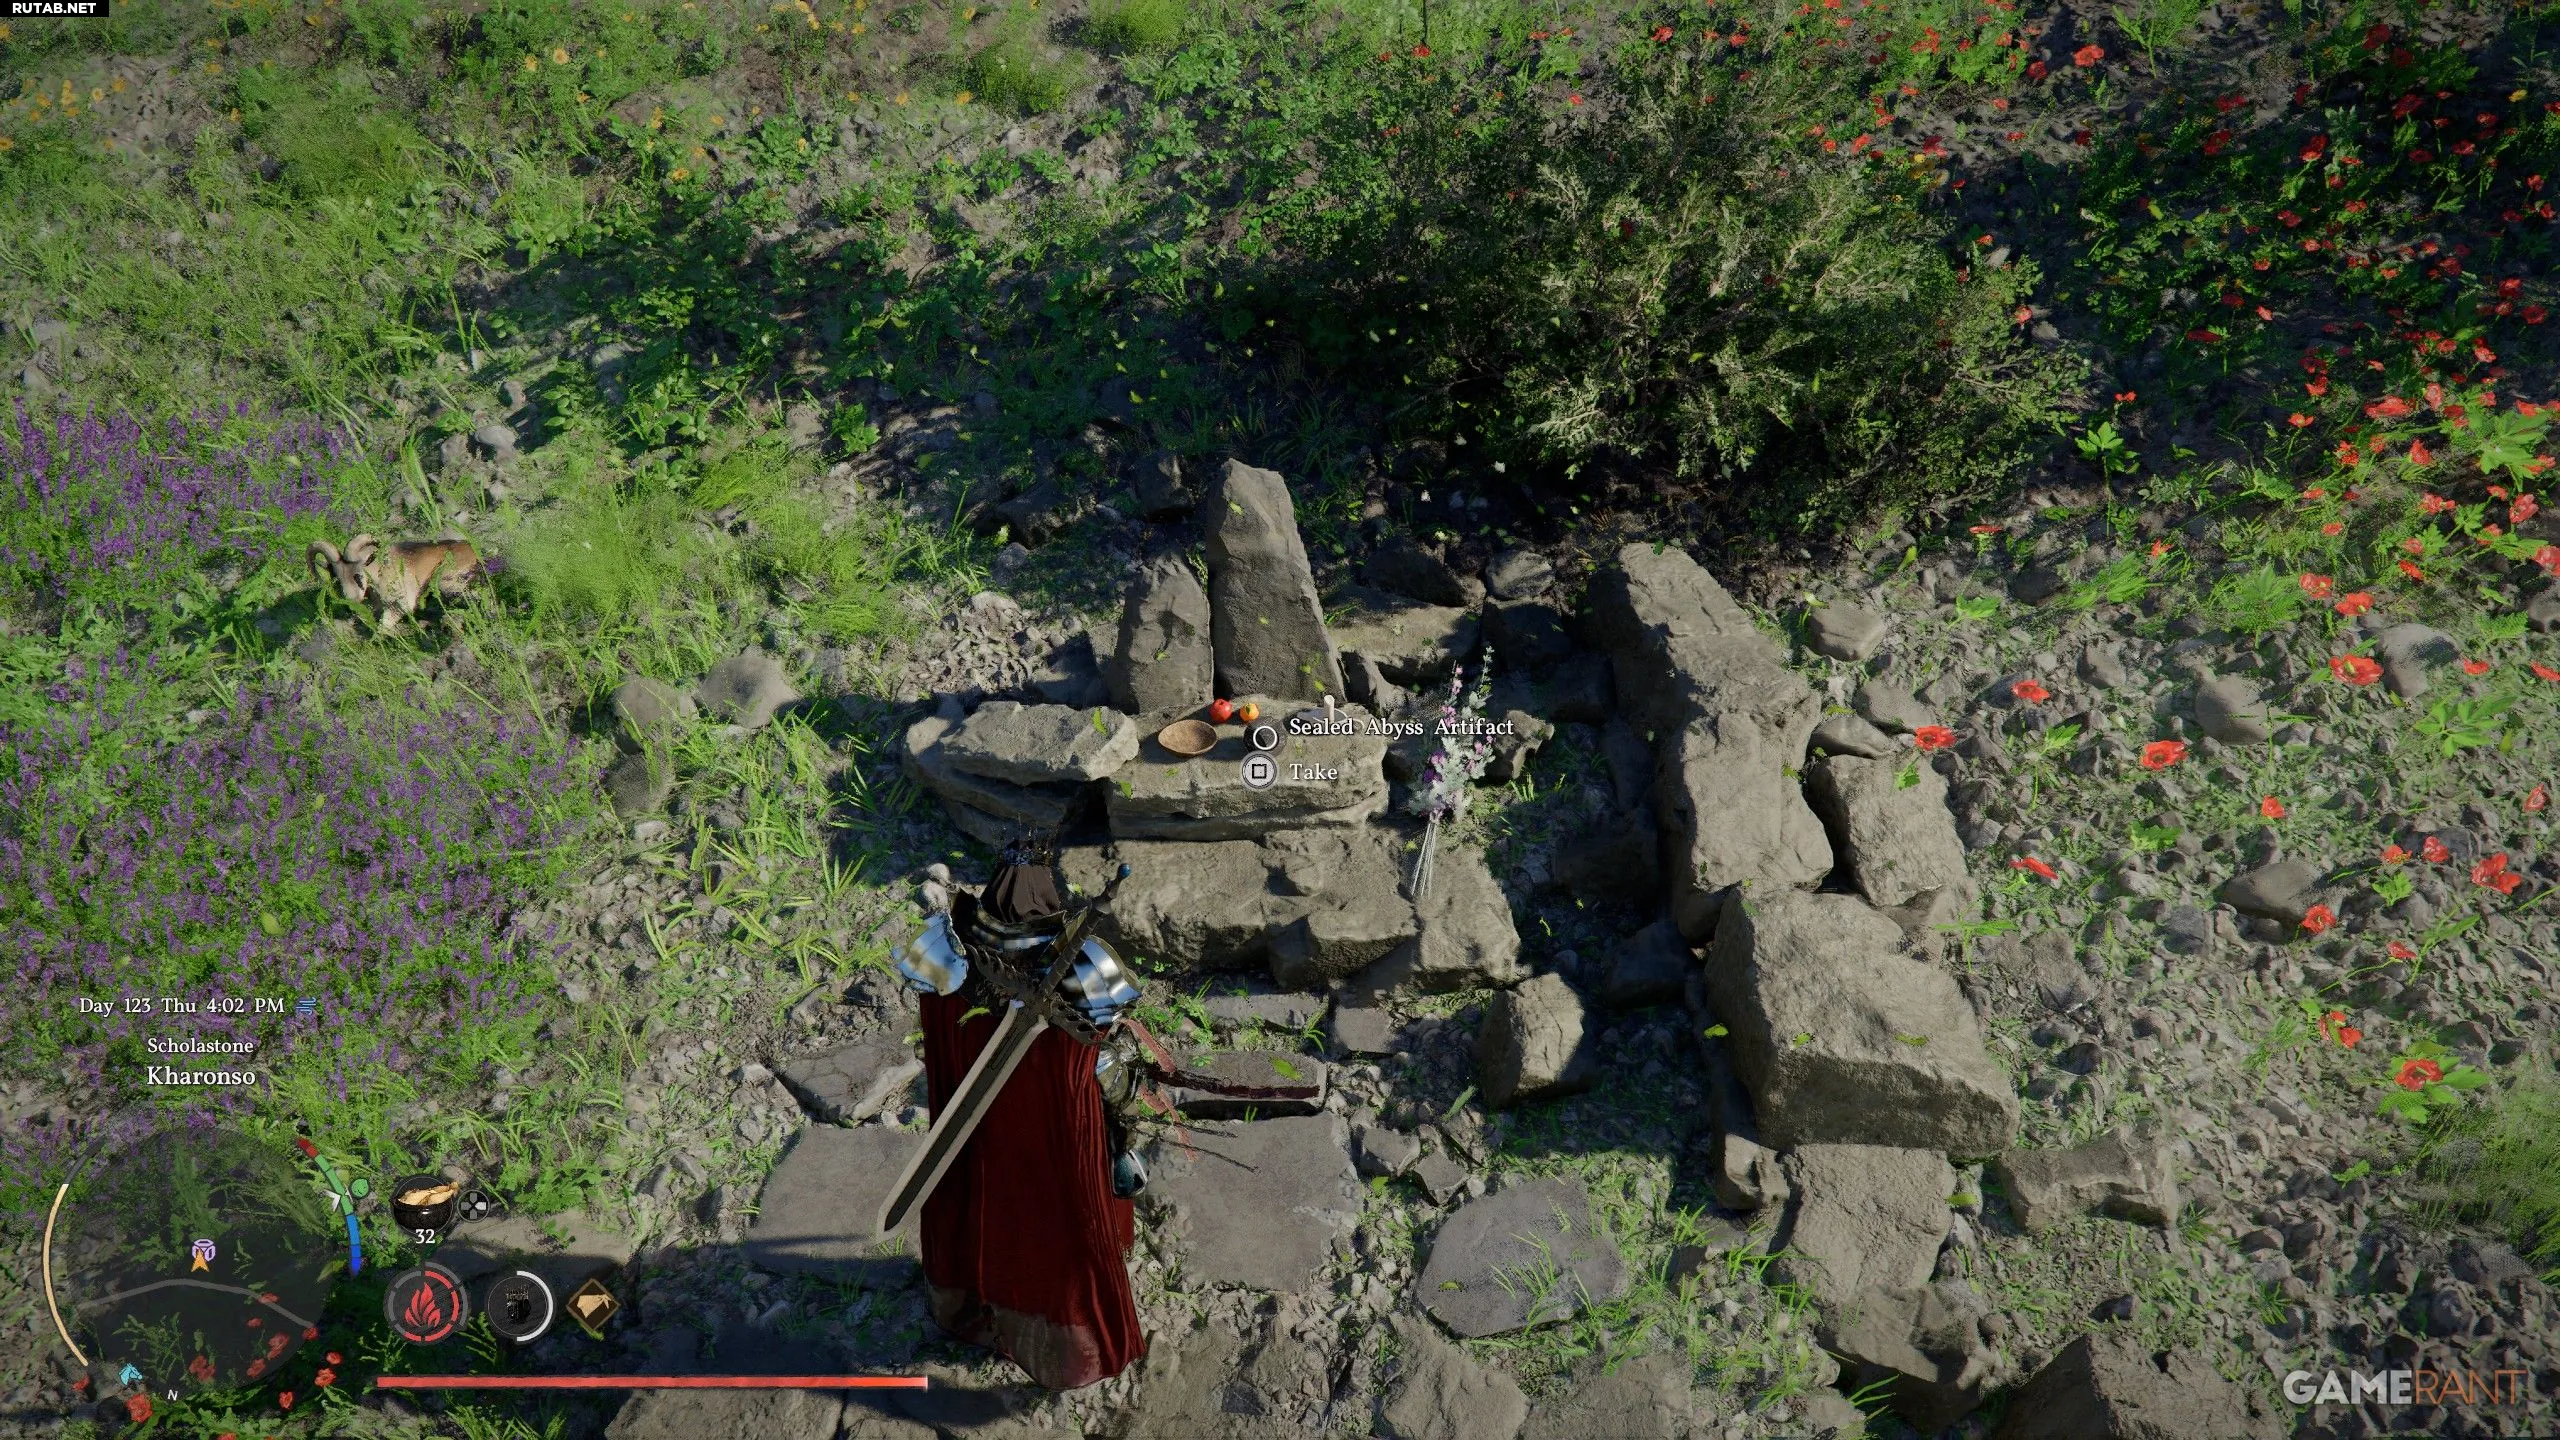
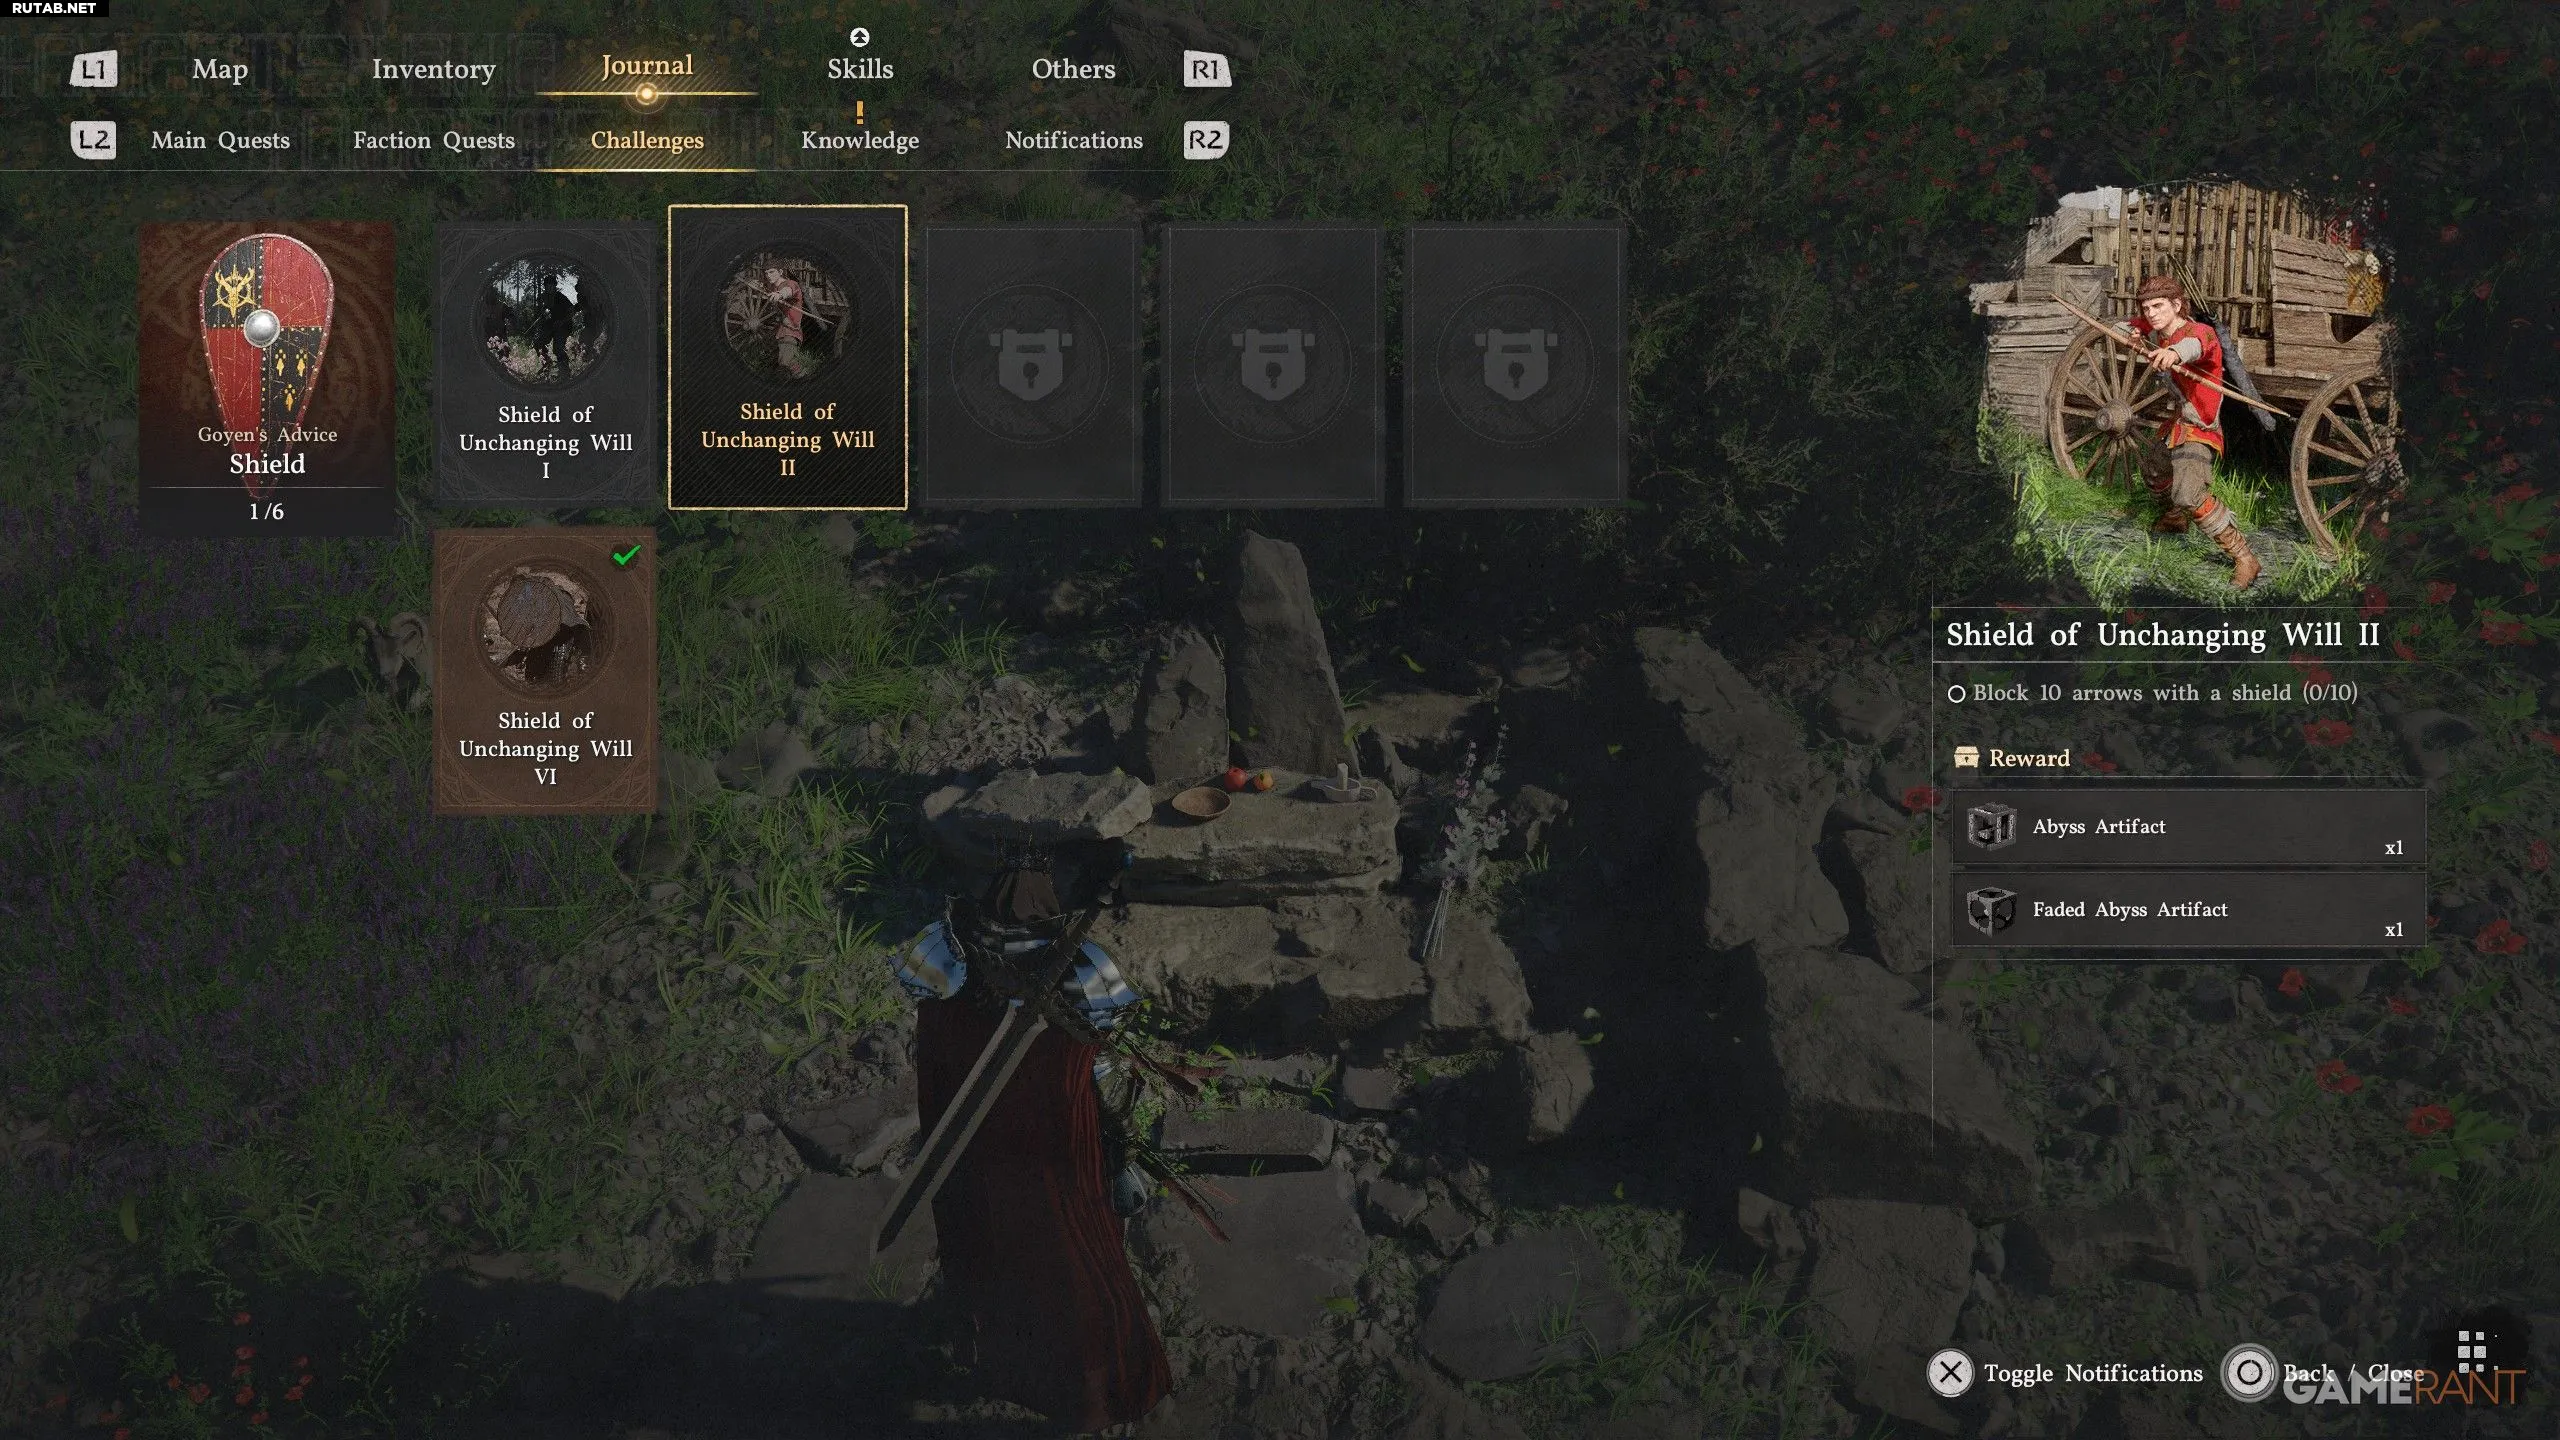
- How to Get: Located in a sealed Abyssal artifact, which is in the southernmost part of the Ernand region, south of the Scholastone Institute in the northern area of Haronso.
- Trial: Block 10 arrows with a shield.
- Reward: 1x Abyssal artifact, 1x Dim Abyssal artifact
Blocking 10 arrows with a shield is very easy: just hold the defense button L1/LB to raise the shield and deflect the shots. This is easy to do in Ernand, as there are often archers in the groups of bandits.
Try to avoid the “Crimson Desert” and “Deminess” locations, as the enemies there are usually armed with firearms. The safest zones for this trial are “Ernand” and “Pailun”. Just hold the defense while blocking 10 arrows. You don’t need to complete the trial in one go!
How to Get and Complete the “Unwavering Will Shield 3” Trial in Crimson Desert

You might also be interested in:
How to Solve the Root Ruins Puzzle and Defeat the Kutum of the Abyss in Crimson Desert
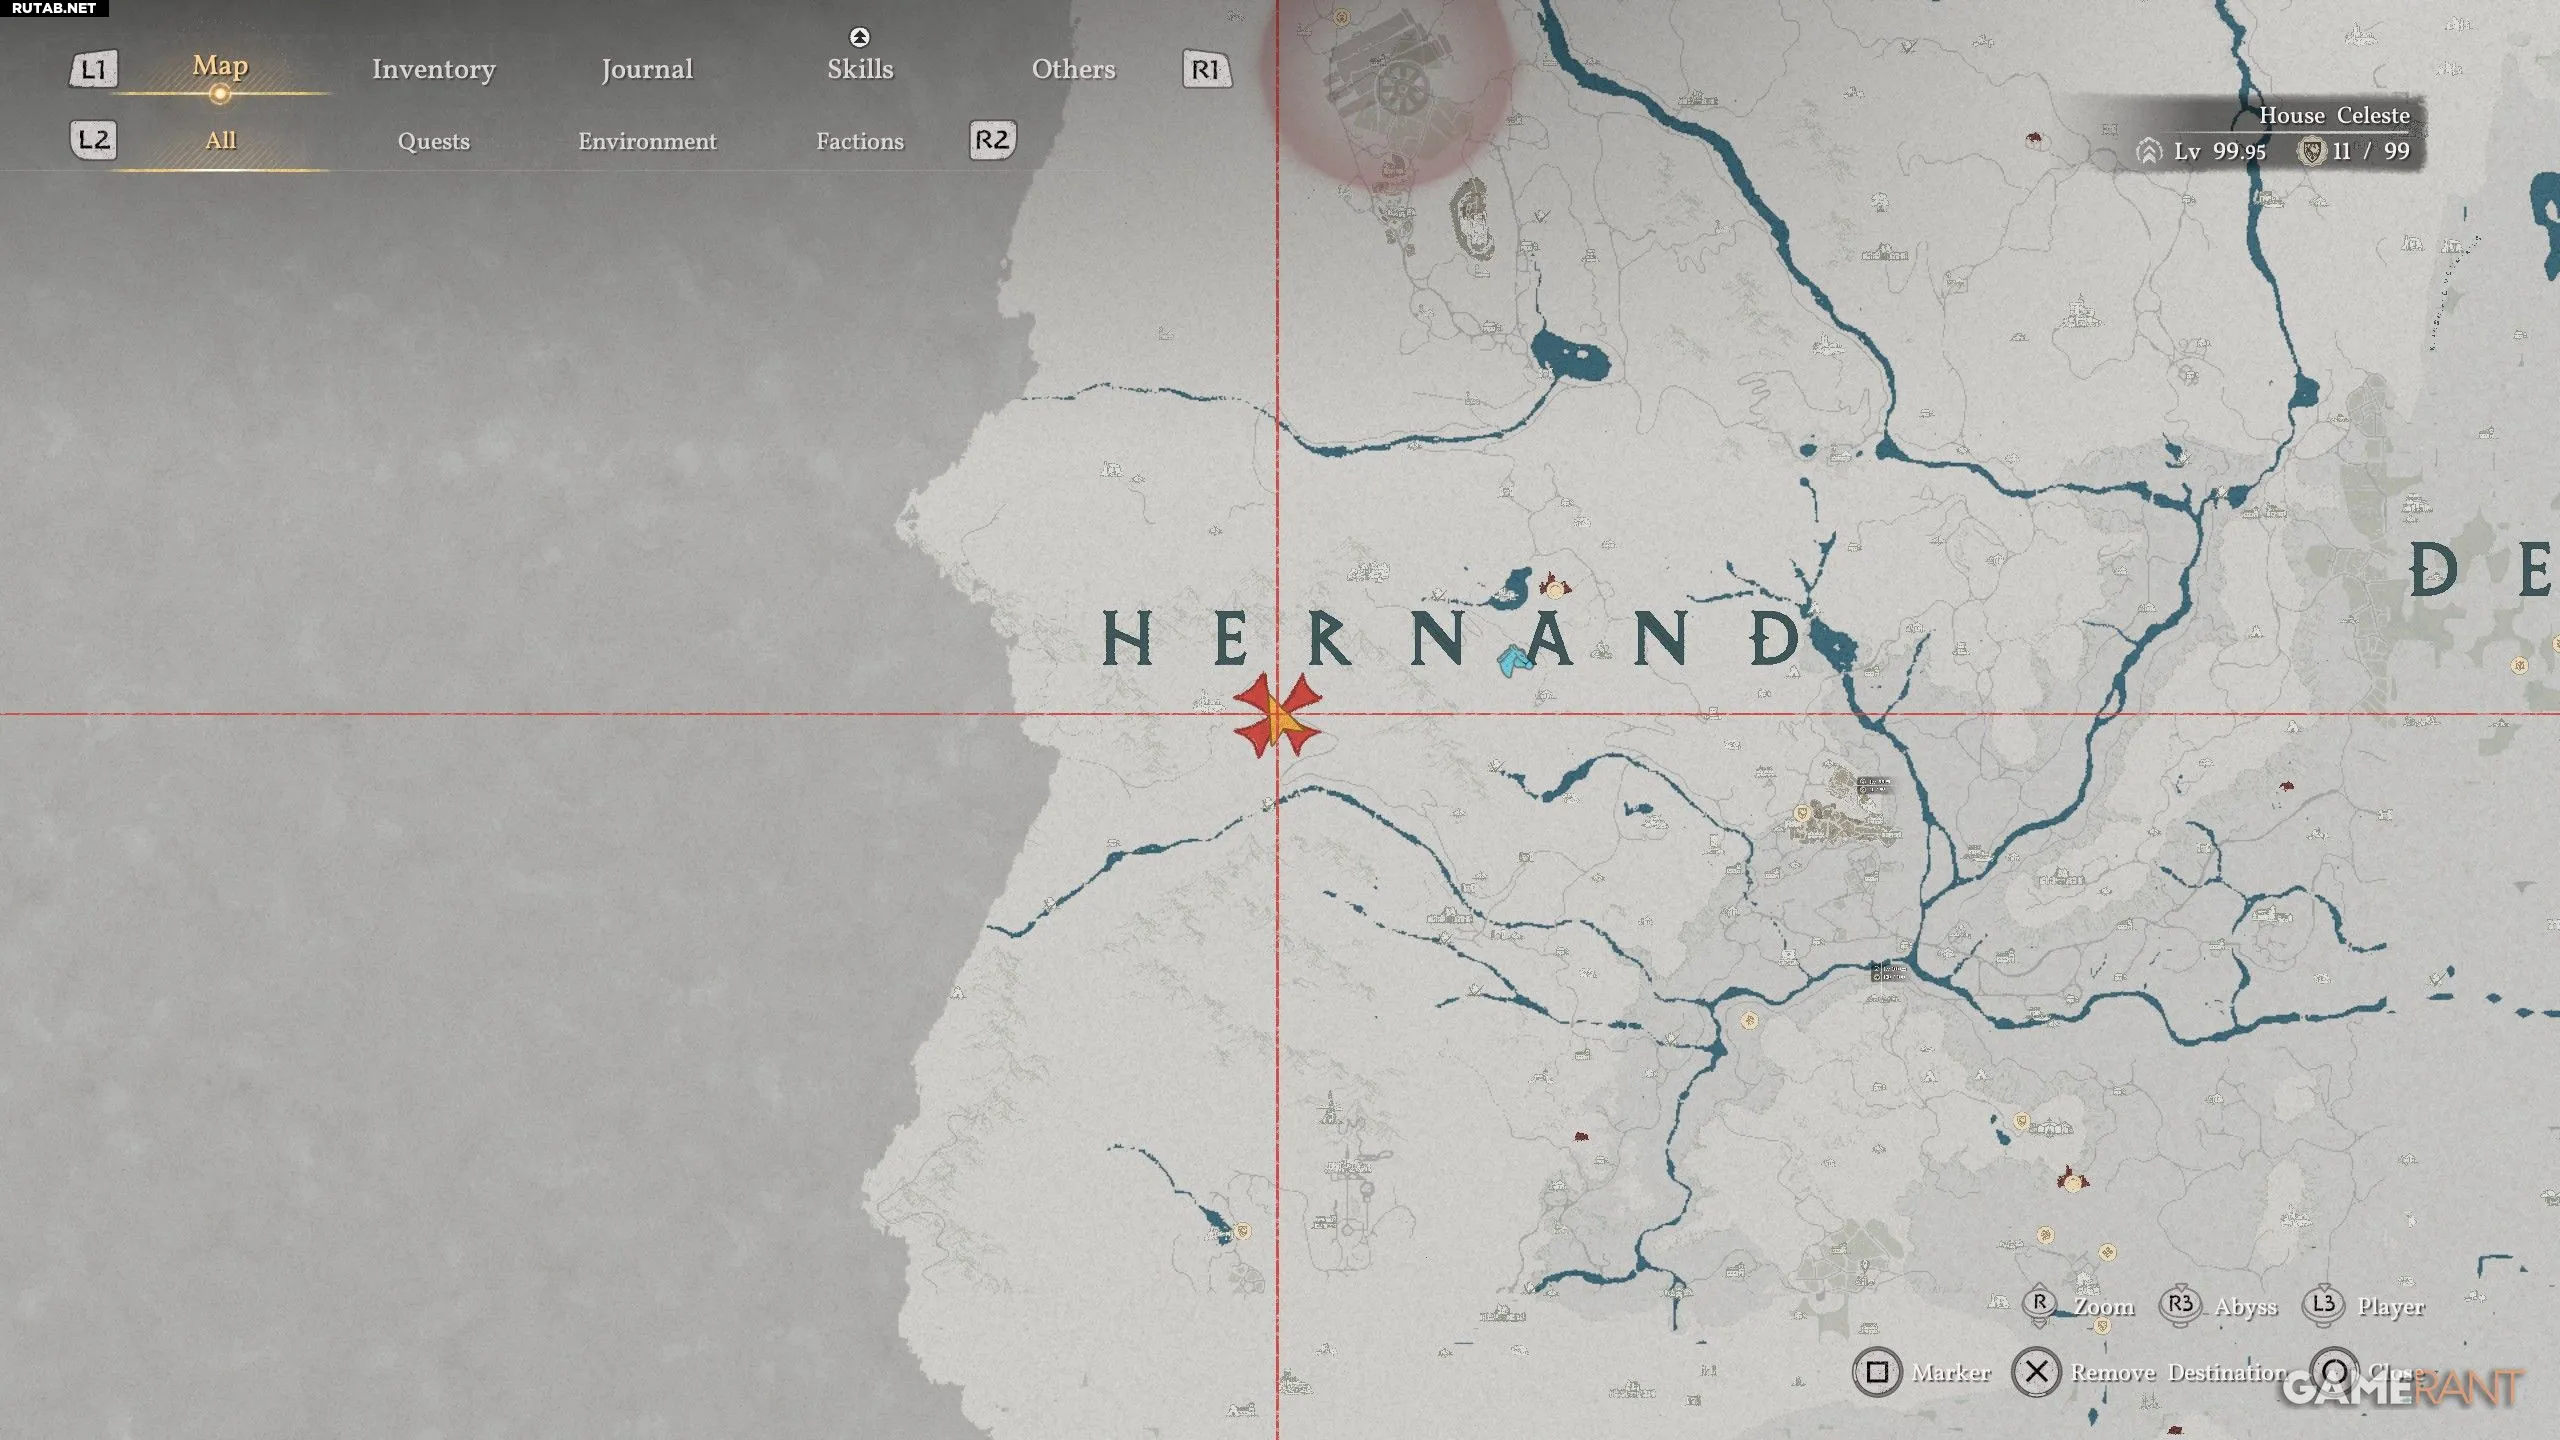
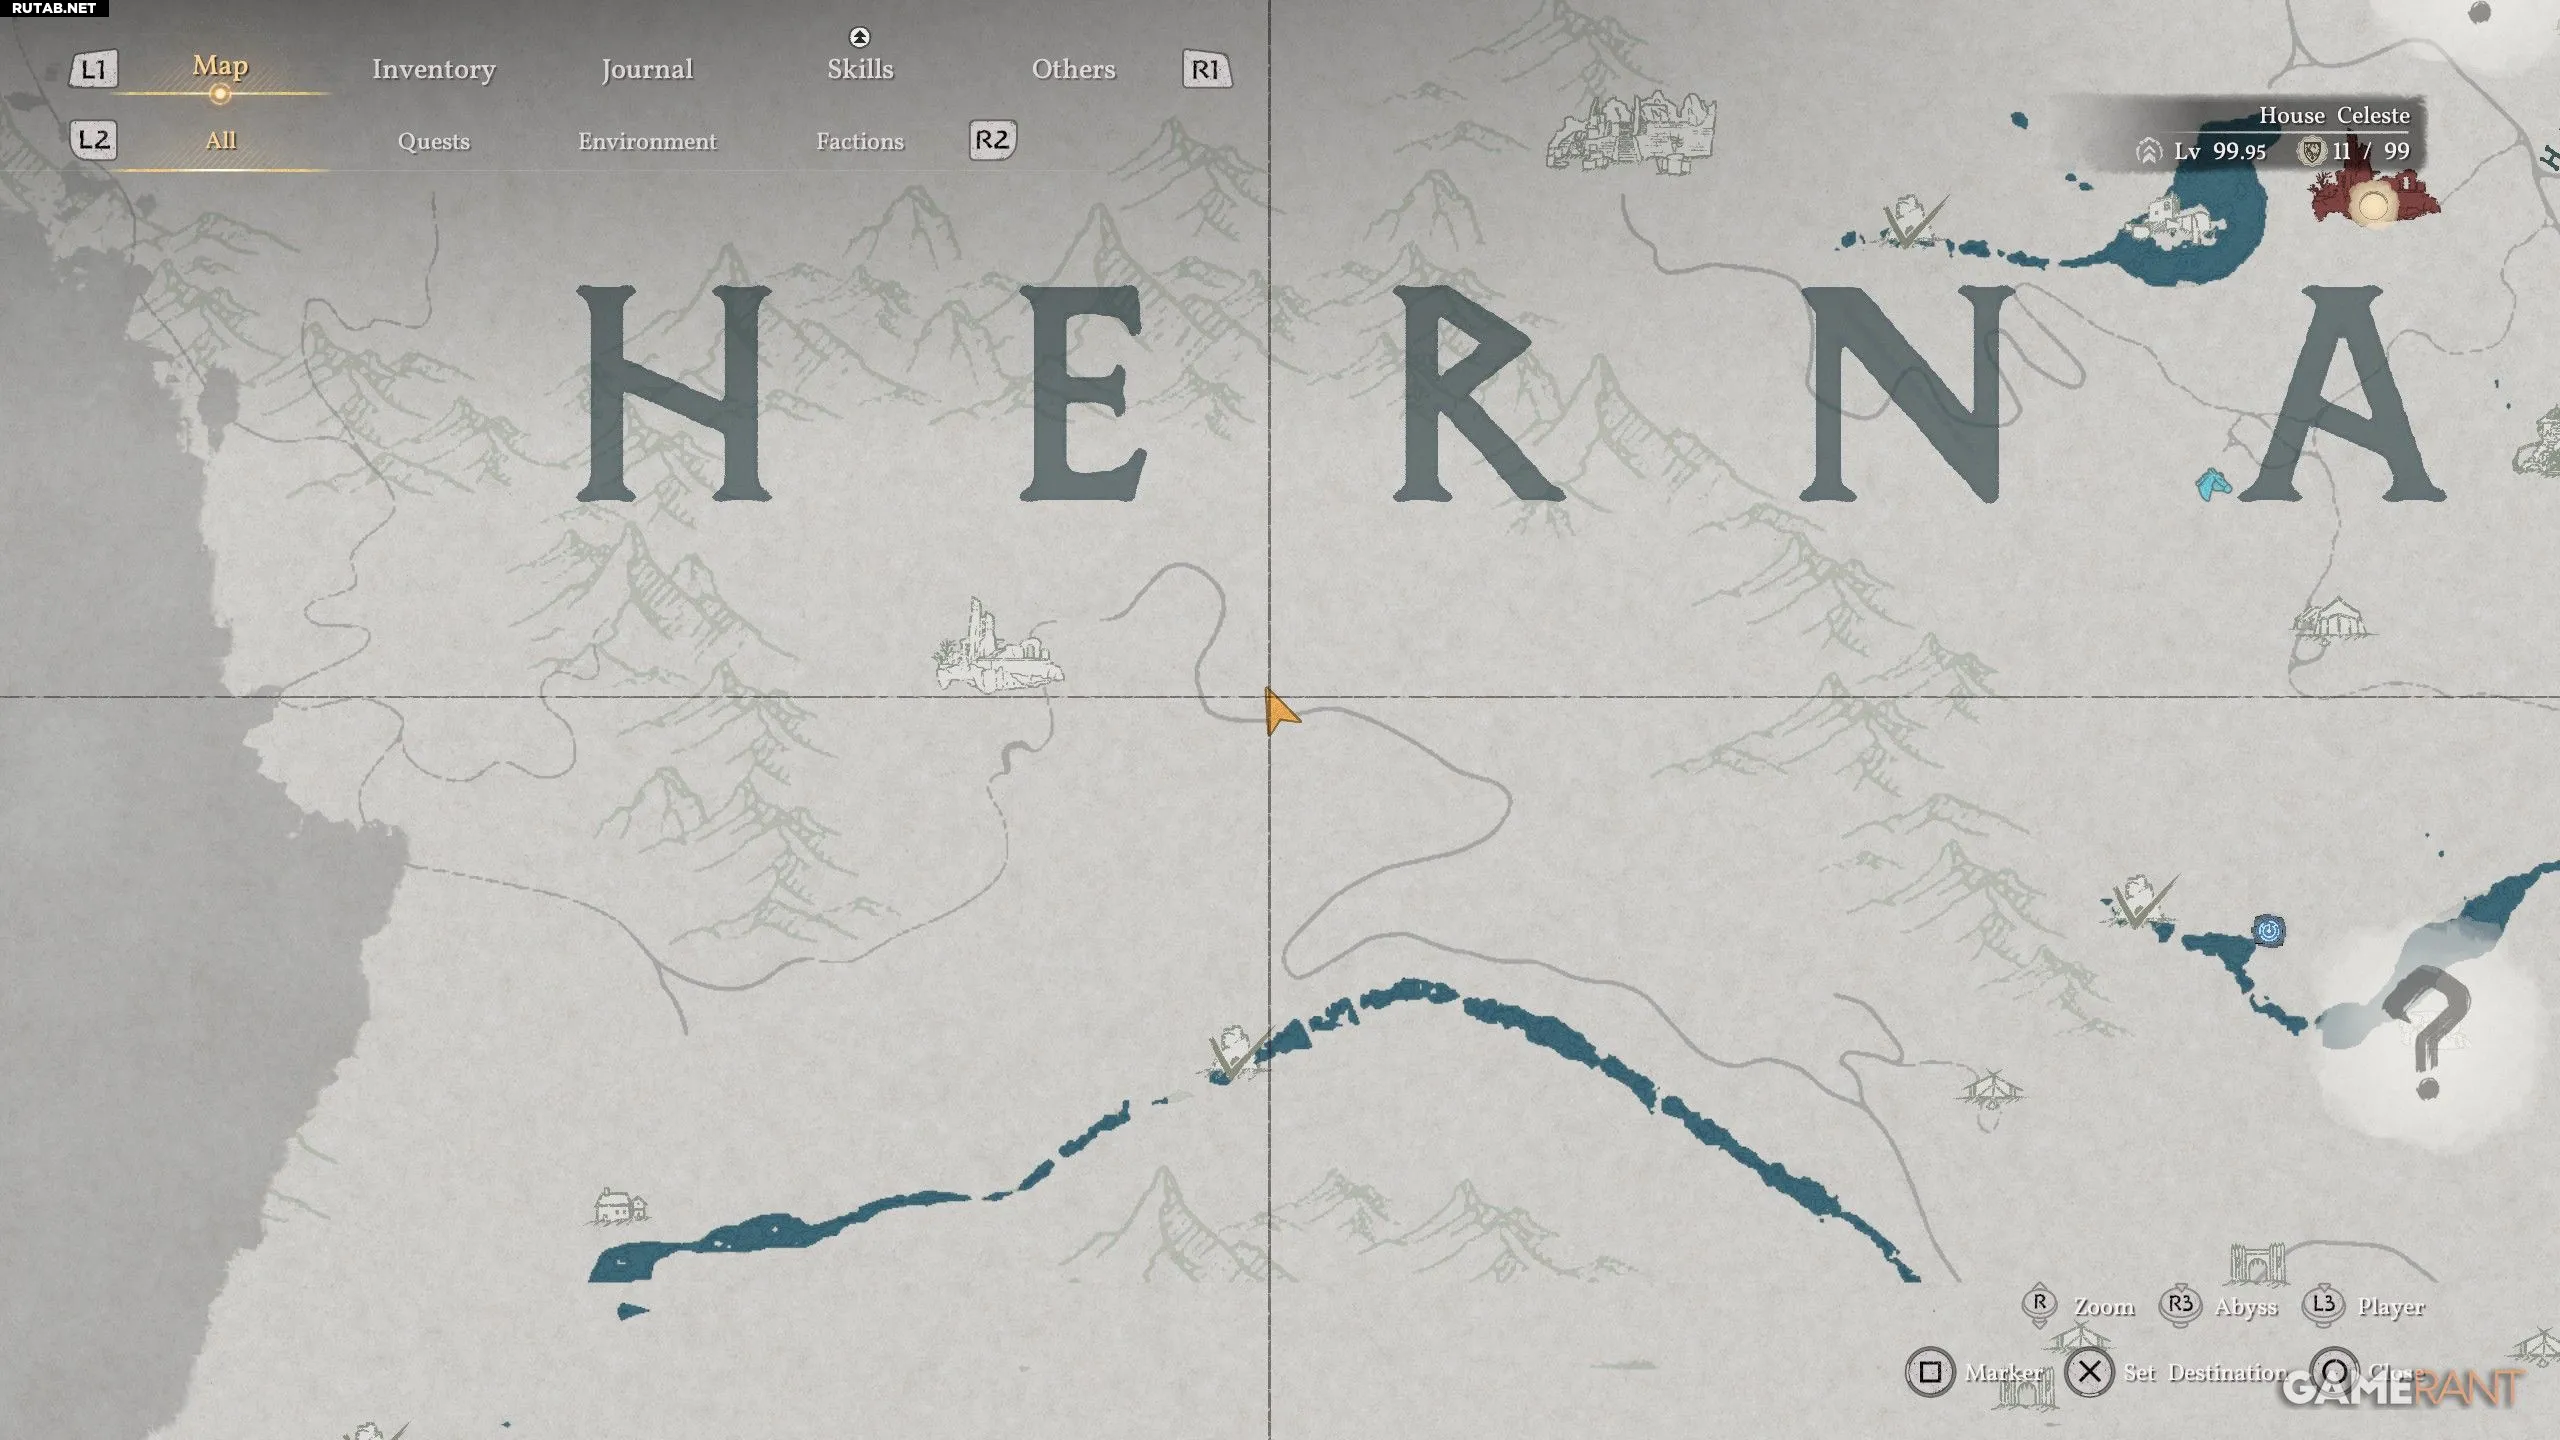
- How to Get: Located in a sealed Abyssal artifact, which is southeast of the Grace Sanctuary, between the letters “E” and “R” in the name “Hernand”.
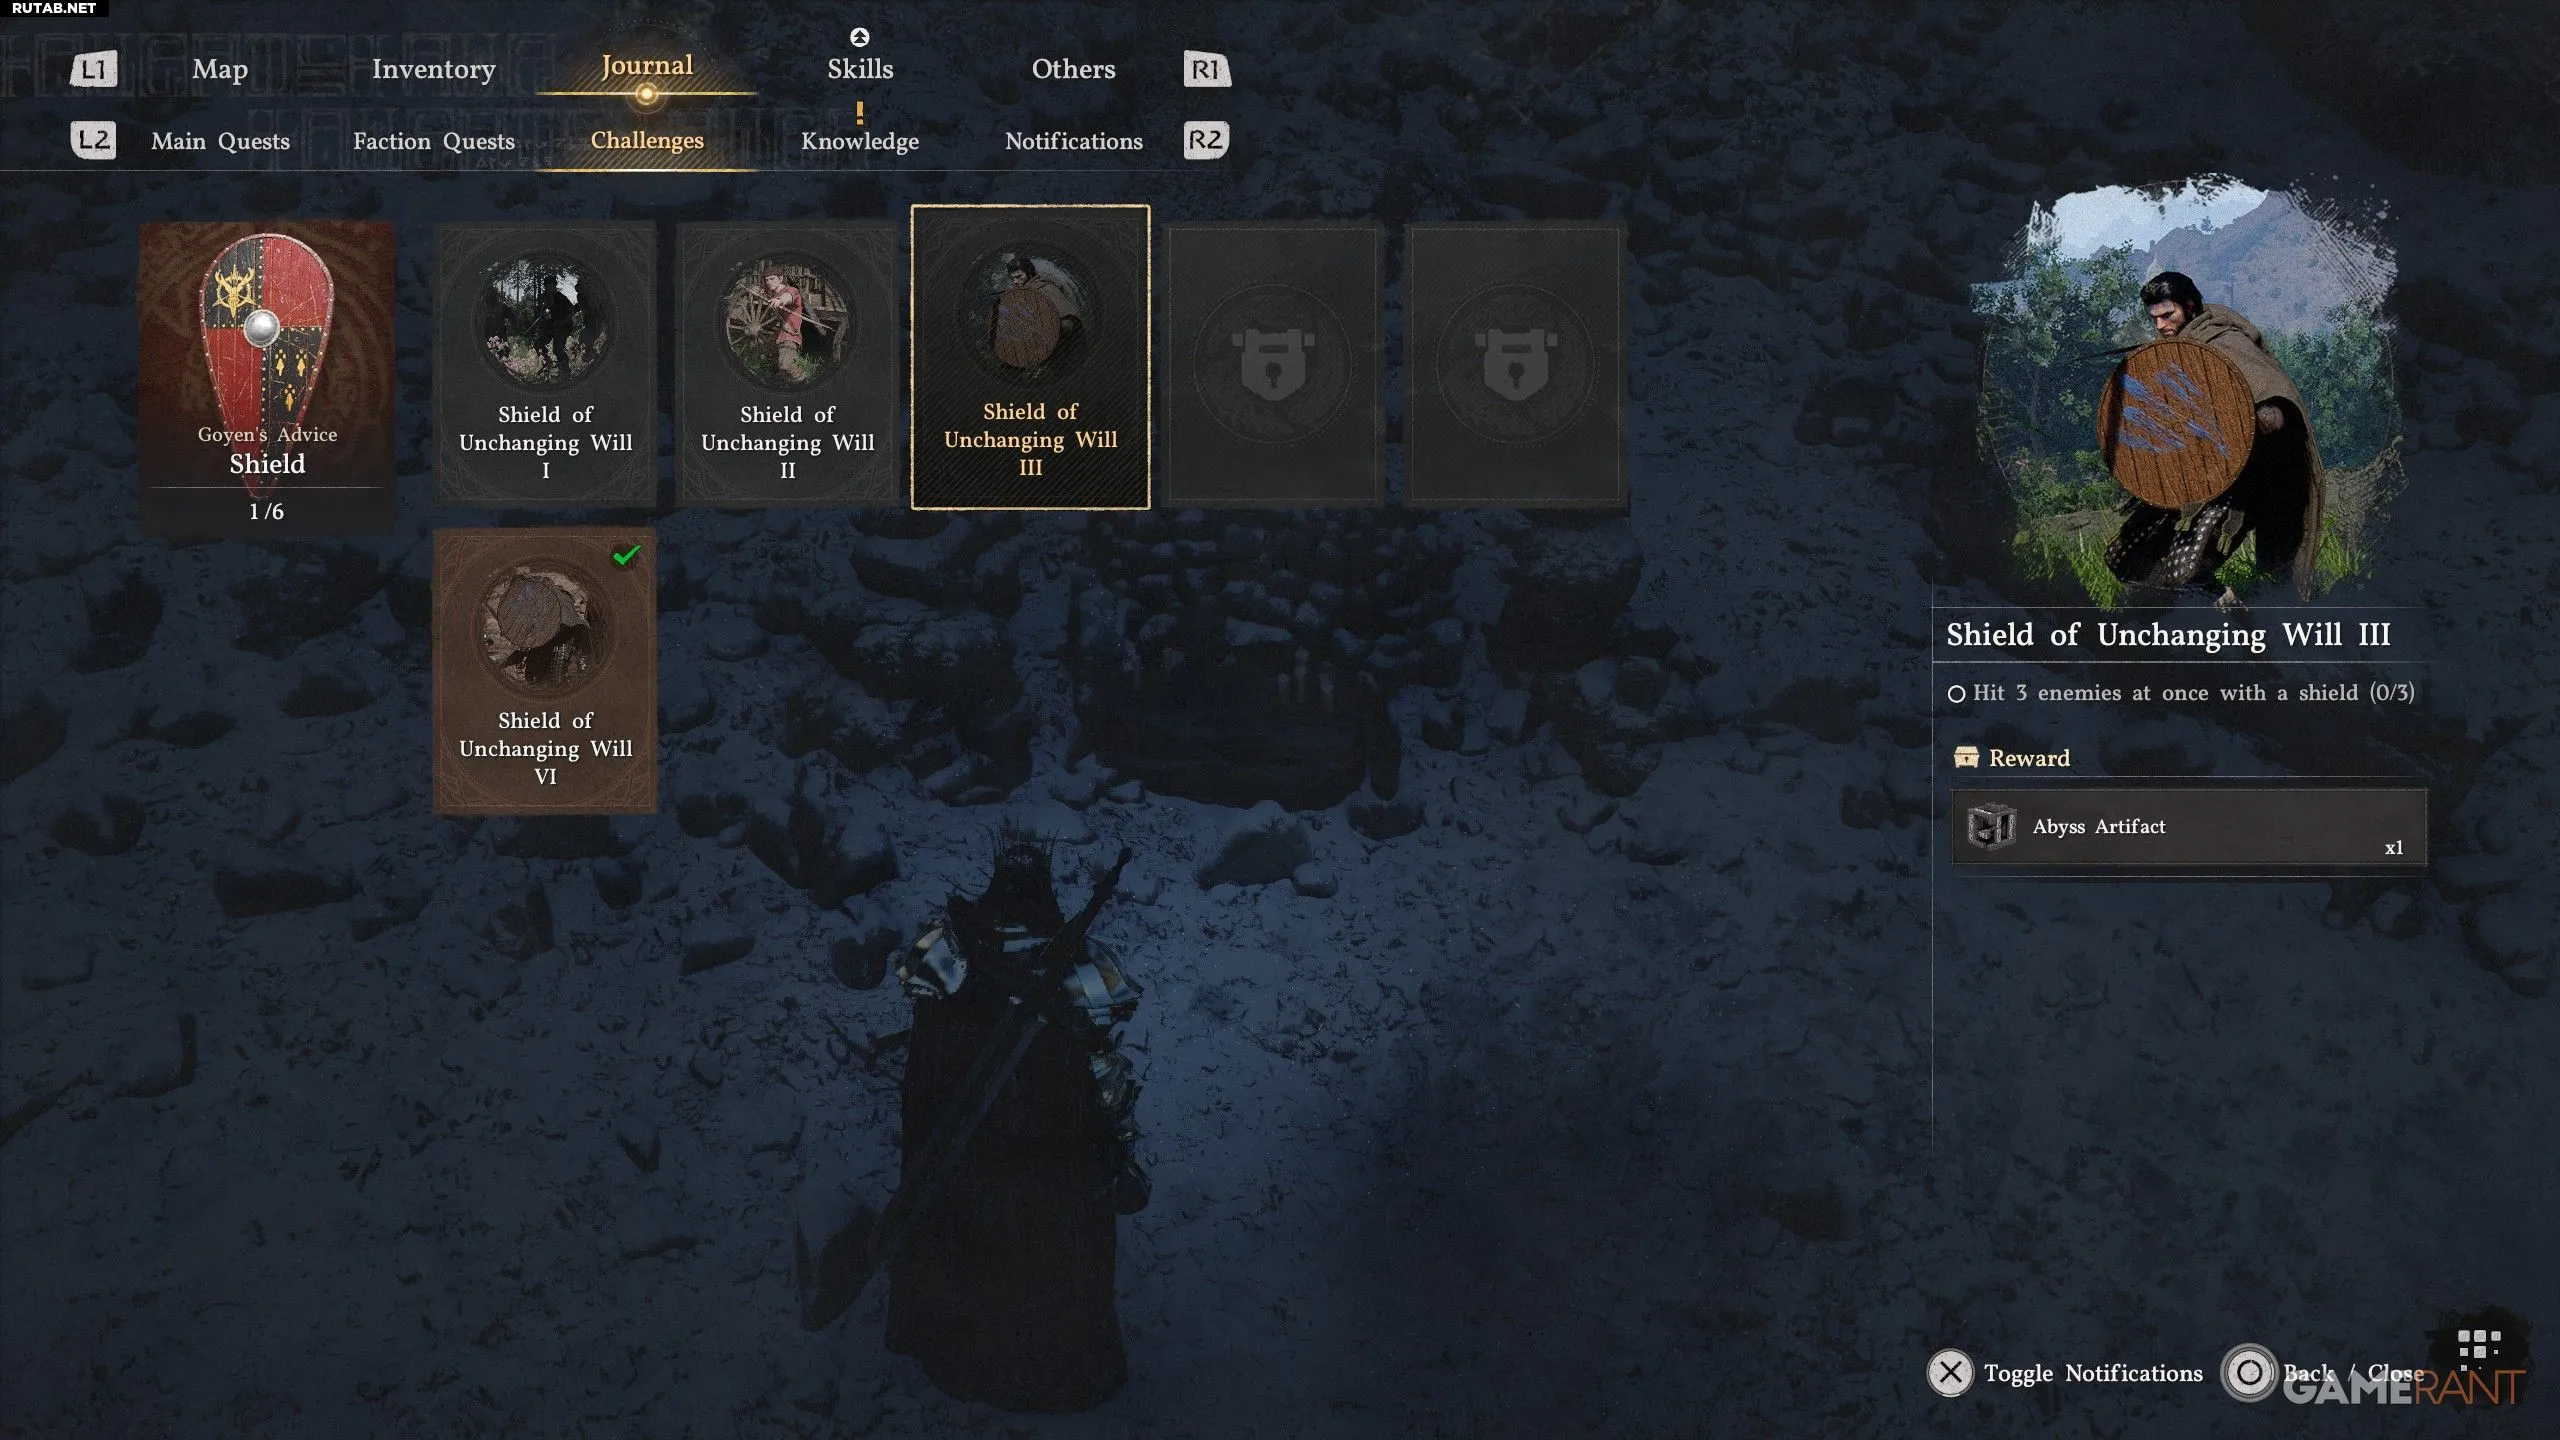
- Trial: Hit 3 enemies with a shield in one strike.
- Reward: 1x Abyssal artifact
Here, the “Shield Bash” (L1+R2) will come in handy again, as it has a fairly large area of effect. Find a group of enemies, gather them together within reach, and perform a shield strike.
You need to hit at least 3 enemies with one strike; otherwise, you’ll have to start over. This is not a problem, as enemies are easy to group together, especially at the sanctuaries in Ernand.
How to Get and Complete the “Unwavering Will Shield 4” Trial in Crimson Desert
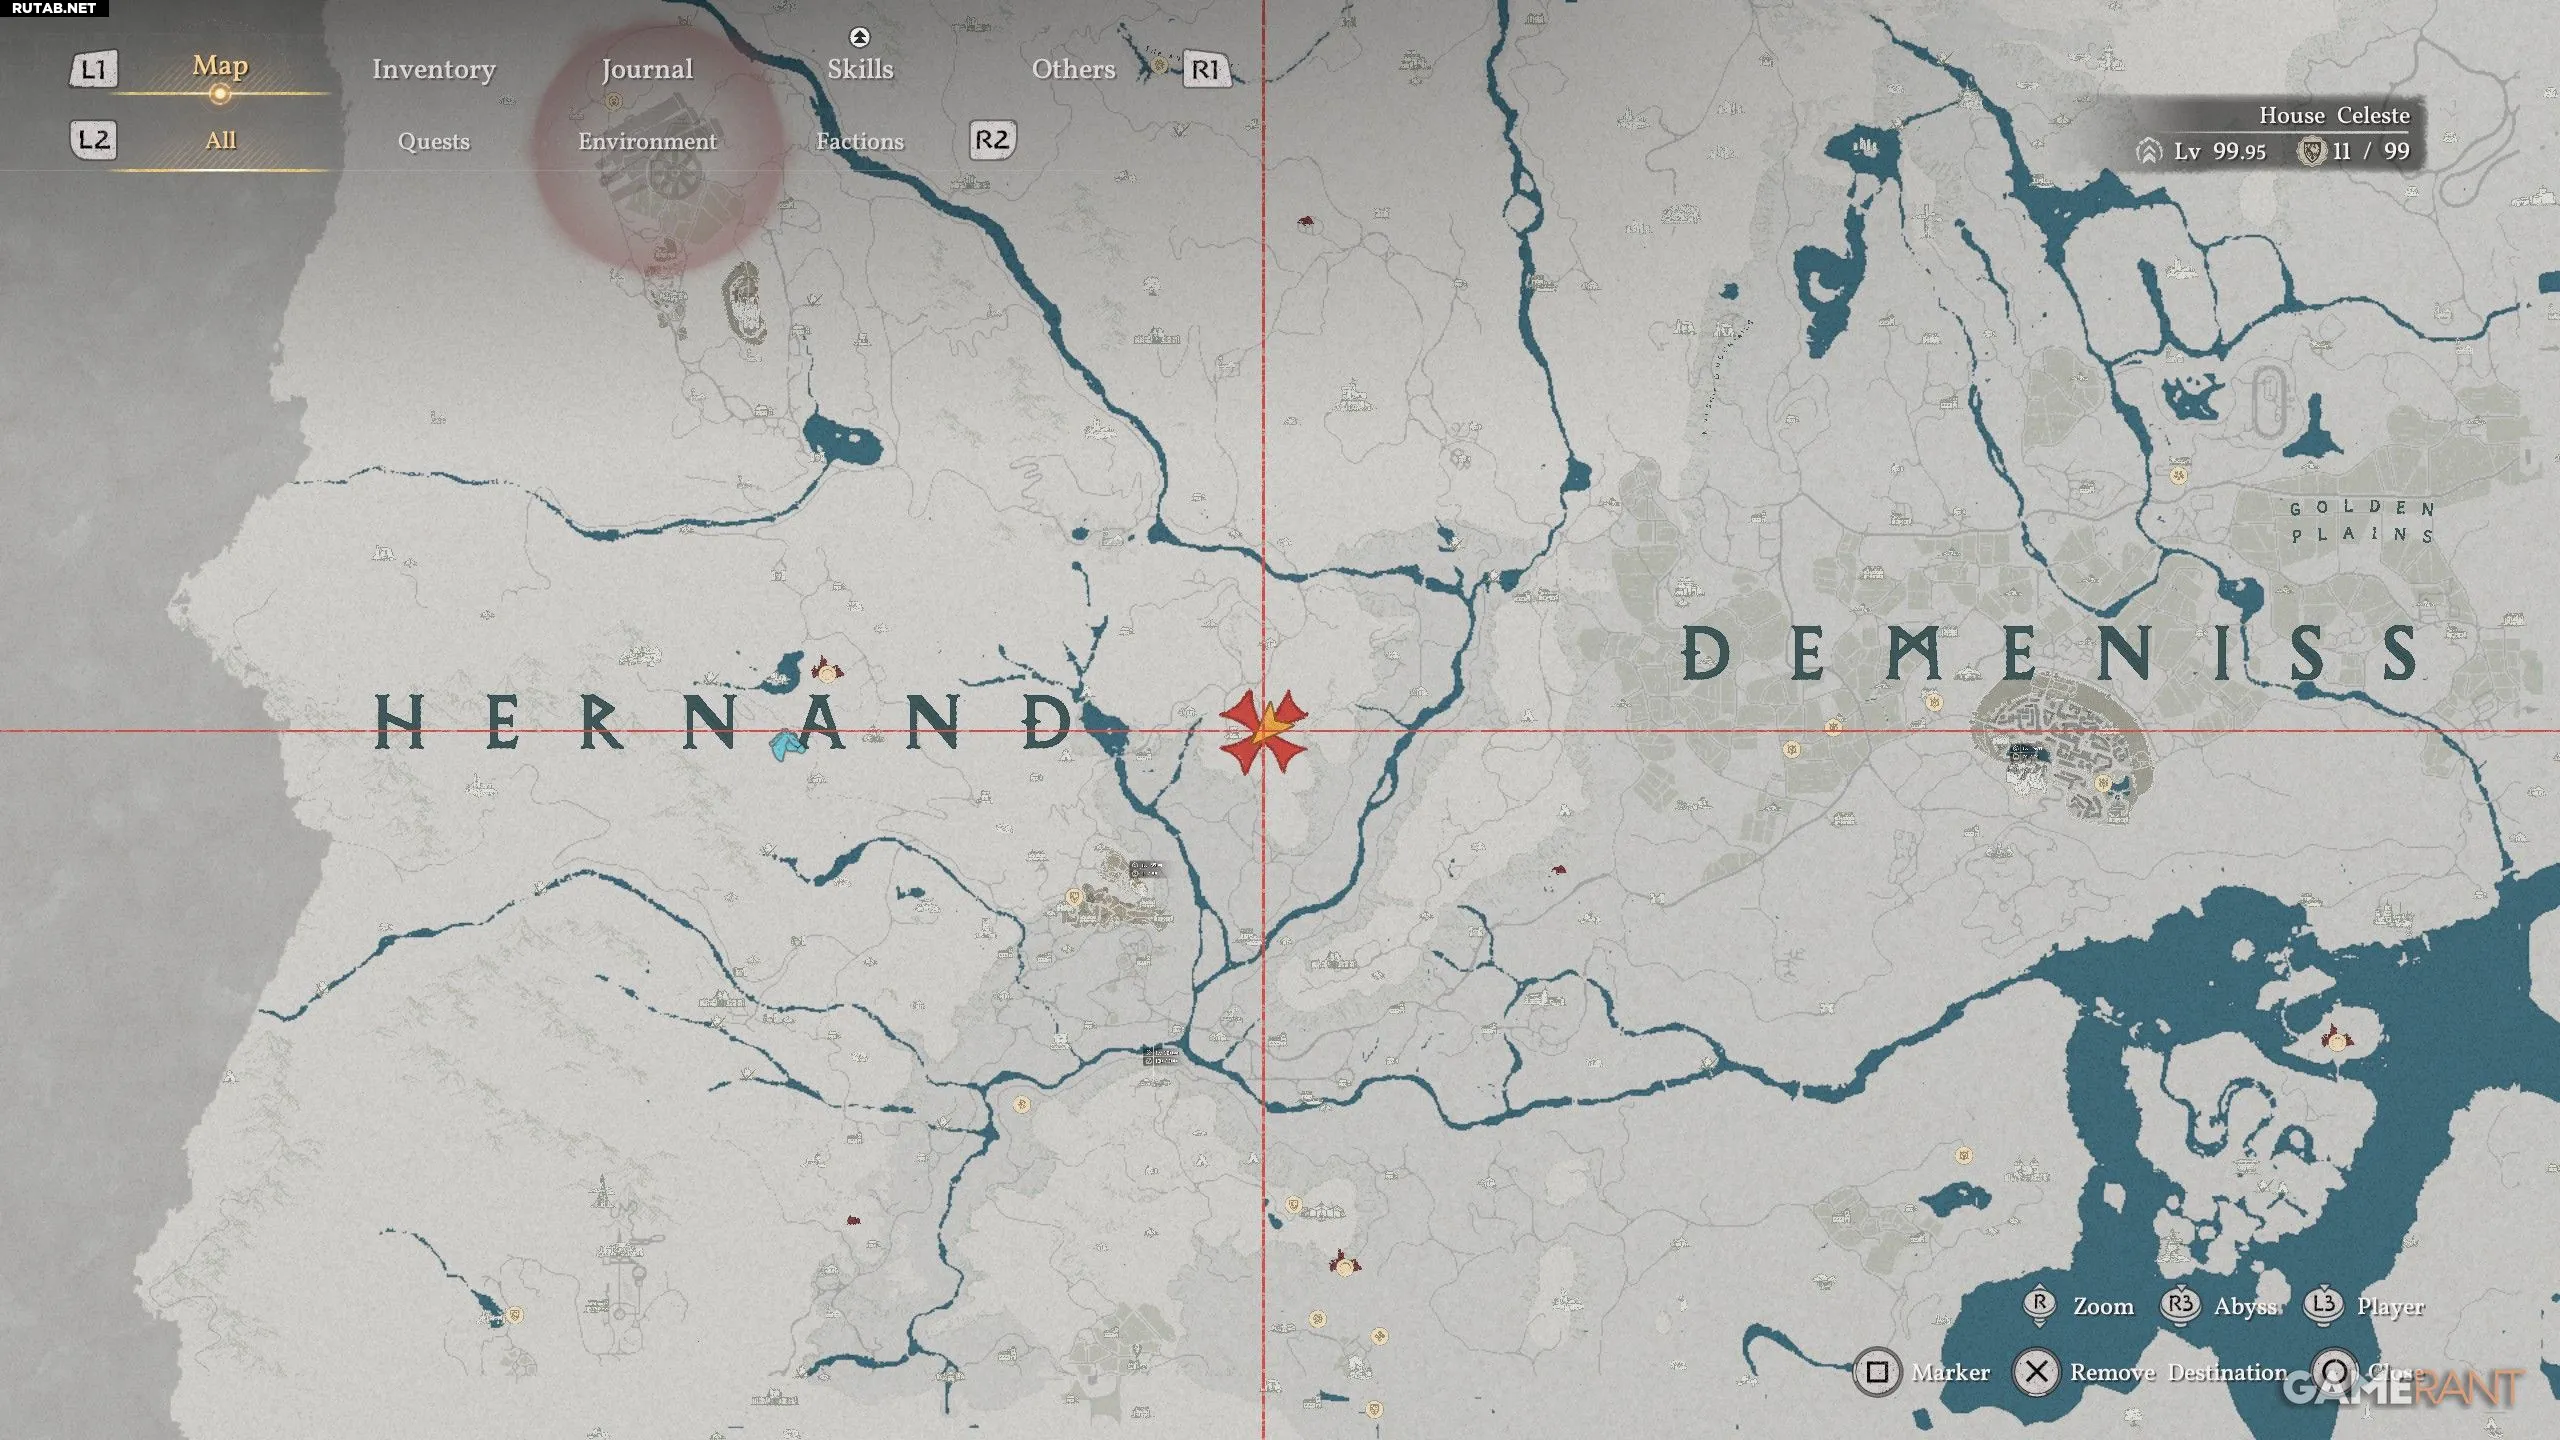
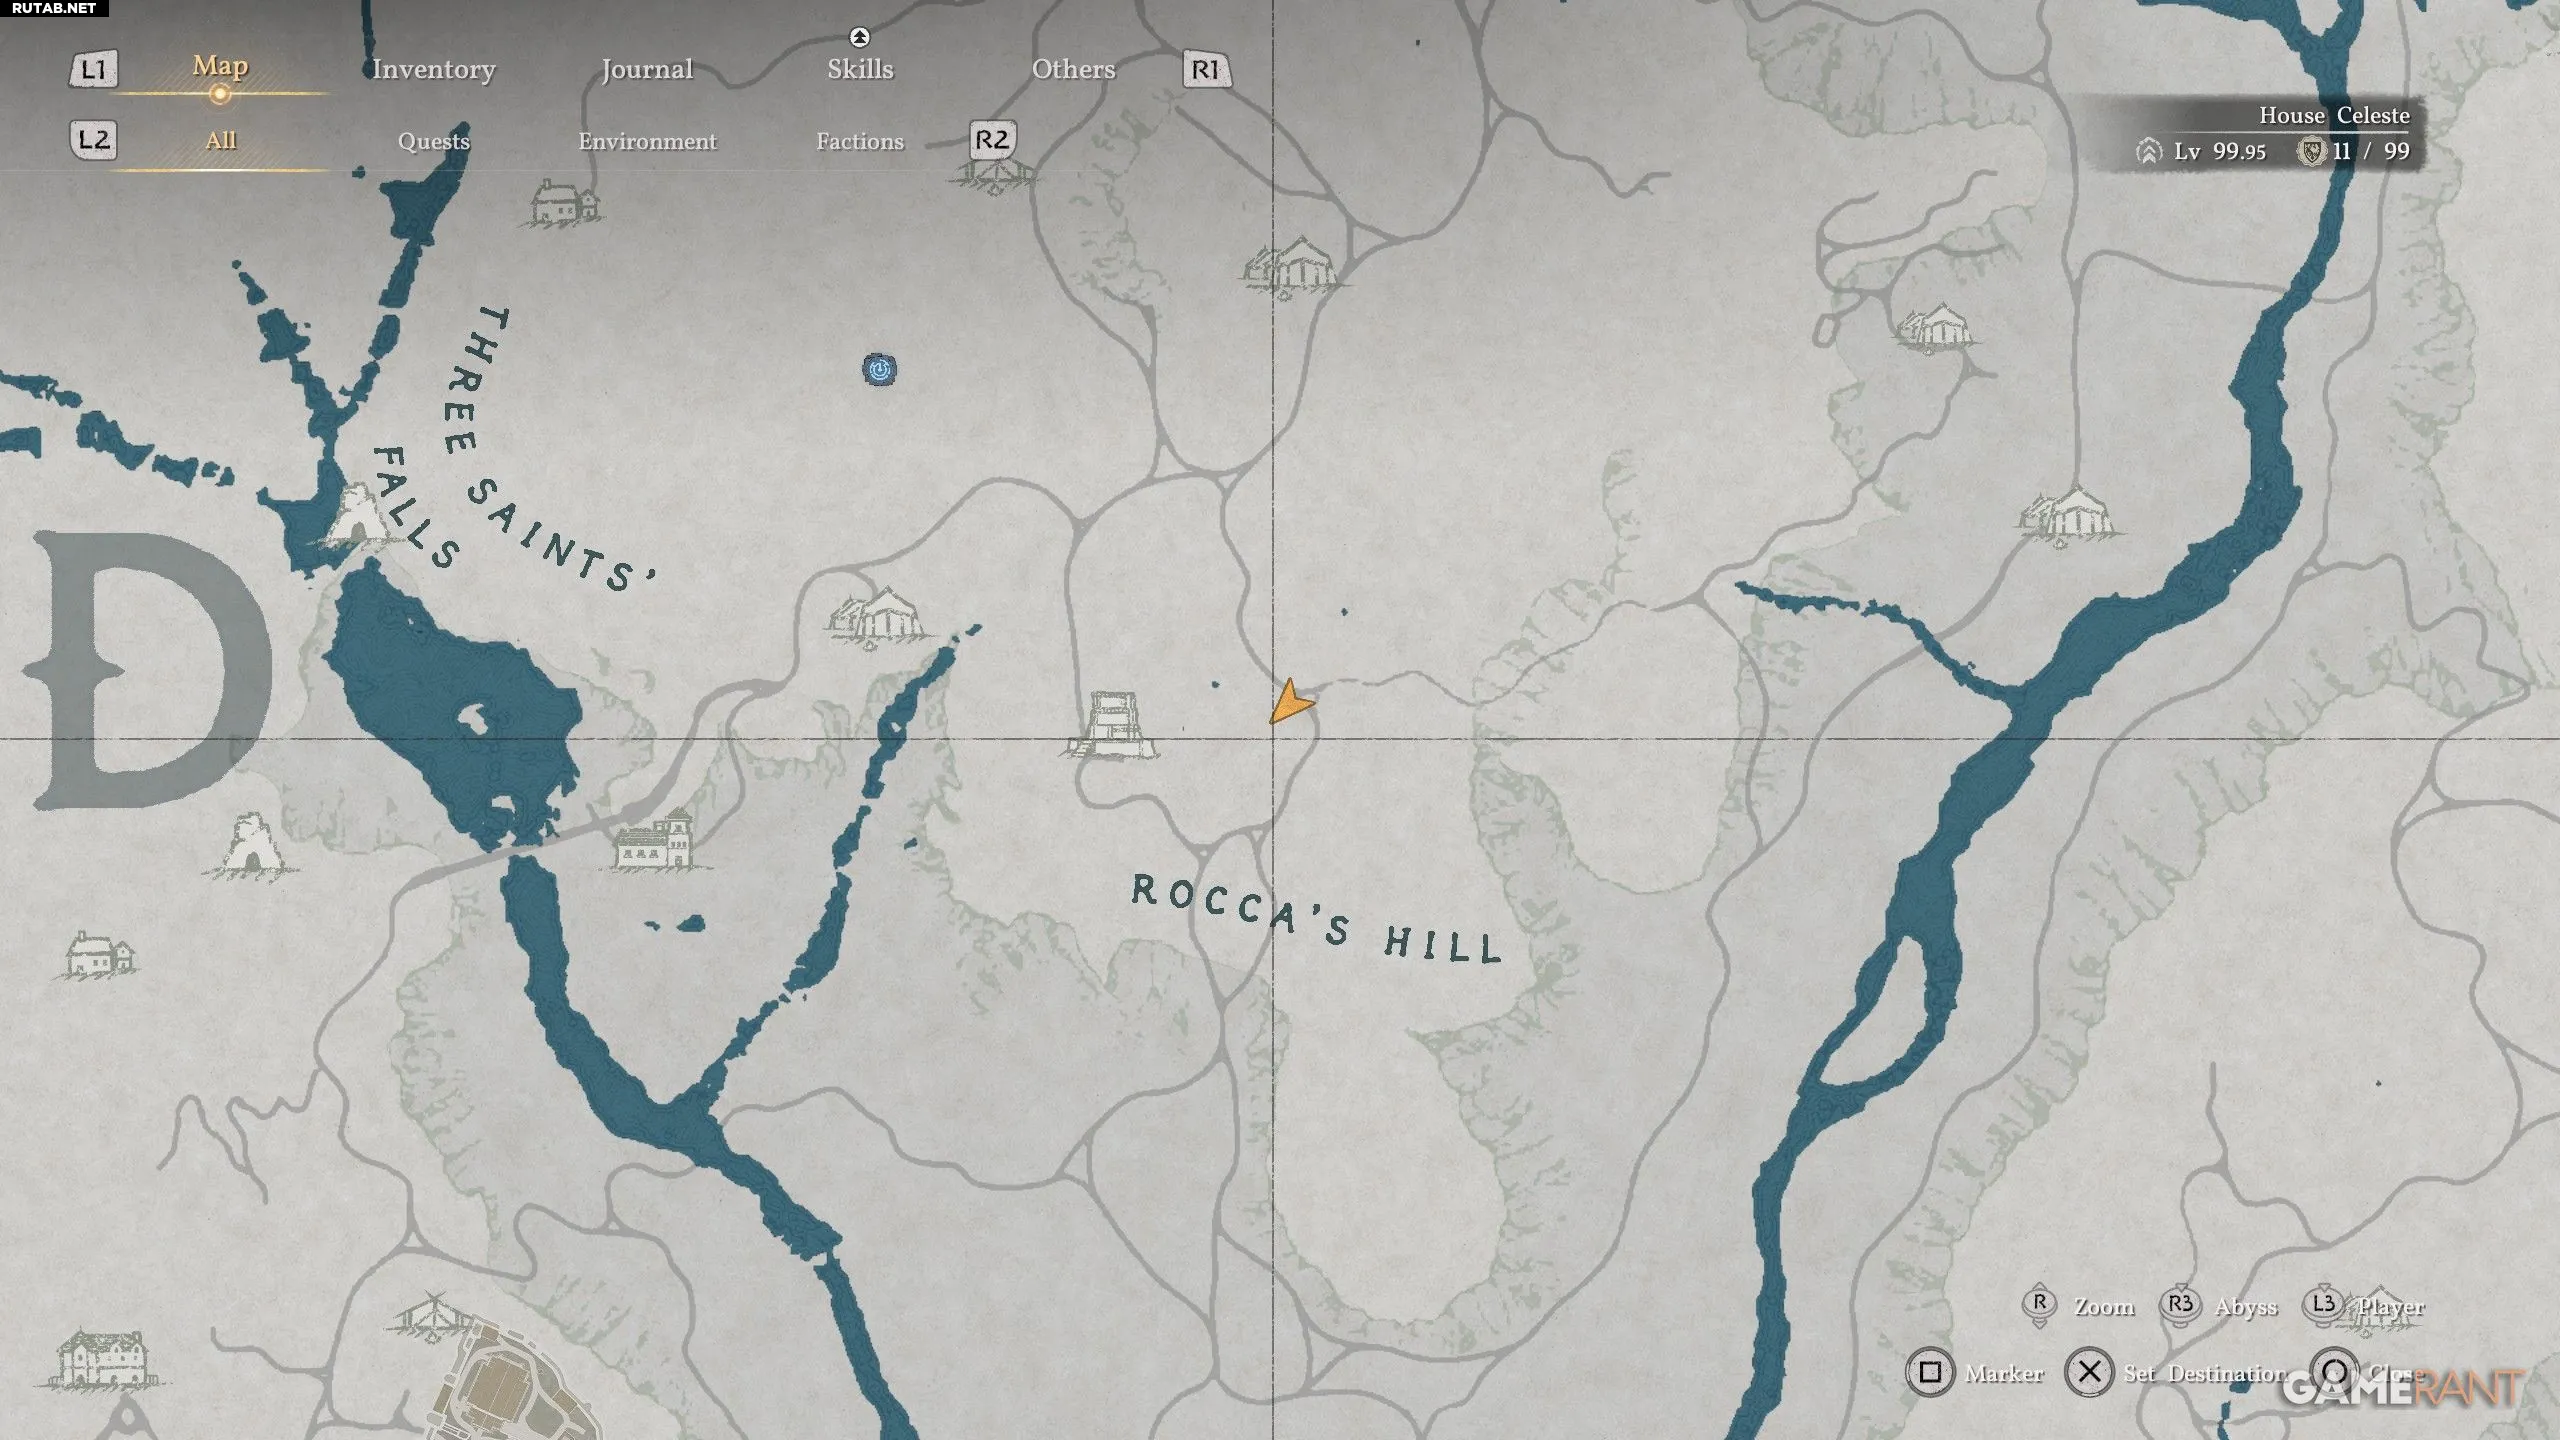
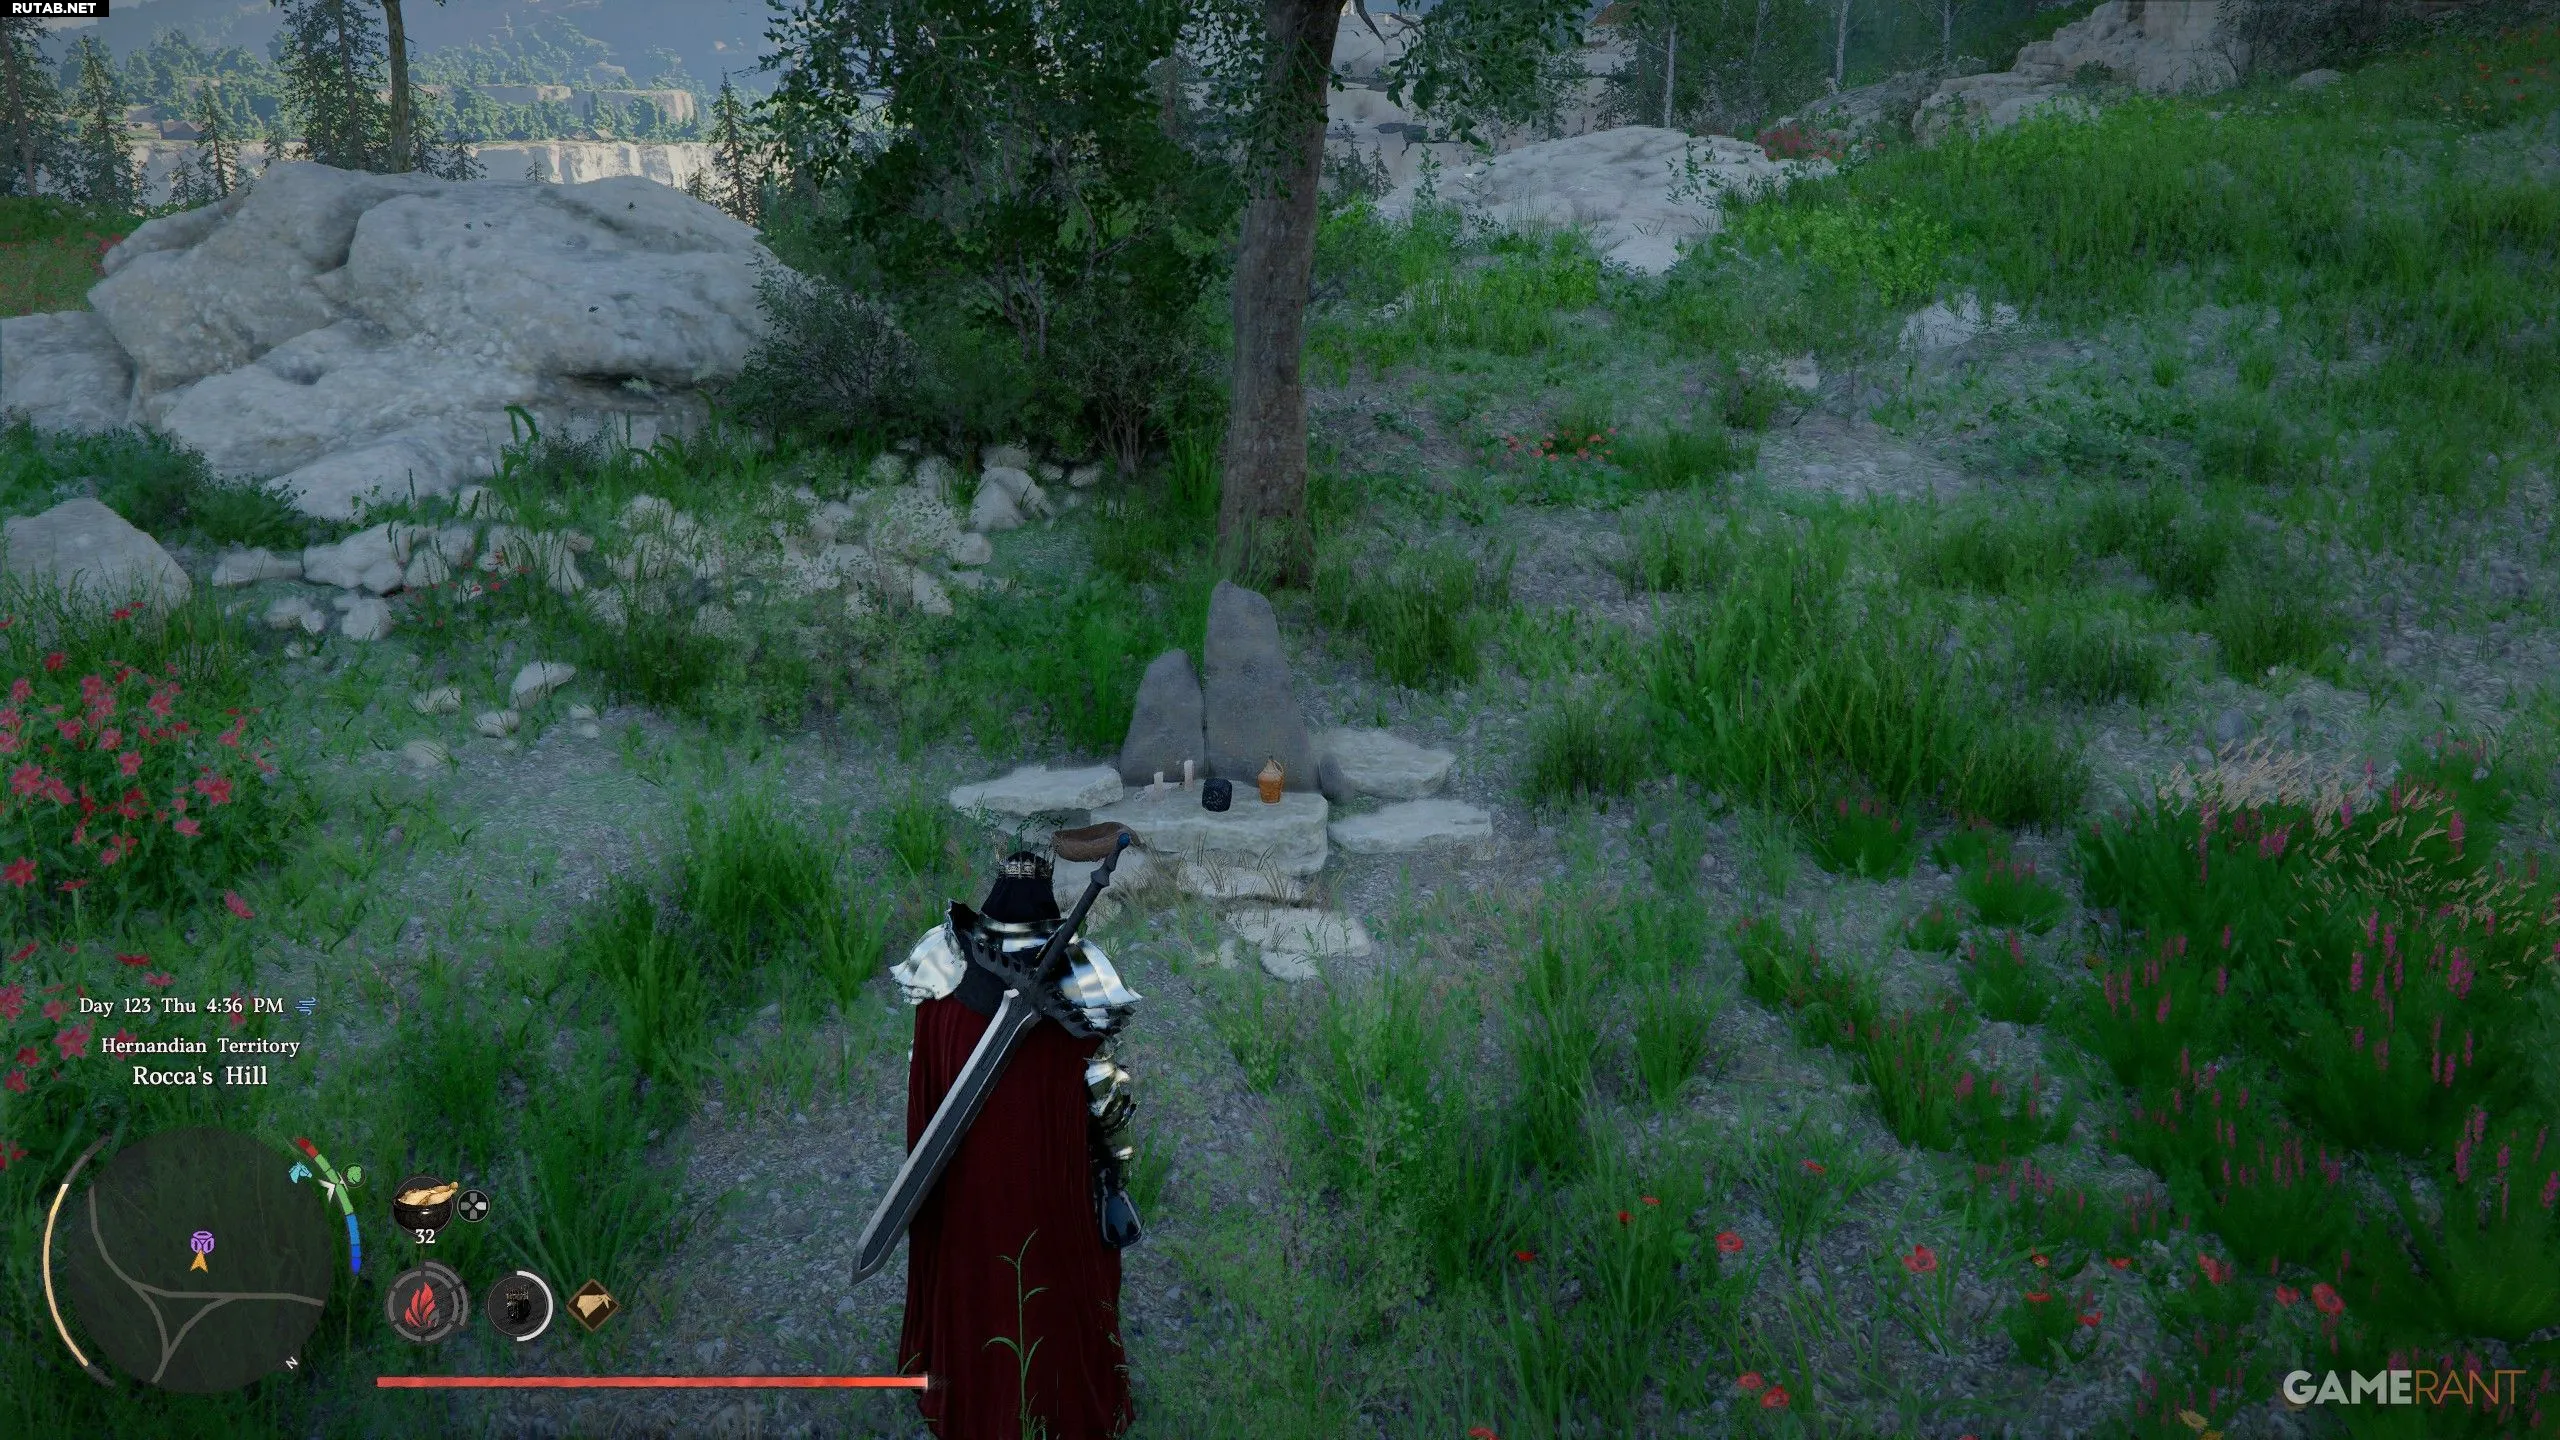
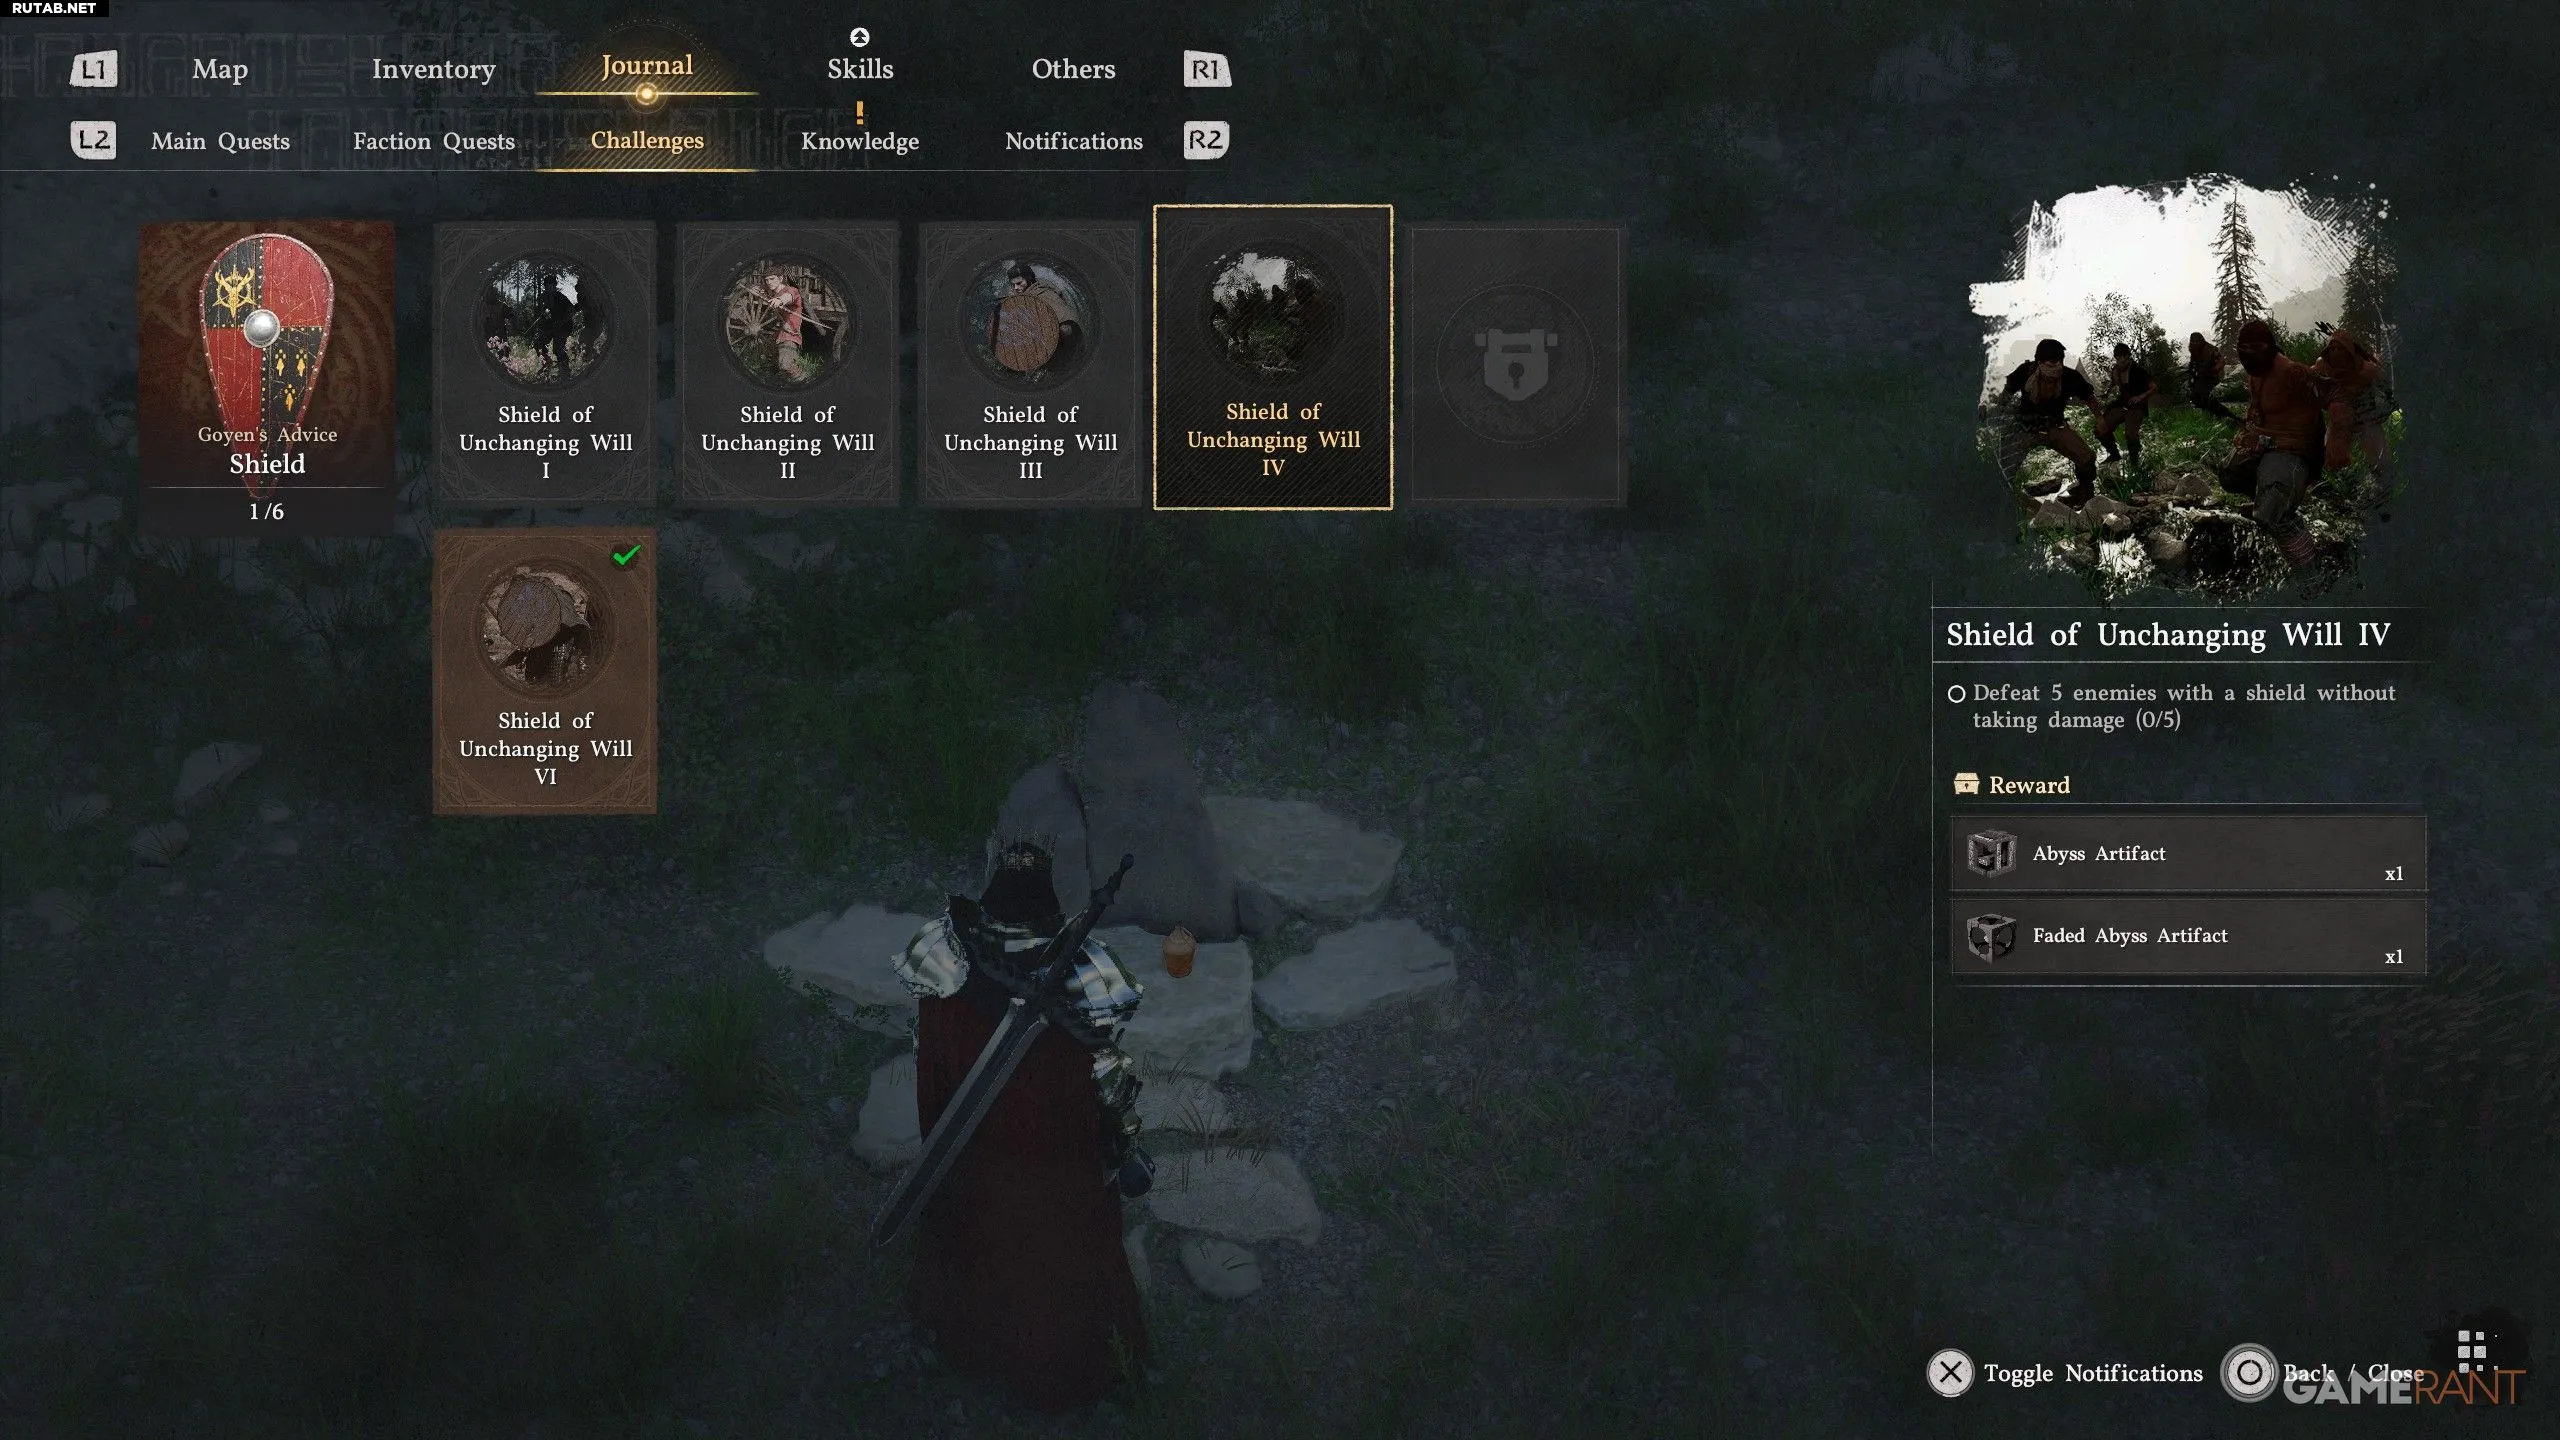
- How to Get: Located in a sealed Abyssal artifact, which is east of the Rokka Hill signal tower, east of the letter “D” in “Hernand”, beyond the river.
- Trial: Defeat 5 enemies with a shield without taking damage.
- Reward: 1x Abyssal artifact, 1x Dim Abyssal artifact
We previously mentioned the Health Gauge Device, and for this trial, it will really come in handy to see the enemy’s health values. First, weaken the enemies with your main weapon (in Ernand, it’s enough to strike them once or twice with a high-attack sword).
When the enemy is weakened, finish them off with a Shield Bash attack. Repeat this 5 times without taking a single hit. It’s easiest to do this by luring enemies one by one: separate them from the group one by one and act patiently.
How to Get and Complete the “Unwavering Will Shield 5” Trial in Crimson Desert
You might also be interested in:

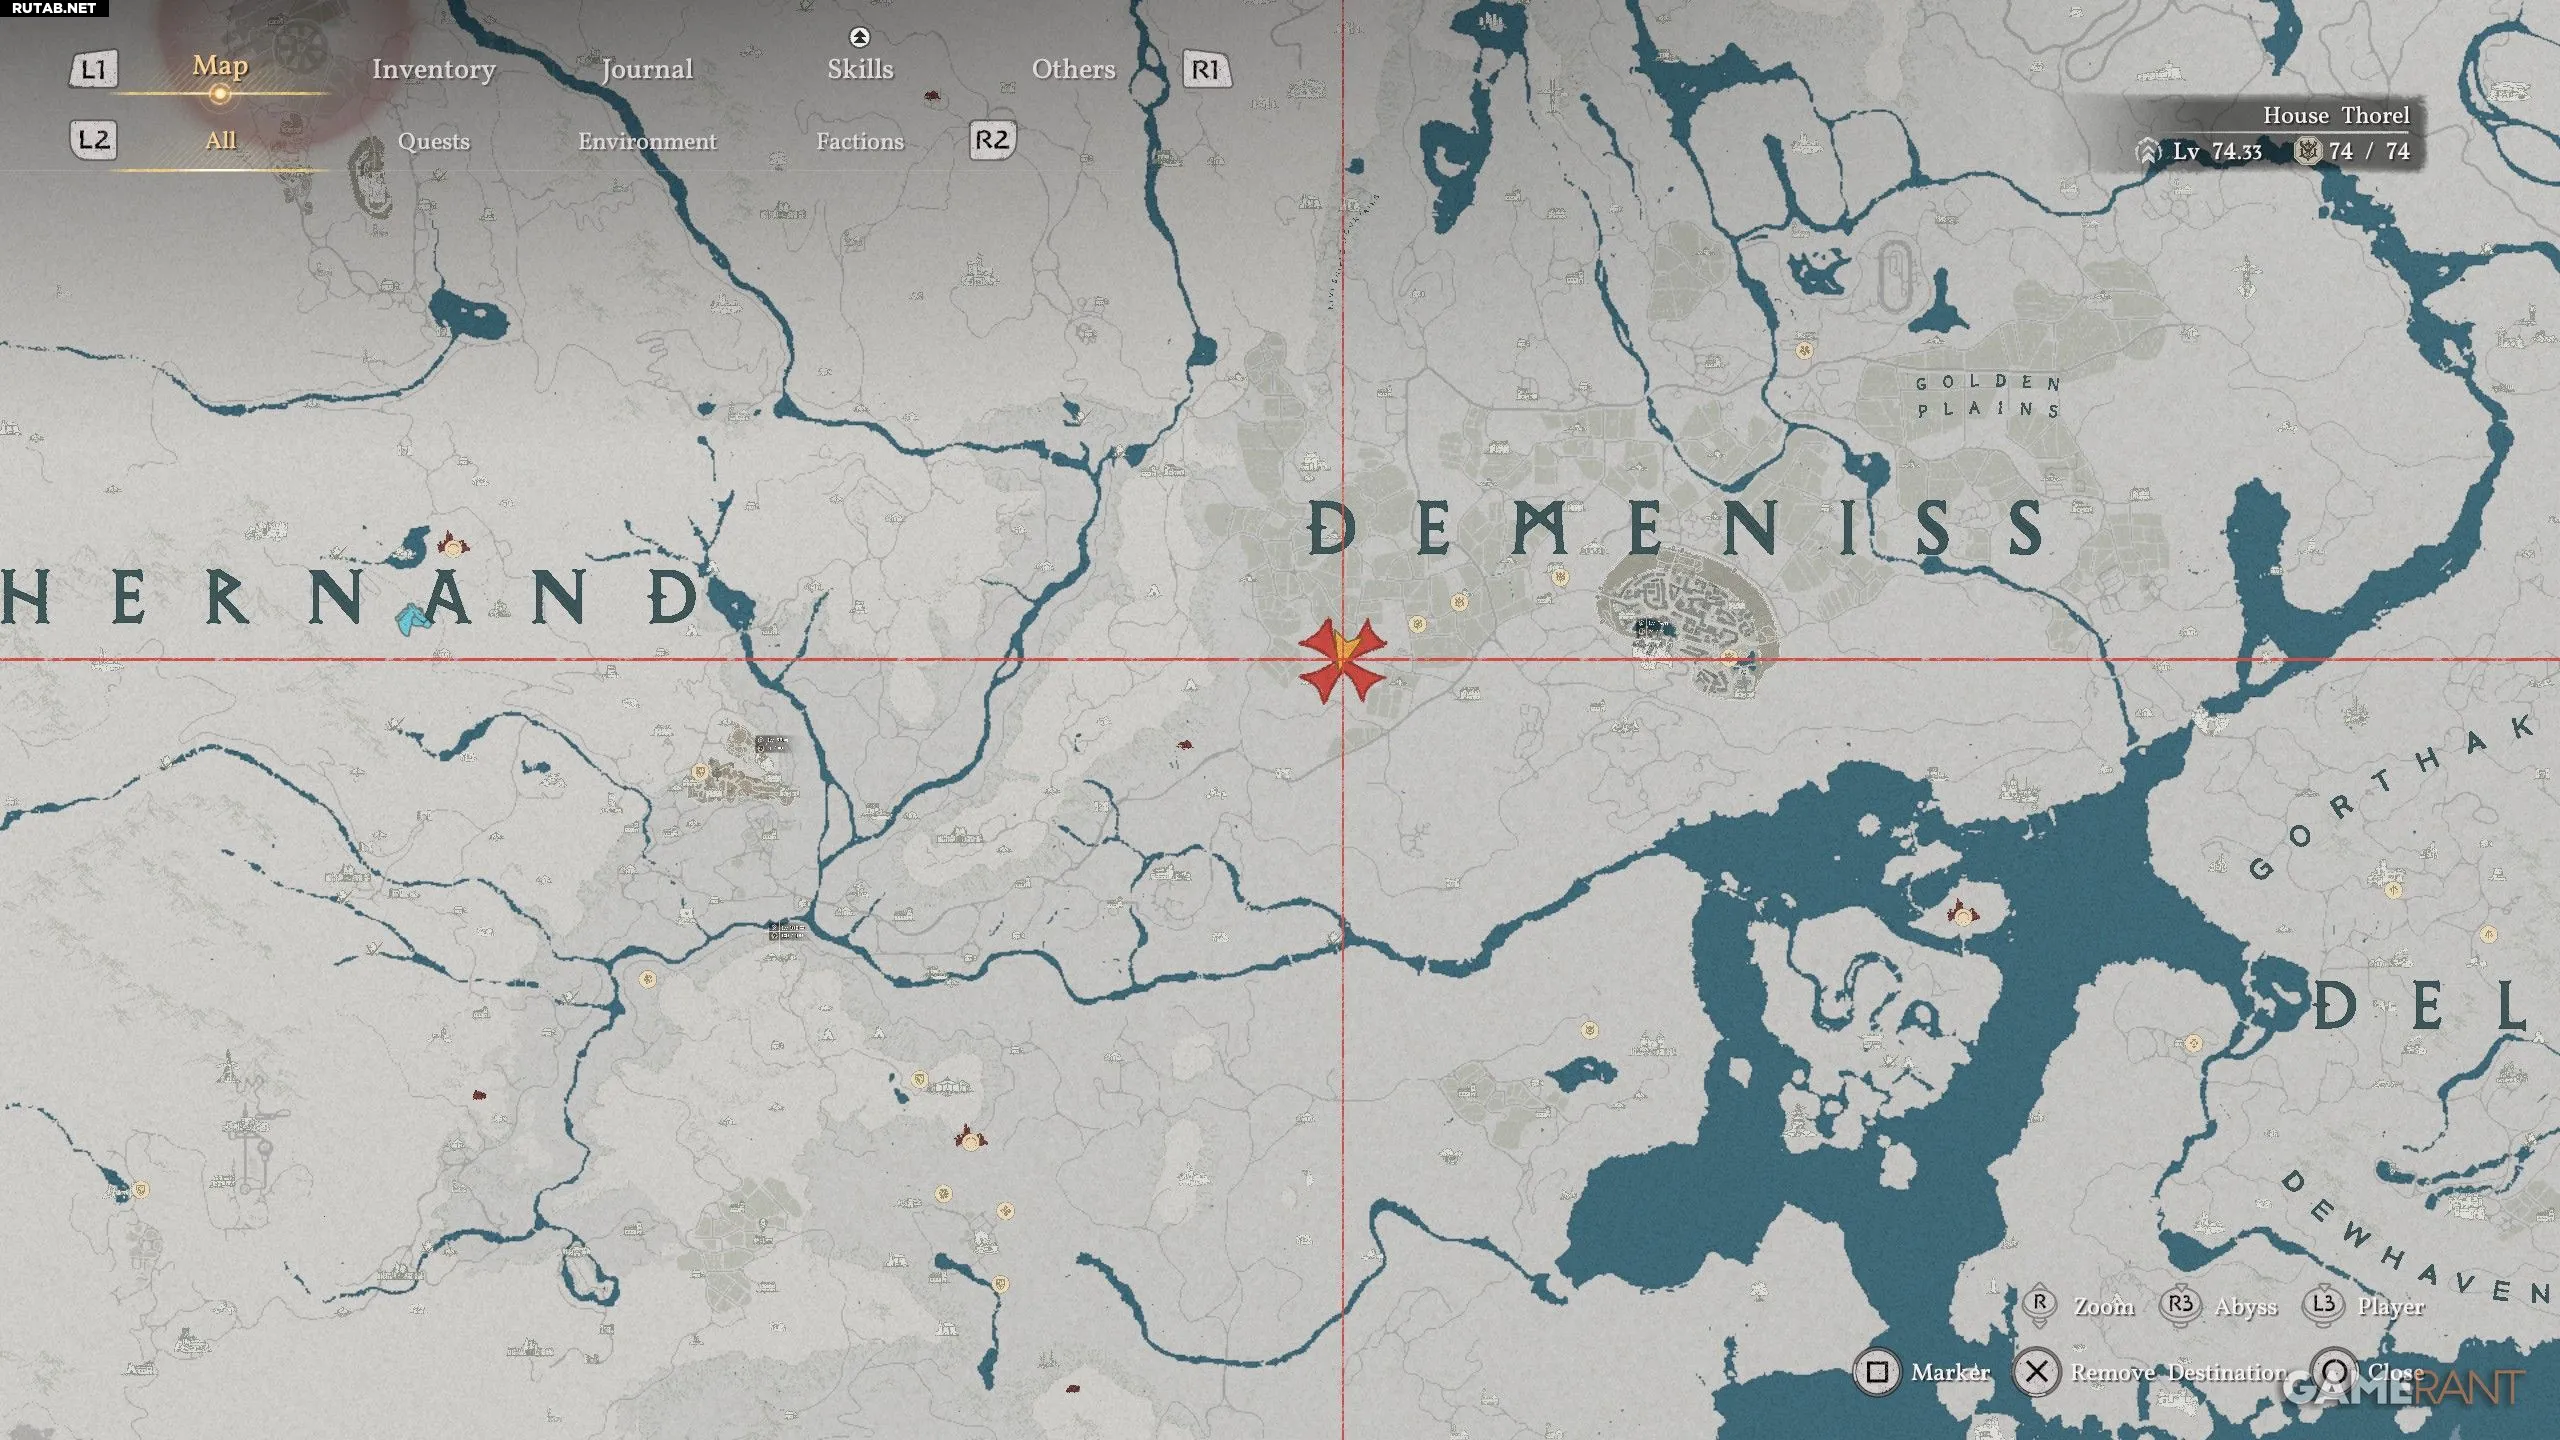
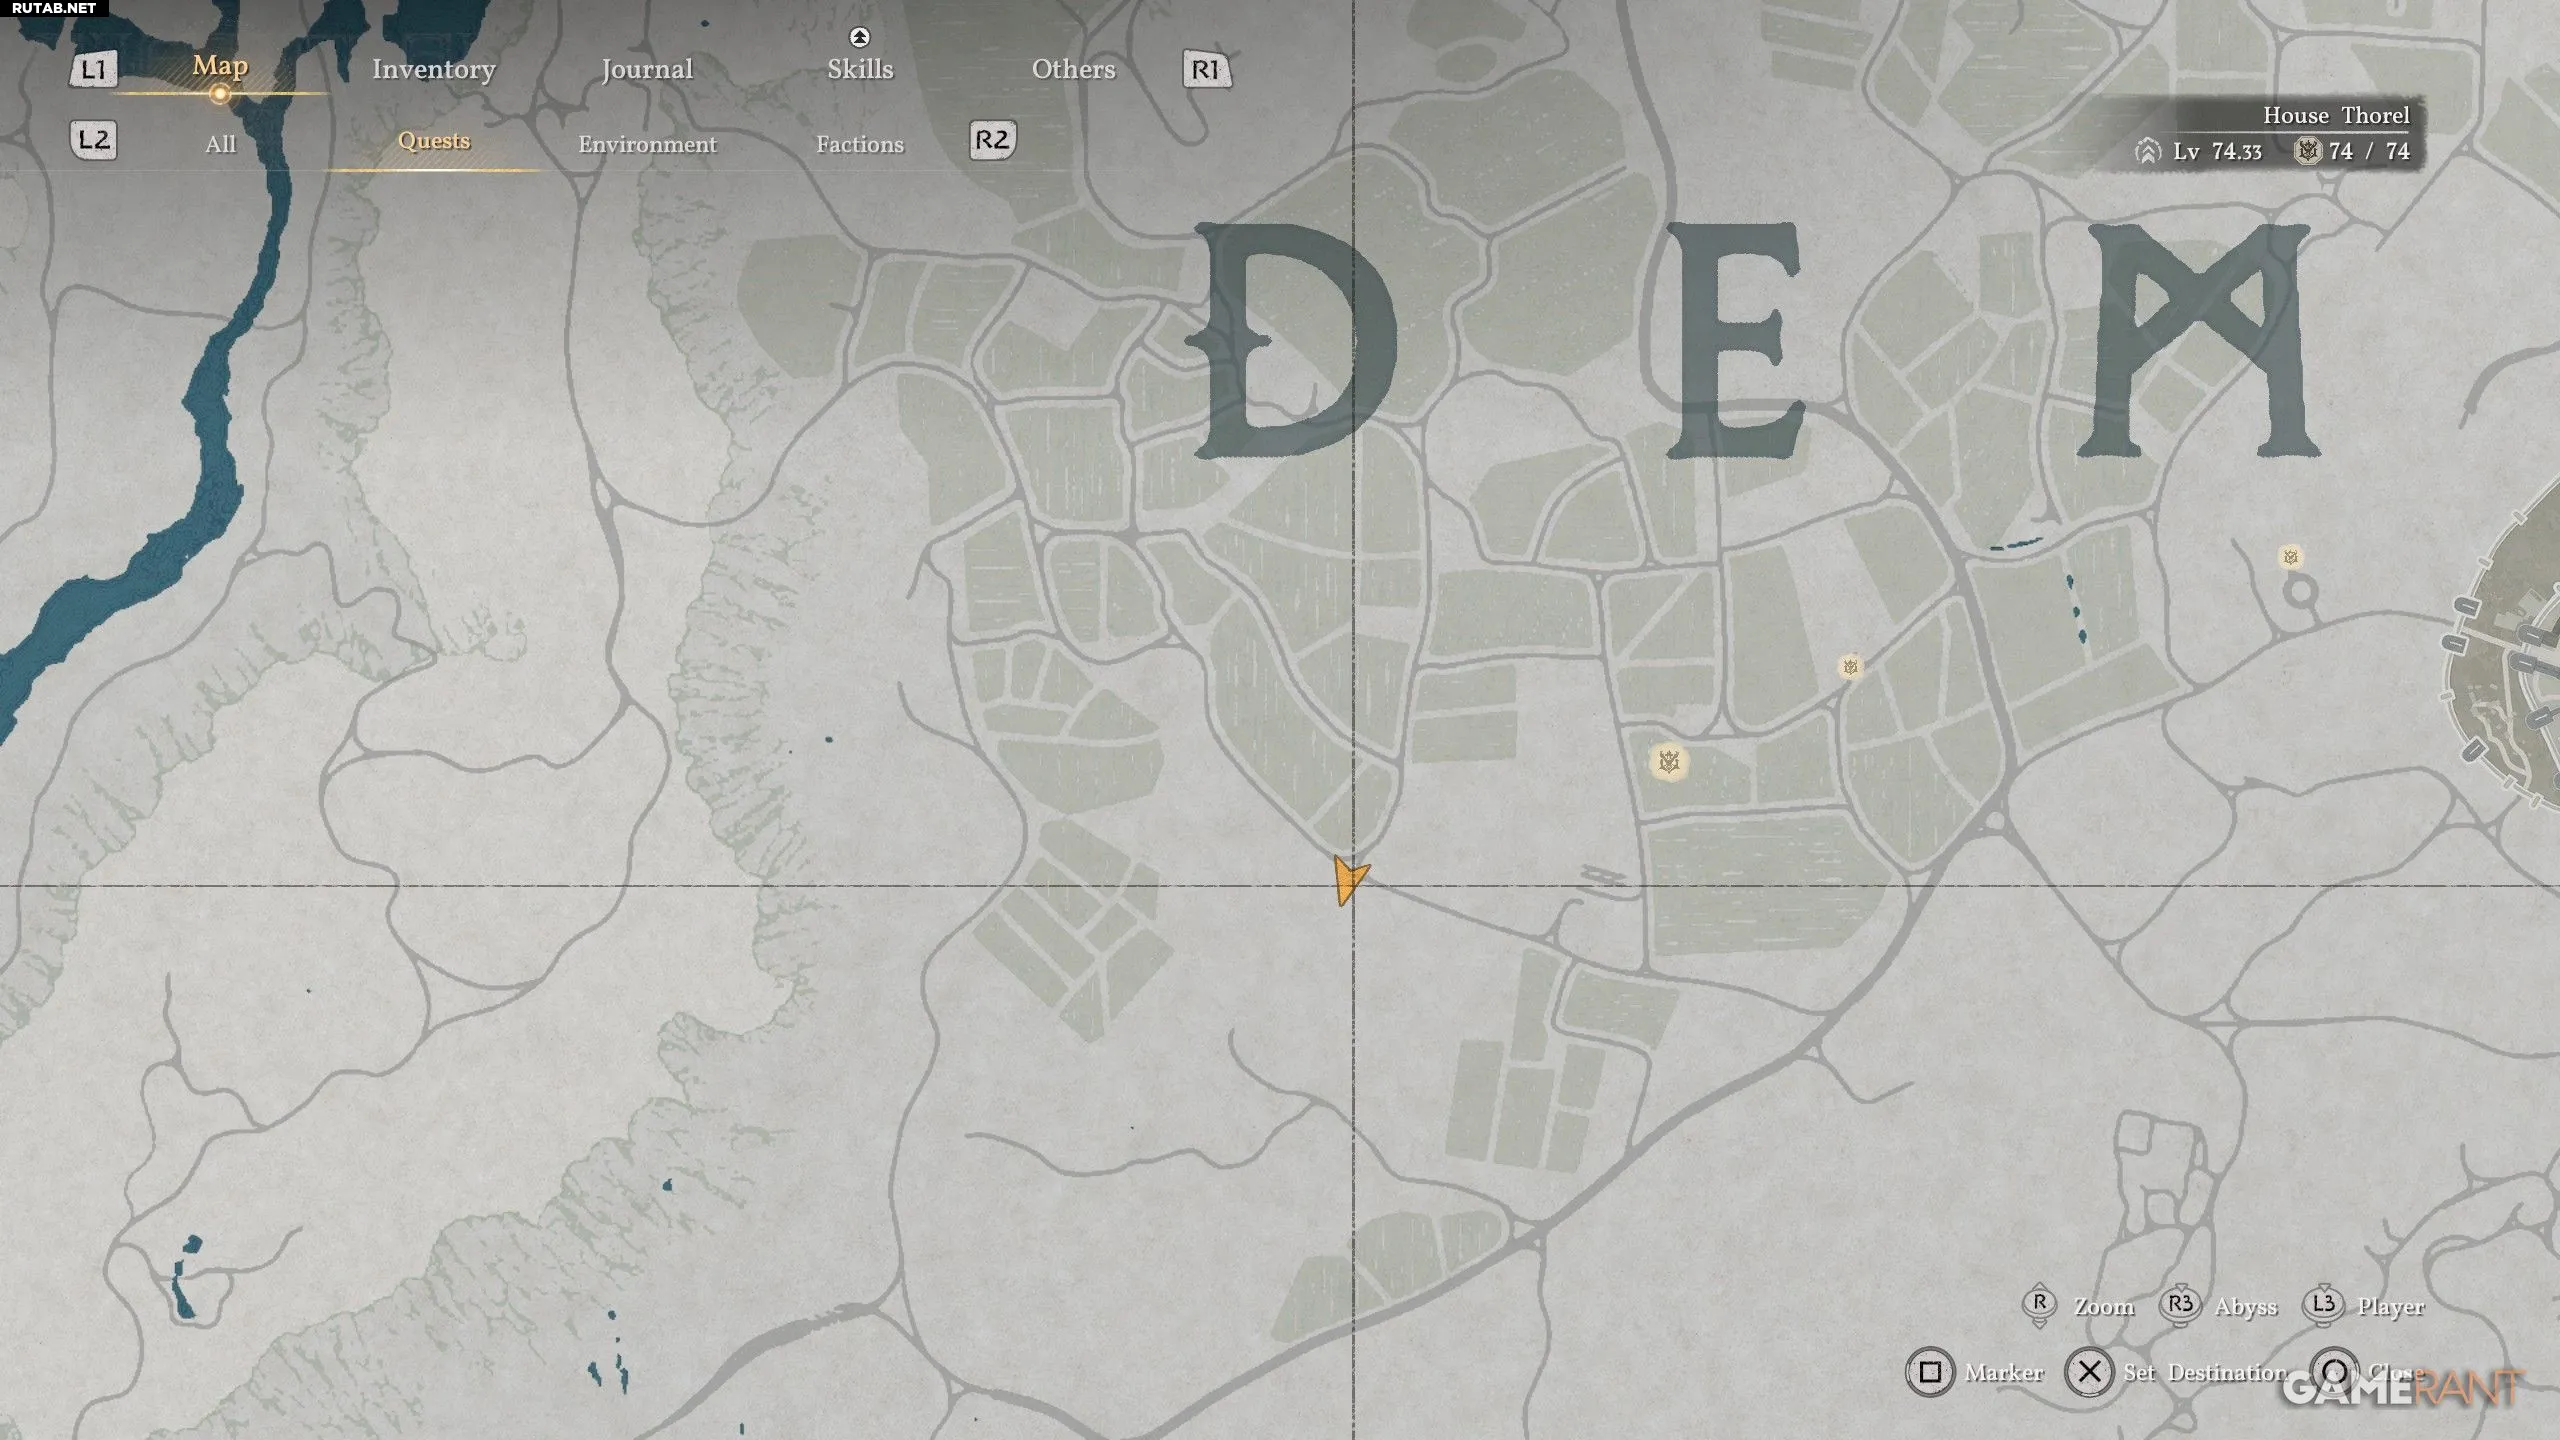
- How to Get: Located in a sealed Abyssal artifact, which is south of the letter “D” in the name “Deminess”, at Farlington Farm, north of the Mysterious Zone on the road.
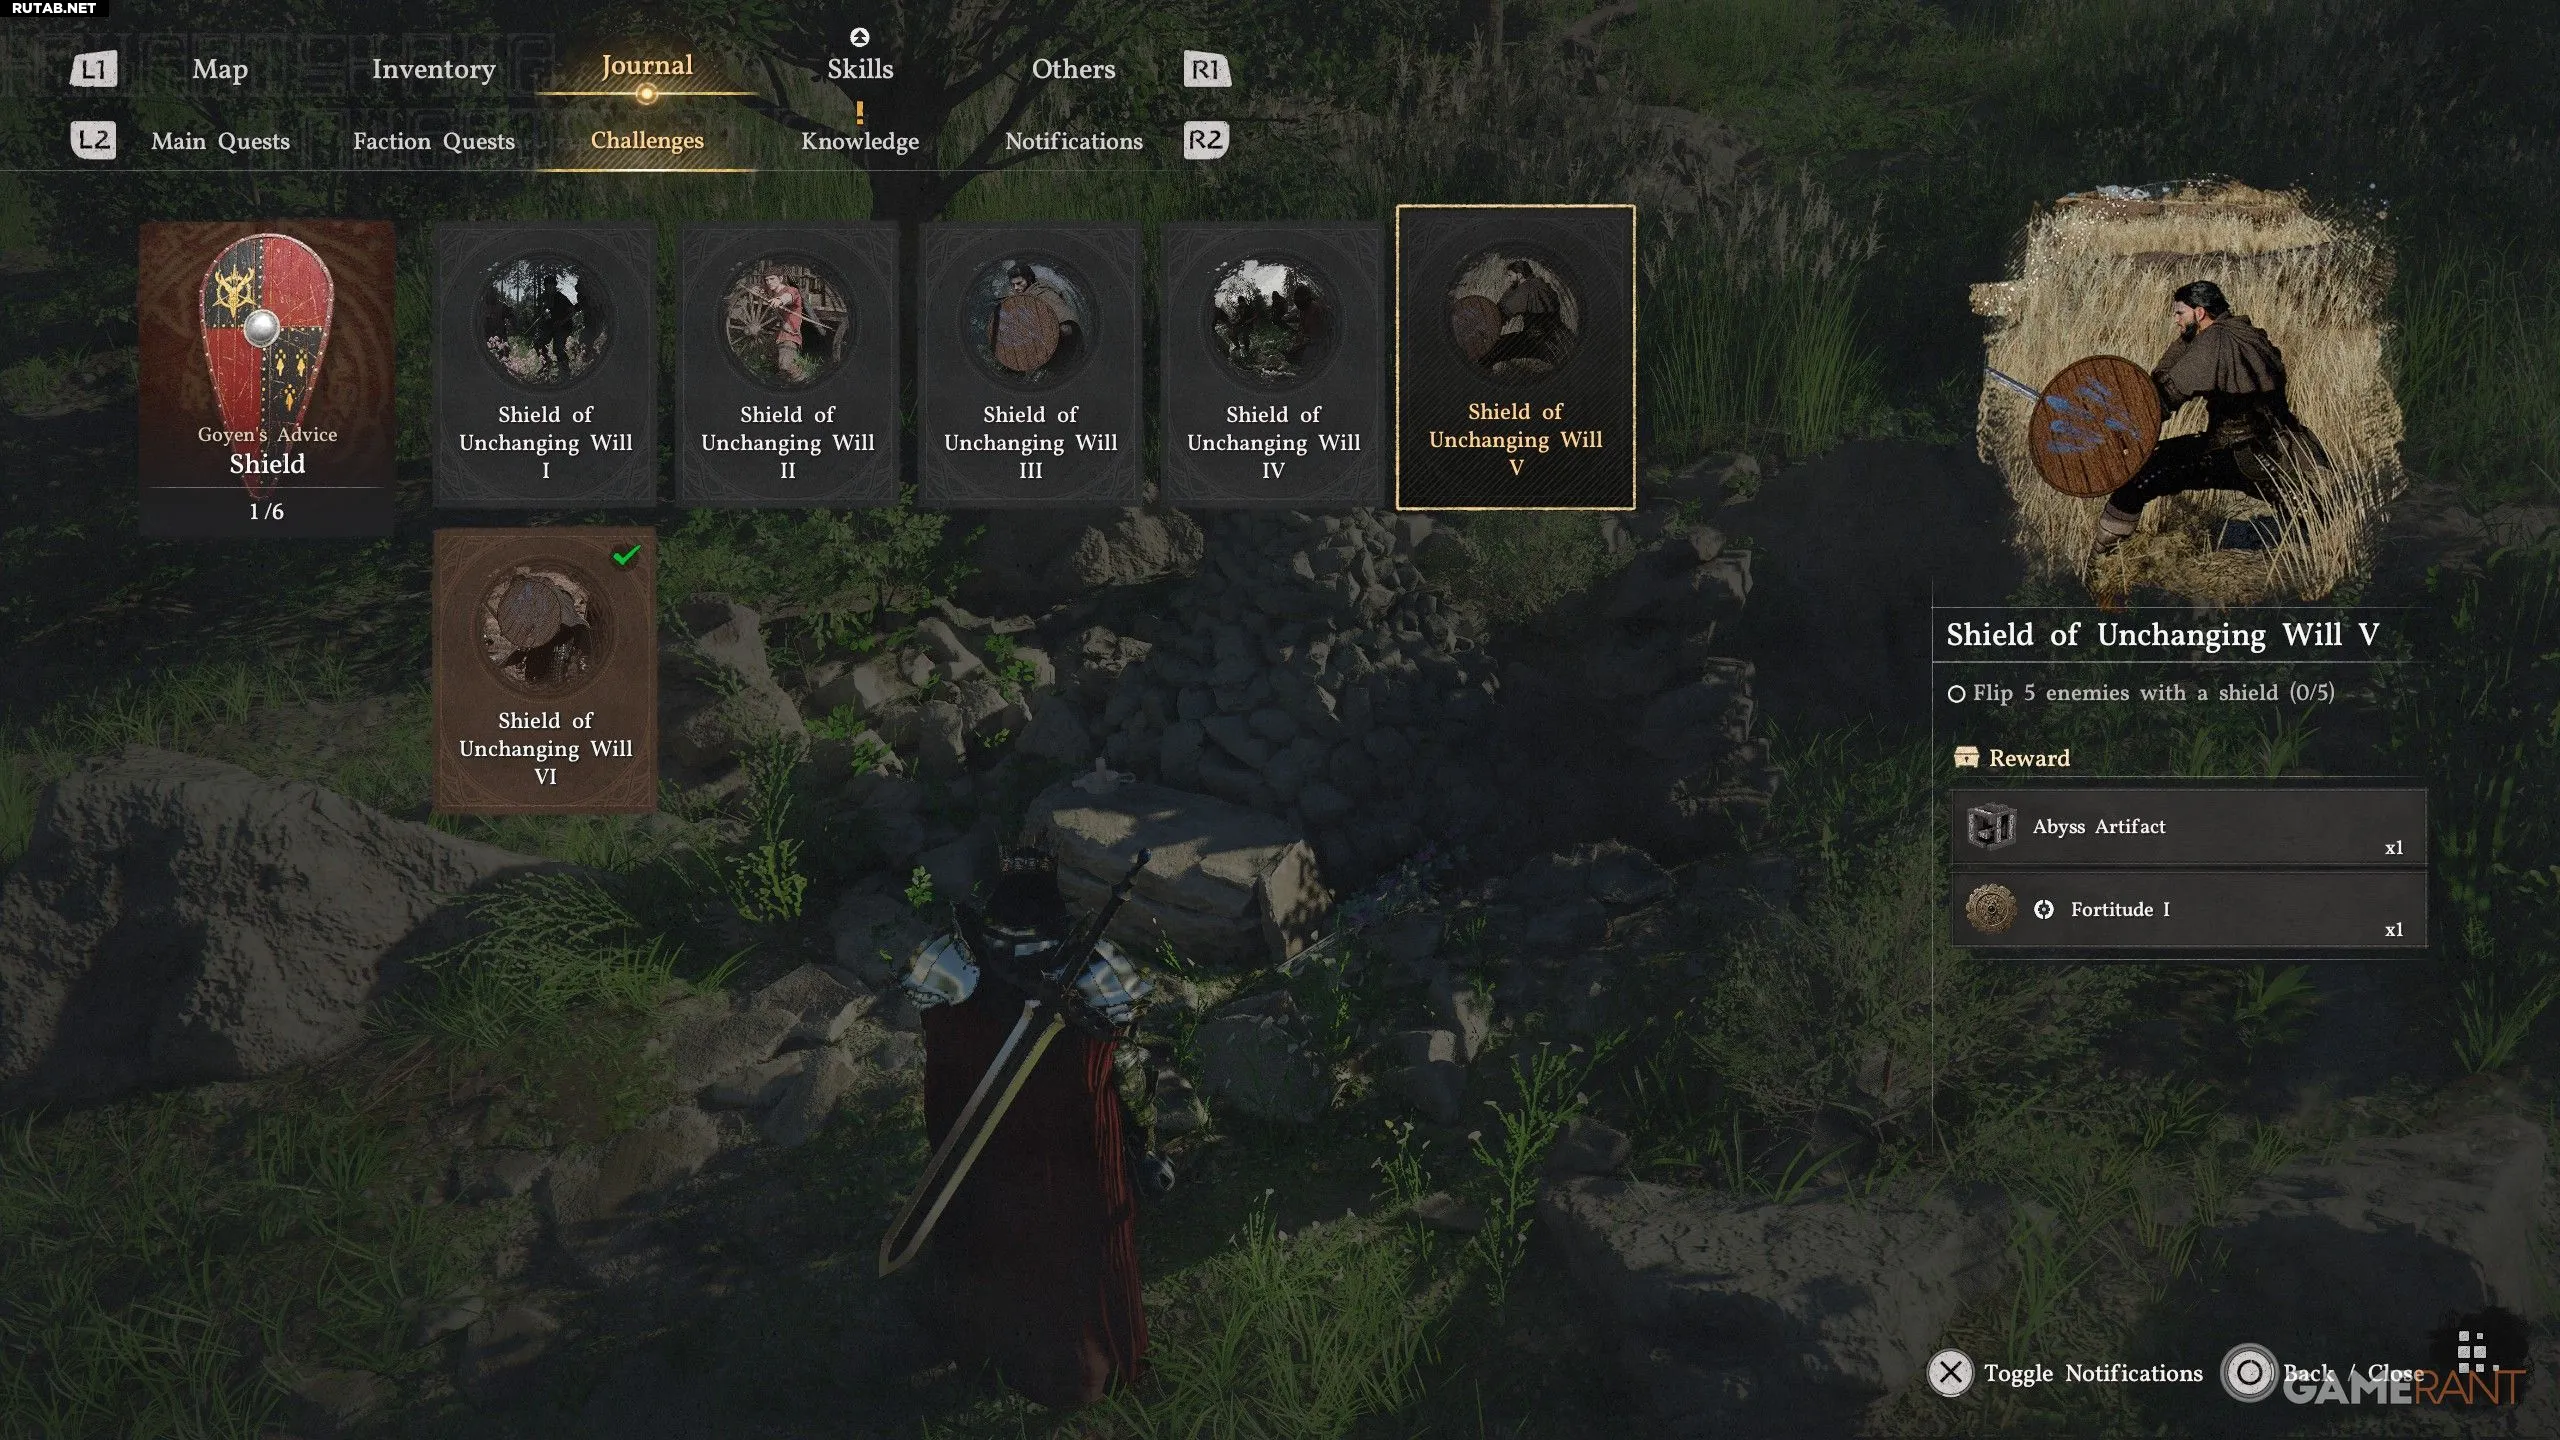
- Trial: Knock down 5 enemies with a shield.
- Reward: 1x Abyssal artifact, 1x Endurance I
This trial is easy to complete with small shields, such as the standard Gray Wolf Wooden Shield. First, make sure you don’t have the Sharp Instinct skill at level 3, as it unlocks the Shield Parry ability, which blocks the ability to knock down. If you have this skill, try completing the trial as Damiana or use a Dim Abyssal artifact to reset your skill points.
To knock down an enemy with a shield, you need to get close to them. At the moment when the enemy is about to attack, counterattack with a Shield Bash (L1+R2). If the timing is correct, you will knock down the enemy, rather than just hitting them in the face. Repeat this action 5 times to get the reward.
How to Get and Complete the “Unwavering Will Shield 6” Trial in Crimson Desert
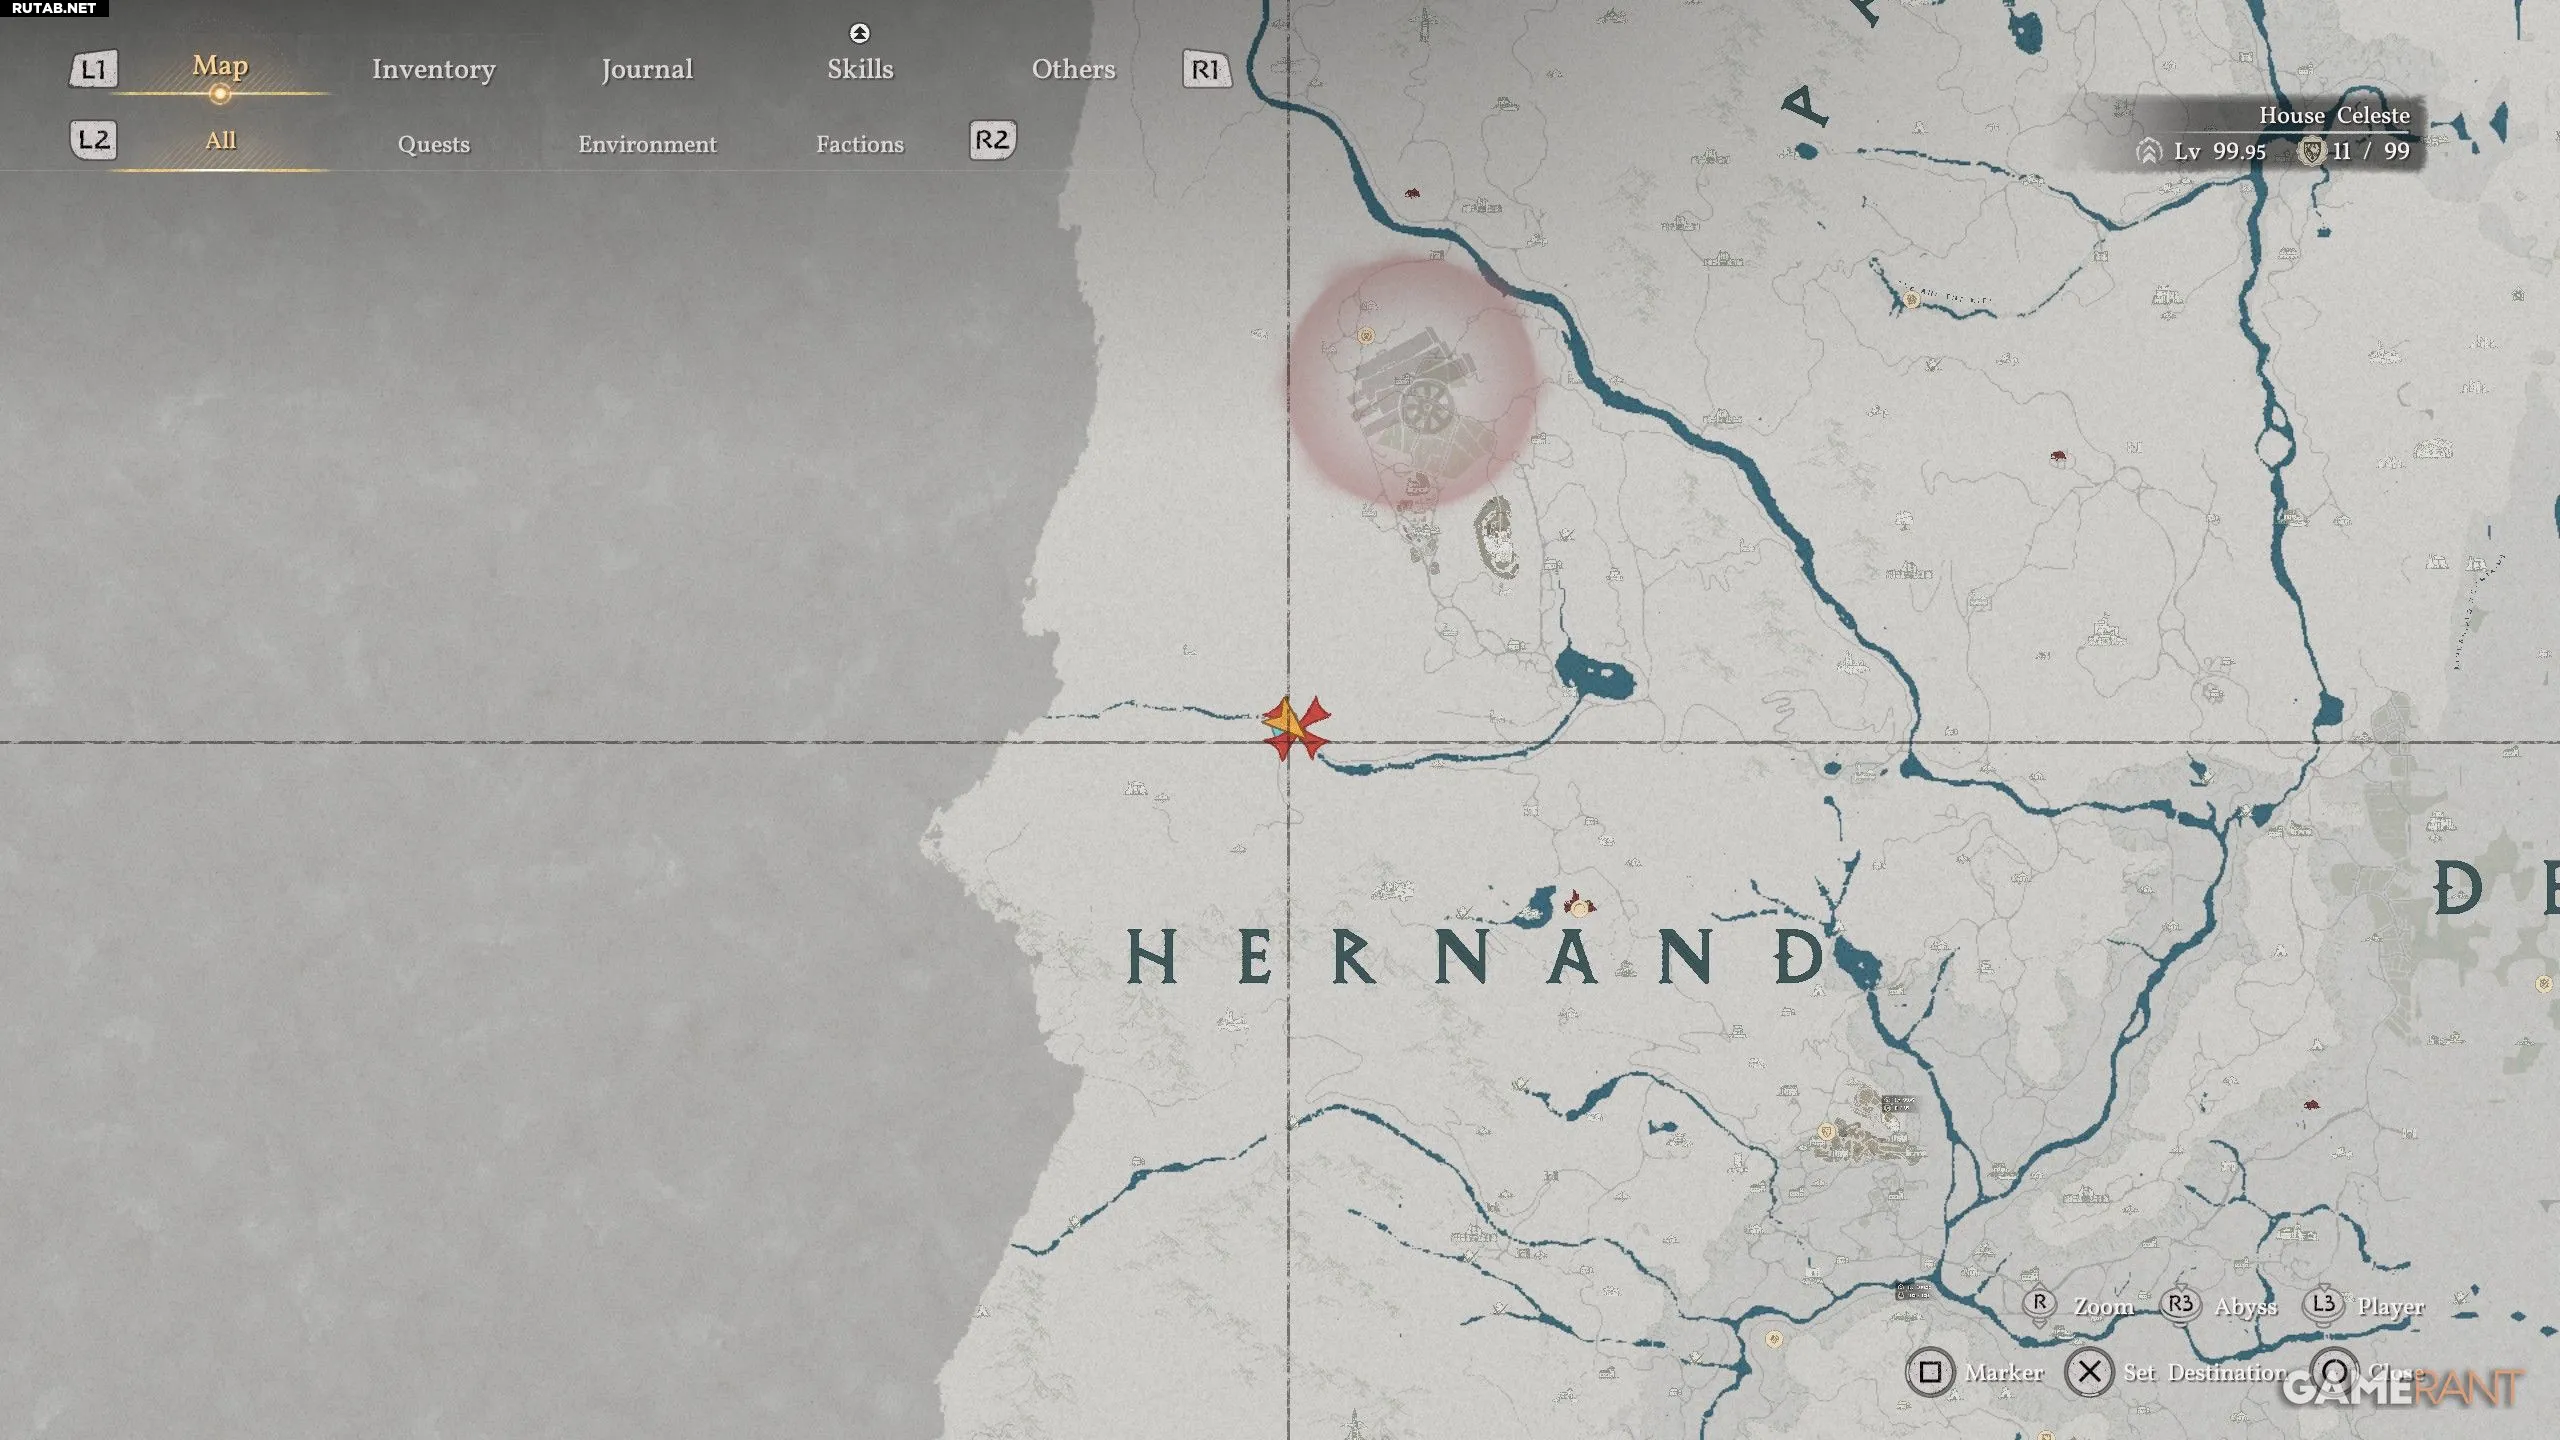


- How to Get: Located in a sealed Abyssal artifact, which is in the White Mountains, north of the bridge between the letters “E” and “R” in the name “Hernand”.
- Trial: Hit 10 enemies with a shield within 1 minute using the “Rush” skill.
- Reward: 1x Abyssal artifact
Unlock the “Hand-to-Hand Combat” skill at level 3 to get the “Rush” ability, which allows you to break through enemy defenses with a shield. To use “Rush”, hold the block (L1/LB) and double-tap X/A. For this trial, it’s essential to gather a large group of enemies.
The task is to hit 10 different enemies, not the same one 10 times. Therefore, we recommend heading to Deminess, as there are usually numerous groups there. If that’s not an option, try attacking a sanctuary – there are always more than 10 enemies waiting to take your rush.