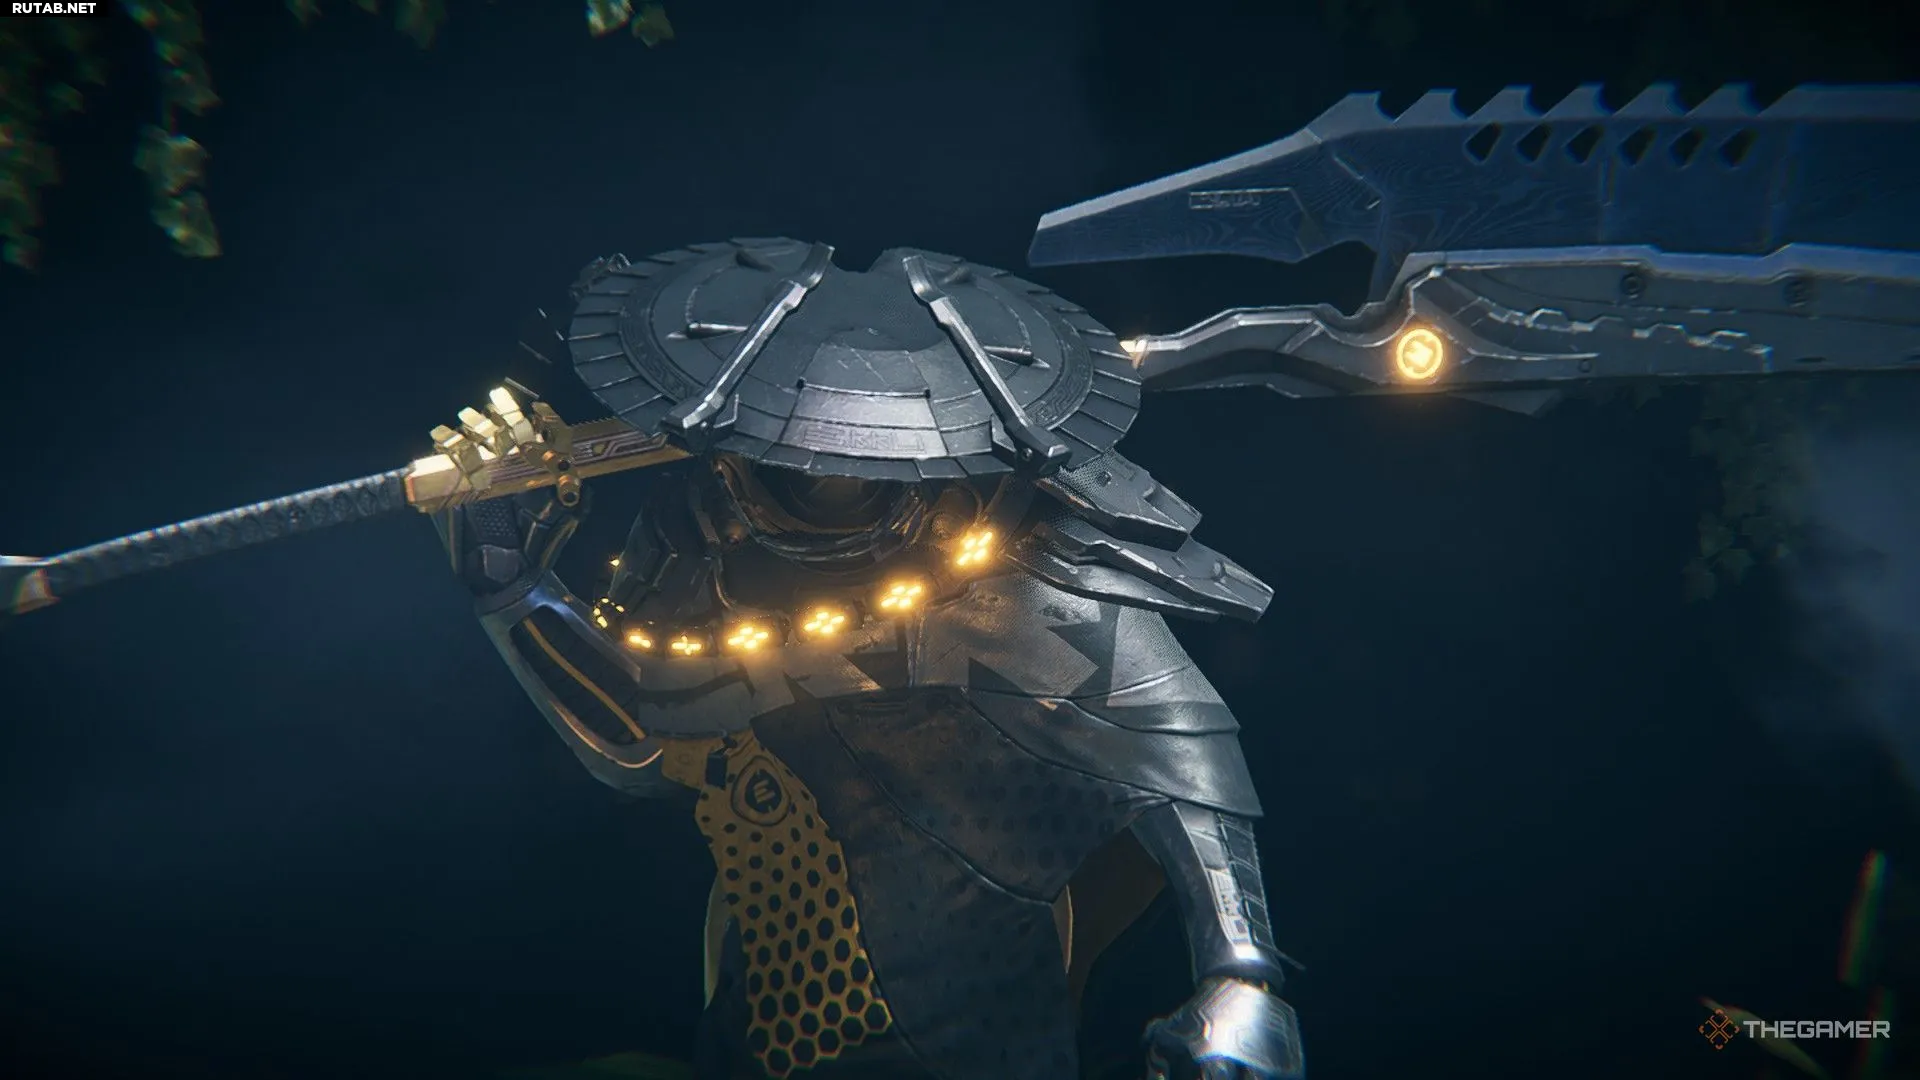
In Morbid Metal, a unique mechanic is implemented that allows for instant switching between three characters. It can be compared to the tag system in fighting games: you start a combo with one hero and then switch to the next to continue the series of hits or deliver a finishing blow.
This is just one of many mechanics and systems in this roguelike hack-and-slash game. The game offers various ways to upgrade characters and equipment, which change your combat style. Let’s consider a few helpful tips for the first hours in Morbid Metal.
The game is in early access, so these recommendations may change over time.
Table of contents
Attack Flying Enemies First
Save
Let’s start with the basics. During battles, you’ll notice that enemies can be conditionally divided into ground and air. The former are diverse, while the latter are usually small robots that attack from a distance with projectiles. Focus on this group first.
These flying enemies are often out of camera view, so you won’t always be able to see them well, but they’ll still attack. Although small arrows appear near your character, turning red when an attack is approaching, it’s easy to get distracted by other opponents and miss the hit.
Therefore, jump on these enemies first to make the battle easier. Flax’s starting abilities are perfect for dealing damage to them, and with their low health, these flying machines won’t last long.
Additionally, attacking from a great height makes you unreachable for most regular ground enemies.
Explore Hidden Paths
Save
Save
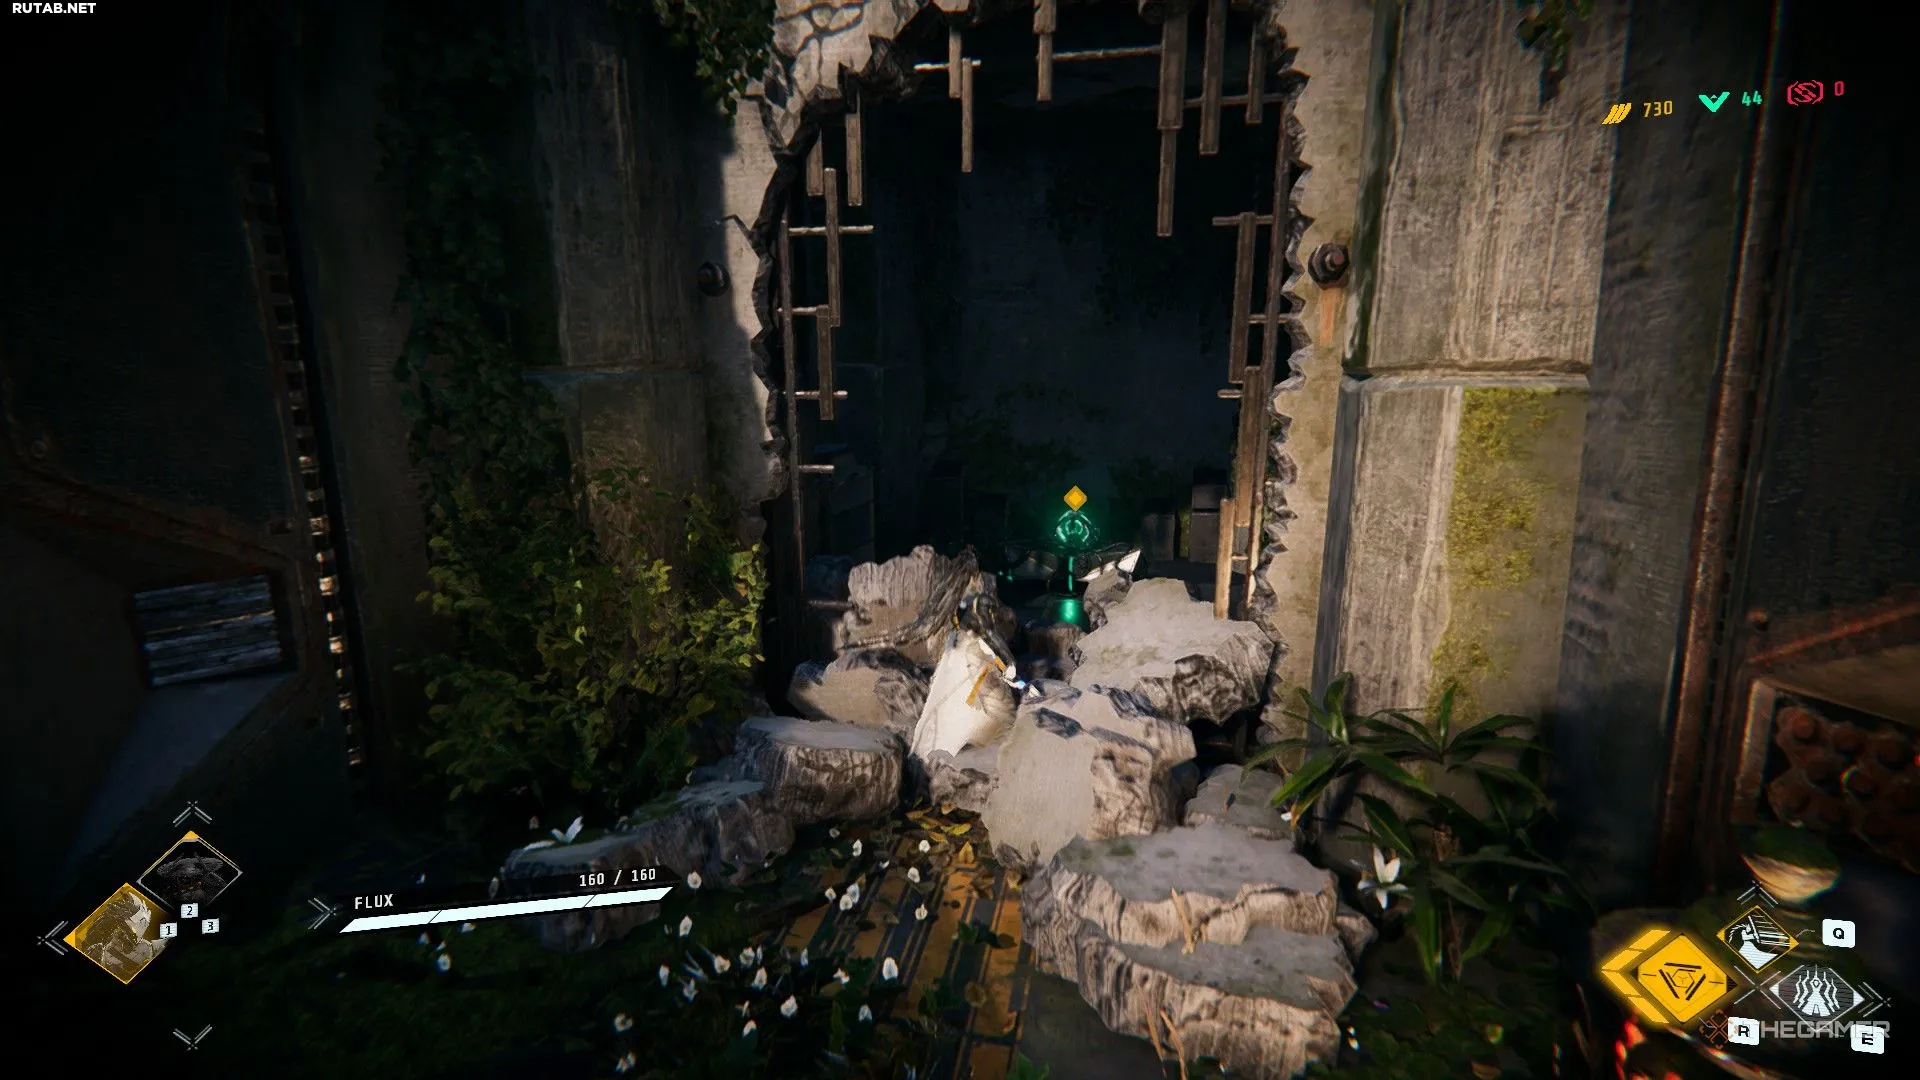
Both biomes are filled with secret paths and hidden areas with additional Repositories (in-game chests), nanocoins, health, and other benefits.
Although corridors (paths connecting areas) may appear in a different order or be replaced in different runs, the overall layout of each area is always the same.
For example, there’s an area with a large staircase leading down. If you turn left instead of going forward to the next door, you’ll see two platforms you need to jump on to get to another area, where a Repository is always located. There are also corridors with destructible walls.
Always explore the biomes as thoroughly as possible to remember the locations of items and use this knowledge in future runs.
The variety of hidden paths is much more noticeable in the second biome, Steel Sanctuary, as it is non-linear — you’ll have to go back and find two specific areas before you can summon the boss.
Spend Time Learning the Best Synergies for Your Team
Save
In the first biome, Sublime Garden, you’ll find the second character, Ekko, and the third, Vekta, awaits in the second biome. The three playable characters are quite different, and your progress in runs depends on how you use them together. Additionally, quick switching is the foundation of Morbid Metal’s combat system and the main source of pleasure.
Flax: the fastest in the trio, he can reach distant enemies using certain Protocols (skills). Use him to start attacks or continue combos.
Ekko: a slow and heavy character, ideal for finishing blows or throwing enemies into the air if you have the necessary Protocols.
Vekta: the only character whose basic attacks are projectiles. She can be used to start combos, attack from a safe distance, and also for crowd control to stun enemies and then hit them with another duo.
Spend time in the training arena, located in the west part of the hub, to learn each character and experiment with combinations without risking resource loss.
Leak is Your Best Friend
Save
After each battle or opening Repositories, you can find Routines. These are upgrades for your overall characteristics or for specific characters that change their Protocols, add unique perks, and more.
One of the Routines we strongly recommend, especially for the first hours of the game, is “Leak”. Leak is a negative status that deals constant damage (including to bosses). Think of it as poison. To apply Leak, you need to use a skill on an enemy, after which you’ll see their health slowly decreasing.
This is incredibly useful in any battle. If you’re lucky, you’ll find additional Routines that allow you to transfer Leak from defeated enemies to surrounding ones, as well as increase its damage.
We managed to defeat Sara quite easily by applying several stacks of Leak and simply dodging the boss’s attacks until she died.
Focus on Upgrading Health
Save
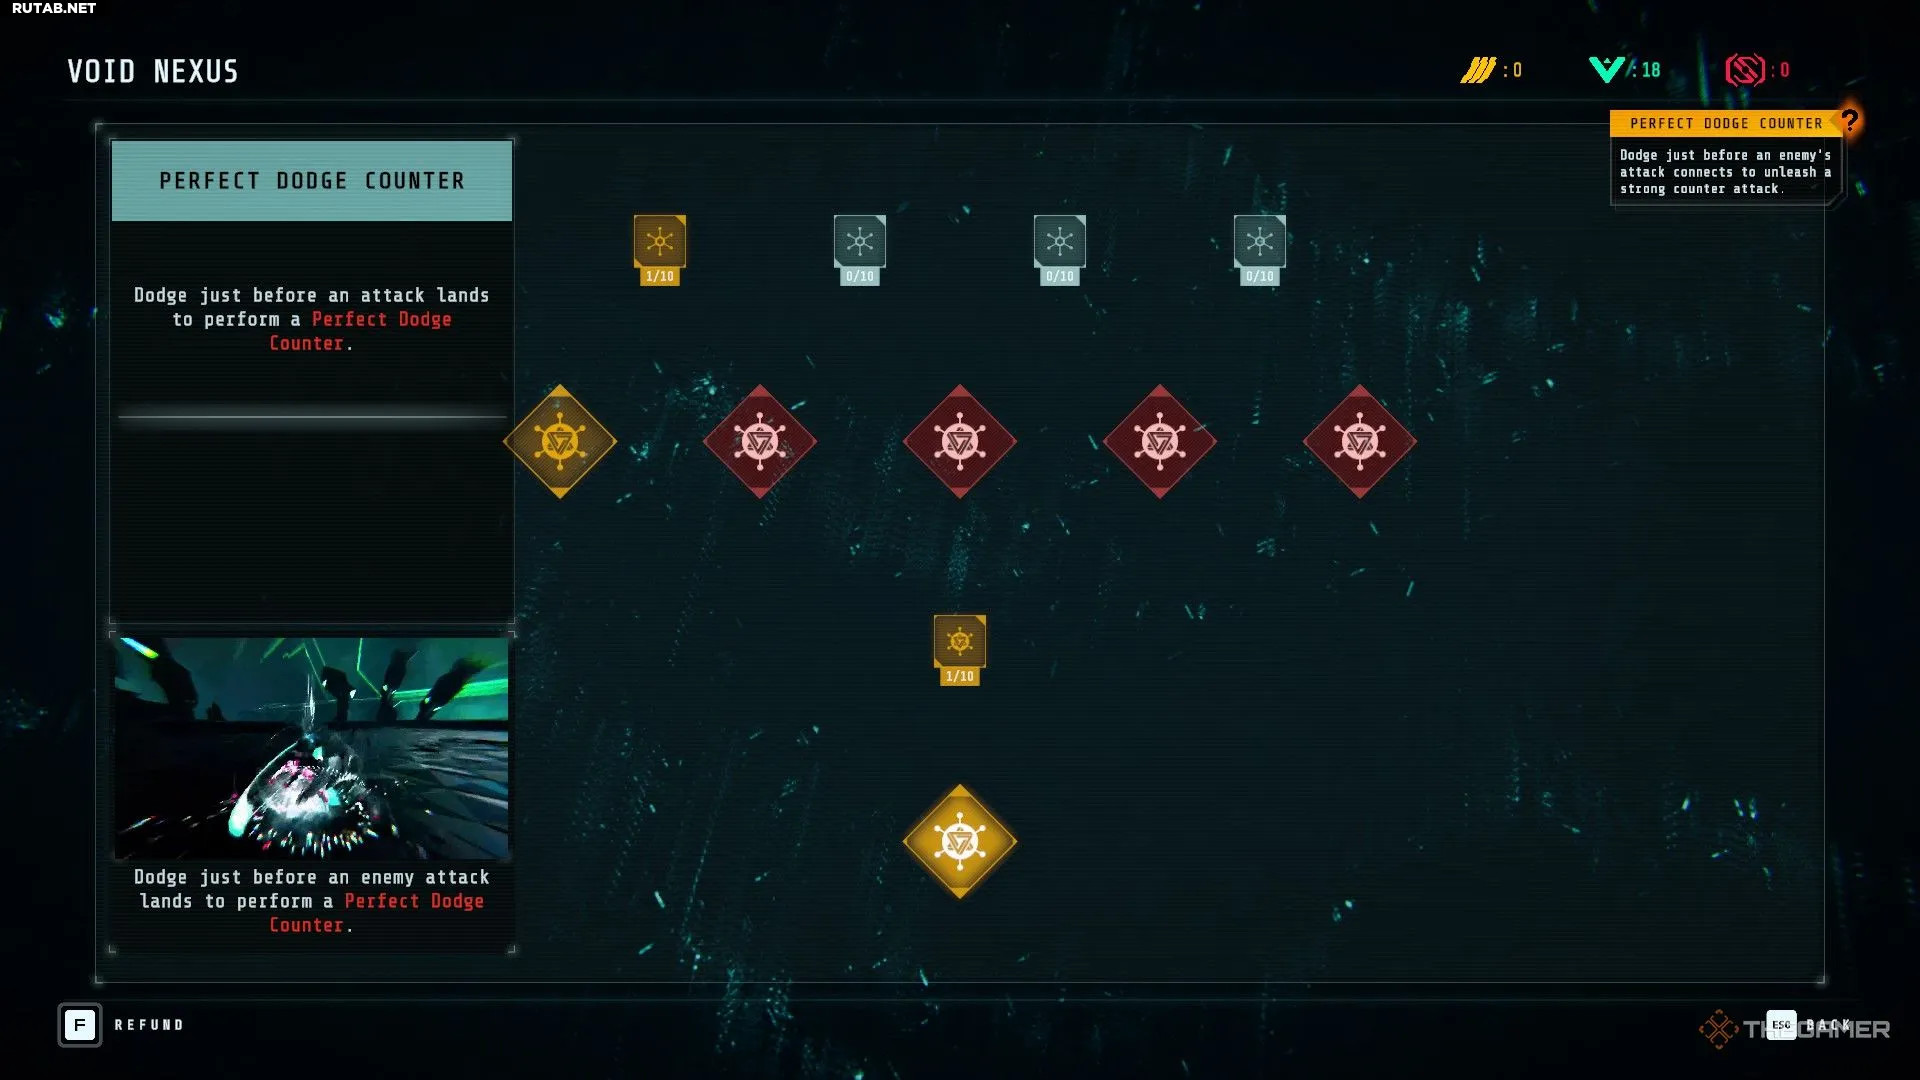
After your first run, you’ll first enter the Void Nexus. This is your hub, where you can unlock various upgrades and options for your characters. The first pillar directly in front of you, to the left, contains a skill tree with all available upgrades for your trio.
With over 30 upgrades, it can be hard to understand what to focus on. Ultimately, it depends on your playstyle, but here’s a quick tip: max out the health upgrade first. You’ll quickly understand why: the most dangerous enemies hit very hard, especially bosses. If you have little health, you can die from just two hits. It’s better to prepare properly from the start.
As for other recommended upgrades, you’ll find them in our separate guide.
Void Matter is Your Main Currency
Save
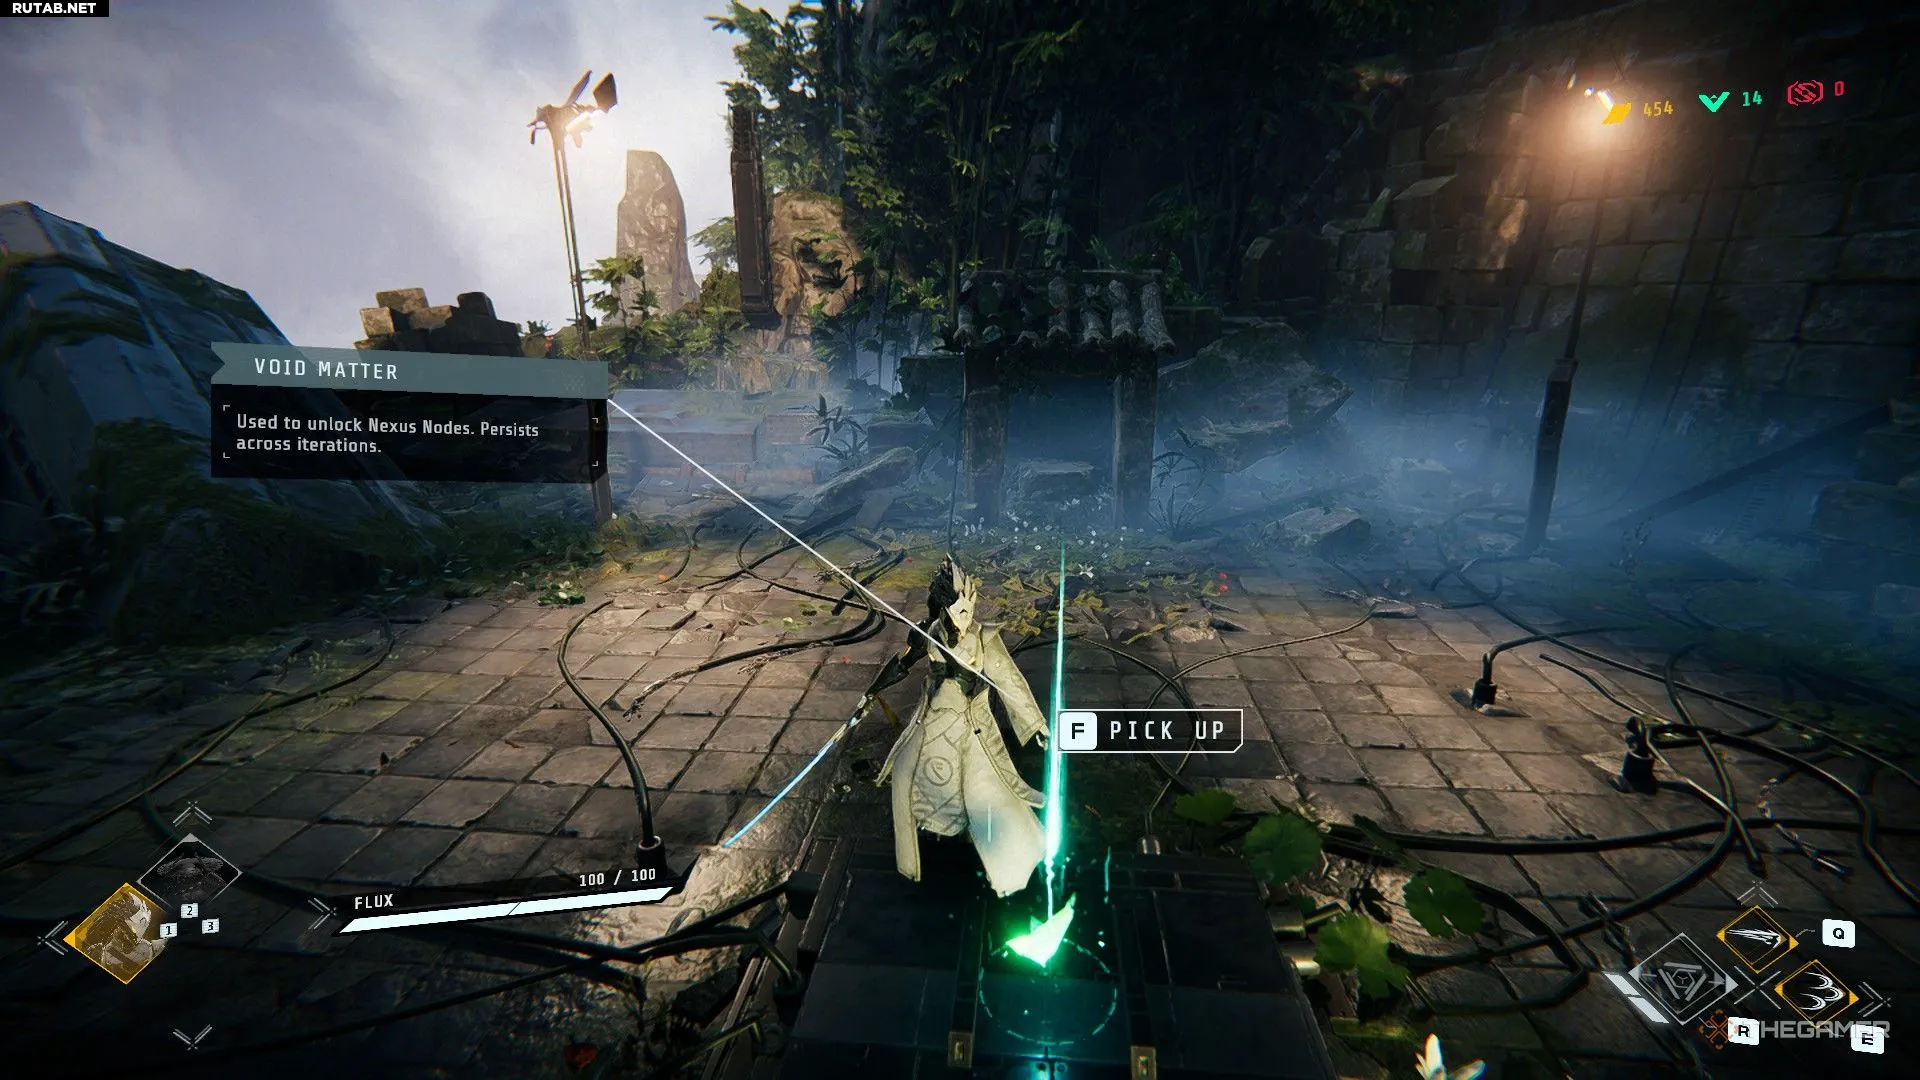
As mentioned in the previous tip, character upgrades and new Corps (more on them below) are unlocked using Void Matter. This is the currency you receive after each battle, as well as find by exploring biomes. Focus on collecting it to unlock upgrades more frequently!
First, it’s worth unlocking the upgrade that increases the amount of Void Matter received after battles.
Find a Good Corp Before the Boss
Save
Save
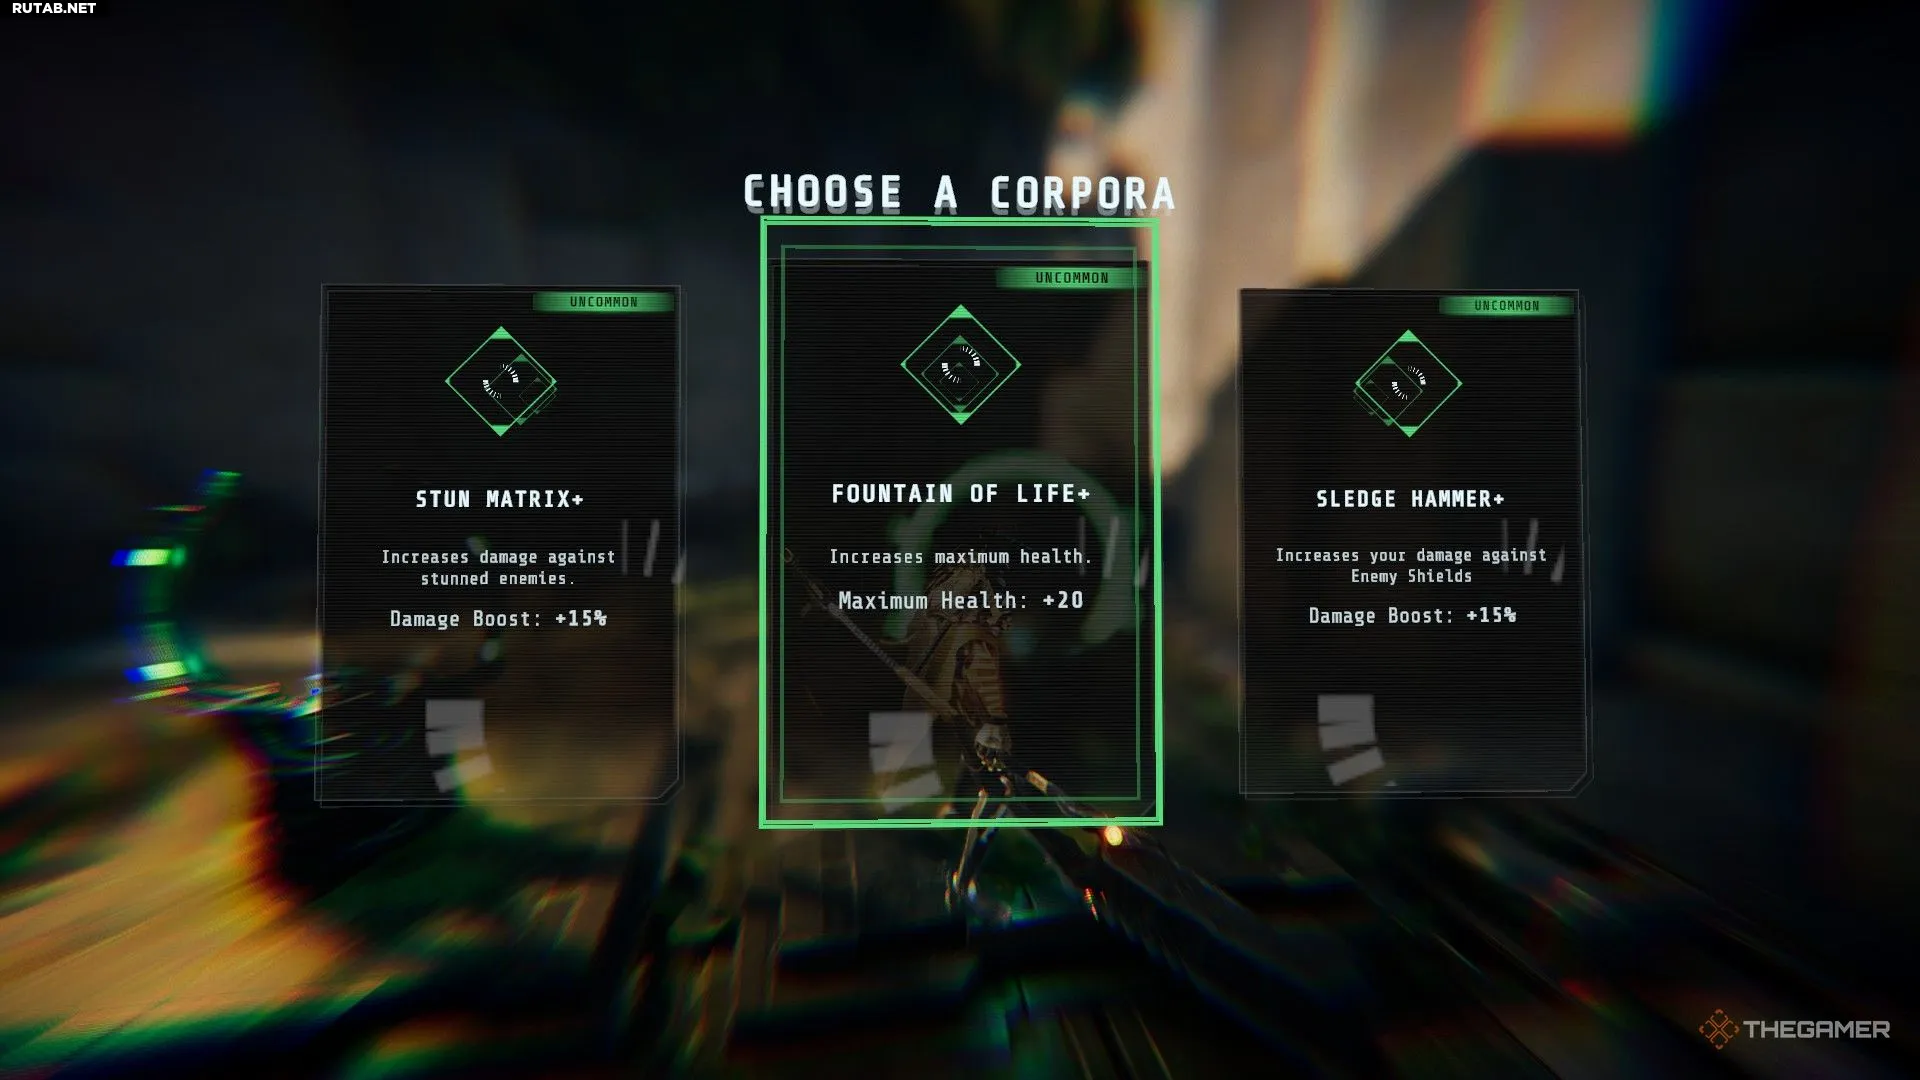
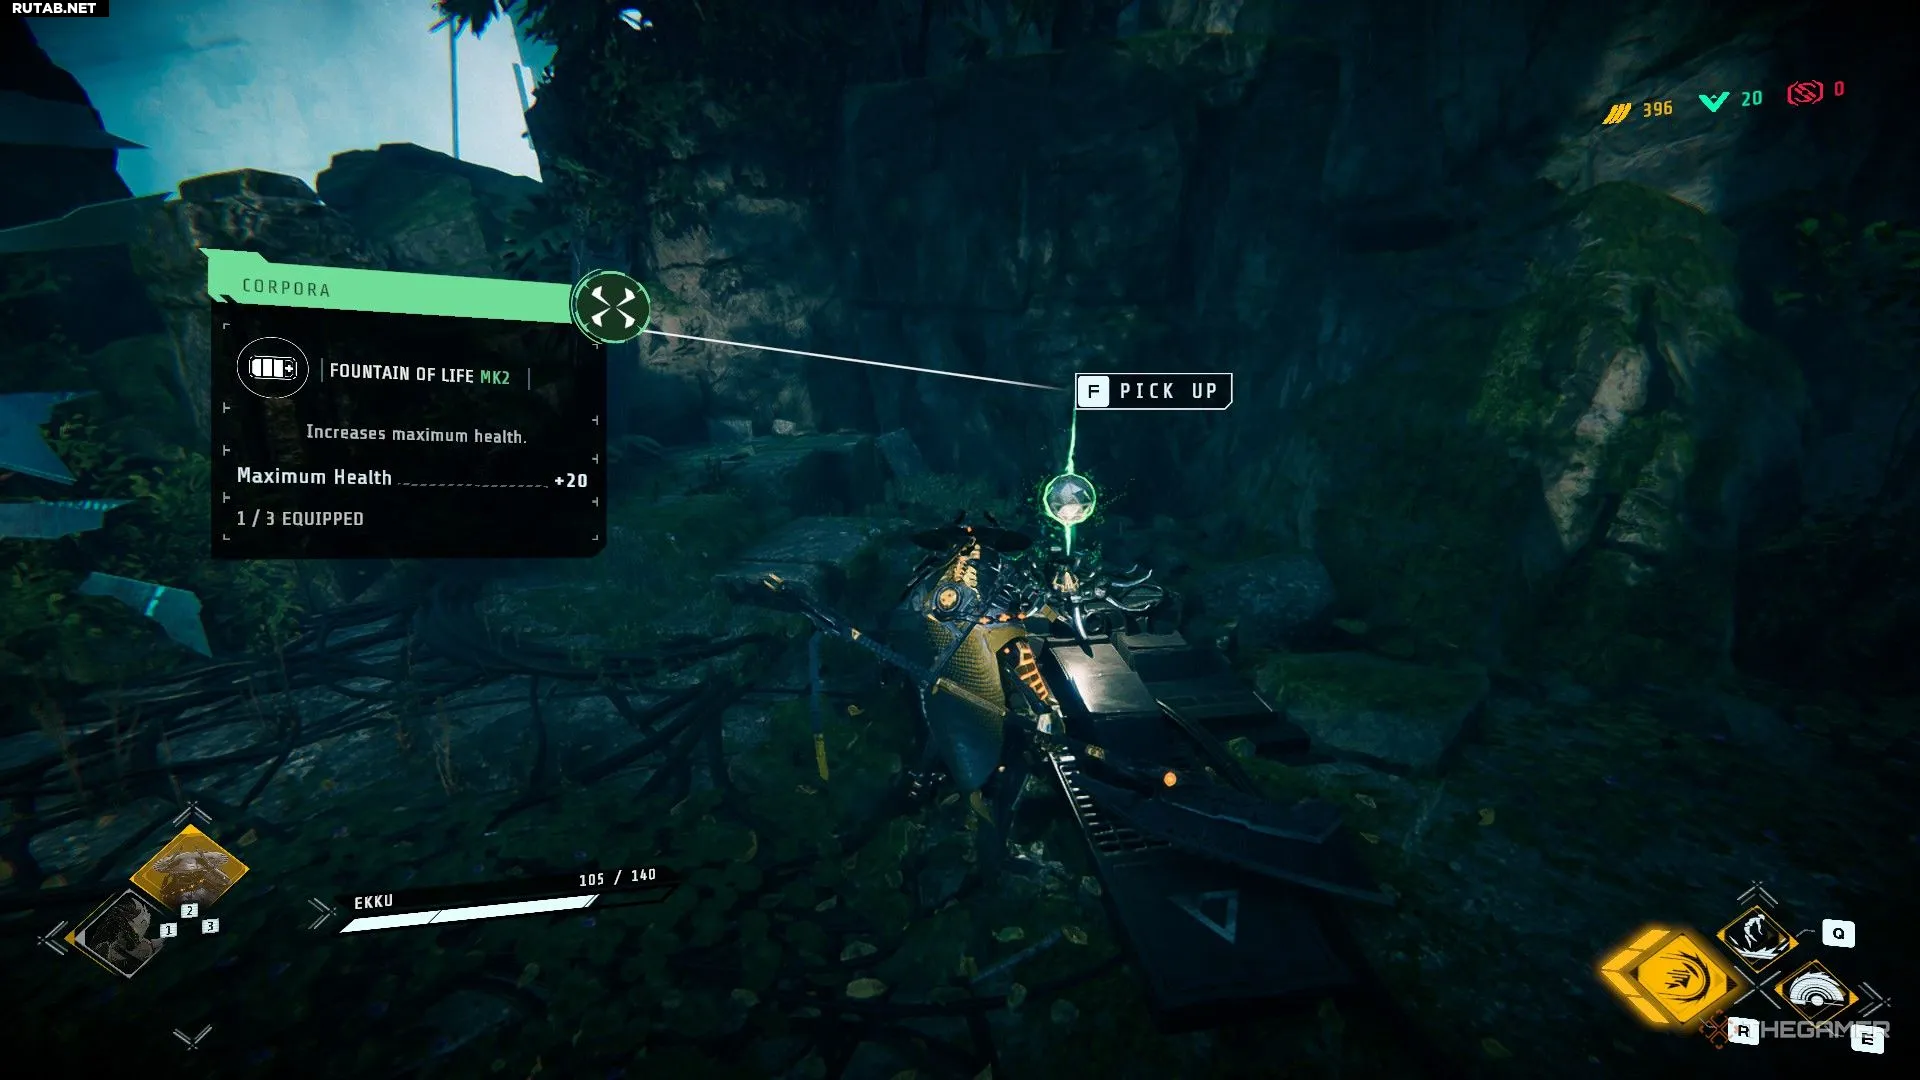
Corps are an important part of character customization. They work like perks that can be found in Repositories, by passing Operator Trials (special trials in additional rooms), or right before the boss arena.
For example, the “Source of Life” Corp increases your maximum health, while “Stun Matrix” increases damage to stunned enemies.
These bonuses are crucial for enhancing your character, and having at least one or two Corps will be key to winning in the first biome. In the second, Steel Sanctuary, you’ll need even more to have a chance against the Prophet.
A Good “Deal with the Devil” Can Change Everything
Save
Save
“Deal with the Devil” is a special type of amplifier. After purchasing the corresponding upgrade in the Void Nexus, a special room may appear in your runs. At the end of it, you’ll find a glowing red object.
It will allow you to choose one of three options, each giving a powerful bonus, but at a certain cost. For example, the “Rush Deal” reduces the cooldown of all your skills by half, but your maximum health also decreases by half.
“Blood Deal” makes it even more interesting: you’ll regain health with each successful attack, but you’ll also lose HP every five seconds.
Essentially, “Deals with the Devil” are rewards that change your playstyle, and their bonuses can be the key to victory — if, of course, you can handle the negative effect. Make sure to think your choice through when you find them.