
Secondary markers are the most difficult type of collectible items to find in the game Aphelion. A total of 27 such markers are scattered across the game’s missions, and they can only be noticed through the Pathfinder. The large number of markers combined with the difficulty of locating them makes the achievement for collecting them the second‑rarest on Steam.
We will guide you to the exact locations of all 27 secondary markers in Aphelion so you can easily collect them all and unlock the Webb achievement.
All locations of secondary markers in Aphelion
List of secondary markers in Aphelion
Players can only notice secondary markers when using the Pathfinder and looking directly at each marker’s location. We found all of these markers during our playthrough and compiled them into the table below so you can locate them without replaying missions.
| Secondary Marker | Chapter | Location |
|---|---|---|
| Opening | 2 | At the edge of the cave you fall into in Chapter 2. |
| Ice Formation (What could that be?) | 2 | After falling into the cave in Chapter 2, look to the right to find this ice formation. |
| Double Ring | 3 | After exiting the rescue capsule with Thomas, look slightly right and up. The marker can also be seen throughout Chapter 3. |
| Strange Formations | 3 | At the start of Chapter 3, look at the holes on the right side of the river. |
| Pit | 3 | A large deep pit where the river flows in Chapter 3. It is to the right of the Strange Formations marker. |
| Arch | 3 | After finding the Strange Formations and Pit markers, you’ll squeeze through a narrow passage. Look right to spot this marker. |
| Unknown Machine | 3 | Use the Pathfinder to look at the squeaking mechanism on the riverbank. |
| Abandoned Equipment | 3 | This secondary marker is above the second device you connect to for oxygen. |
| Deserted Gear | 3 | You’ll find this marker above the third, ice‑covered device you connect to for oxygen. |
| Unknown Device | 3 | After passing the Deserted Gear marker, look right through the fissure. |
| Ice Formation (Looks like a sculpture) | 3 | On the left side of a small clearing where the Unknown Device marker is located. |
| Cave | 4 | After exiting the cave in Chapter 4 you will scan the Light Reflection marker. The Cave marker is to the left and slightly above it. |
| Ice Formation (Another one) | 4 | In the lower‑left corner of the area with the Light Reflection and Cave markers. |
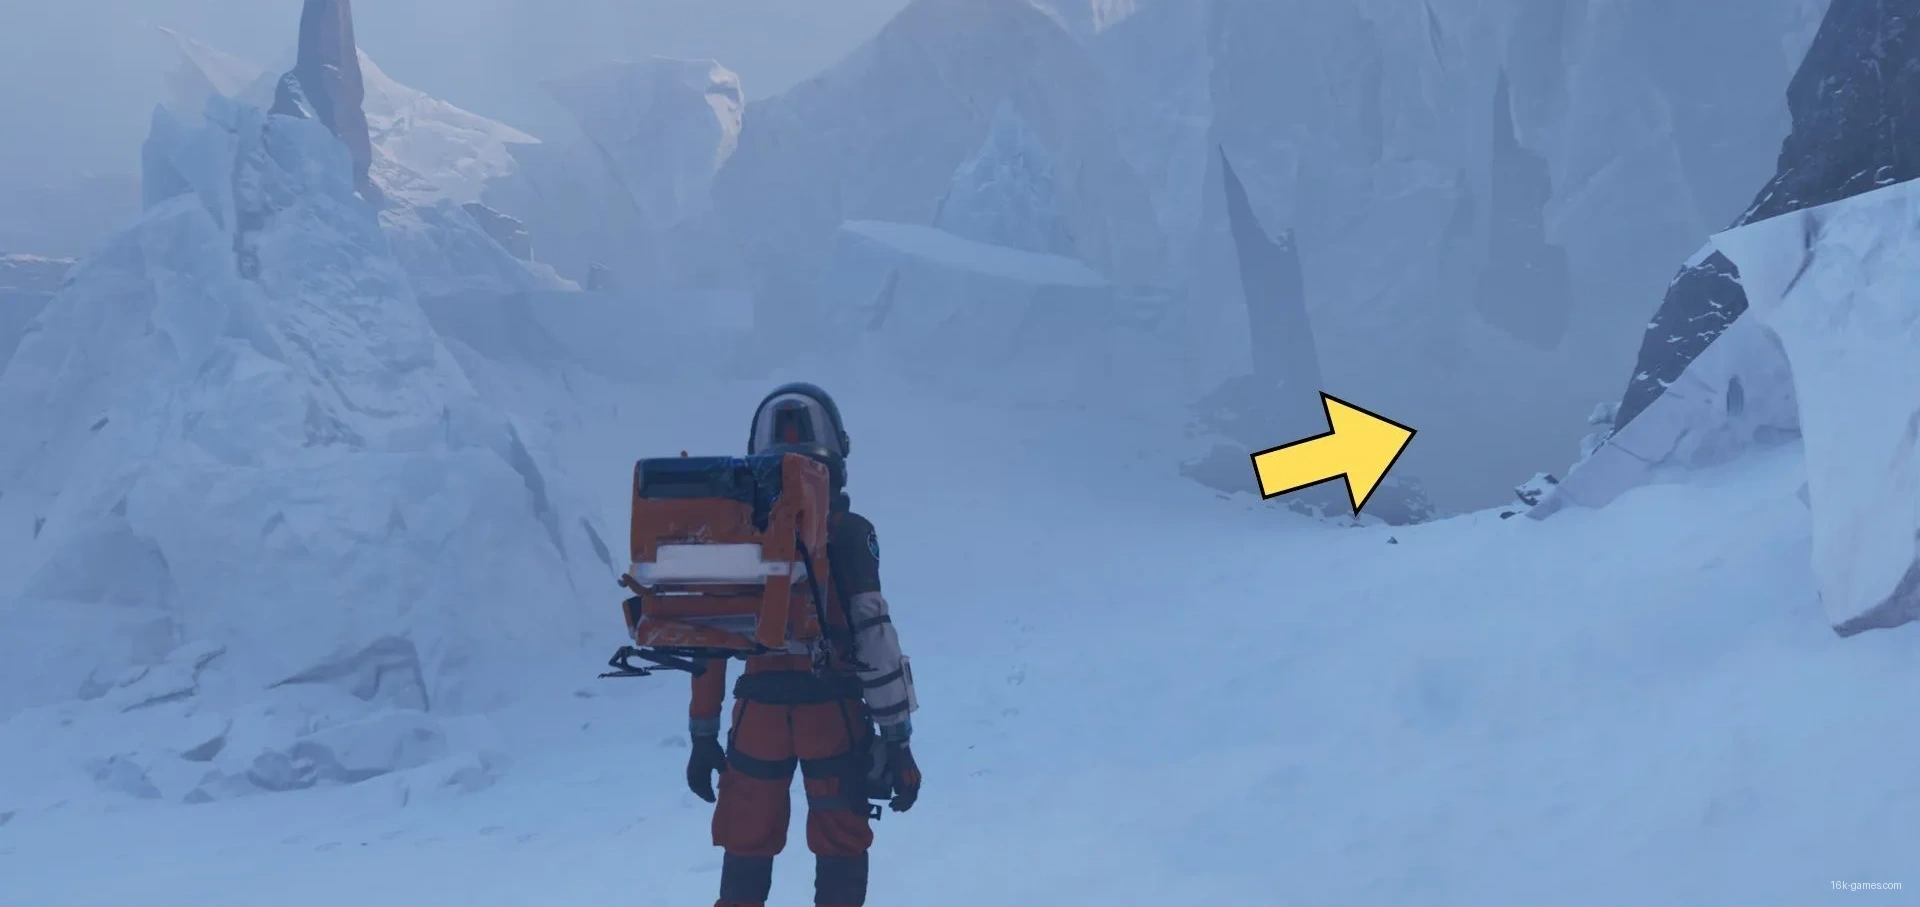
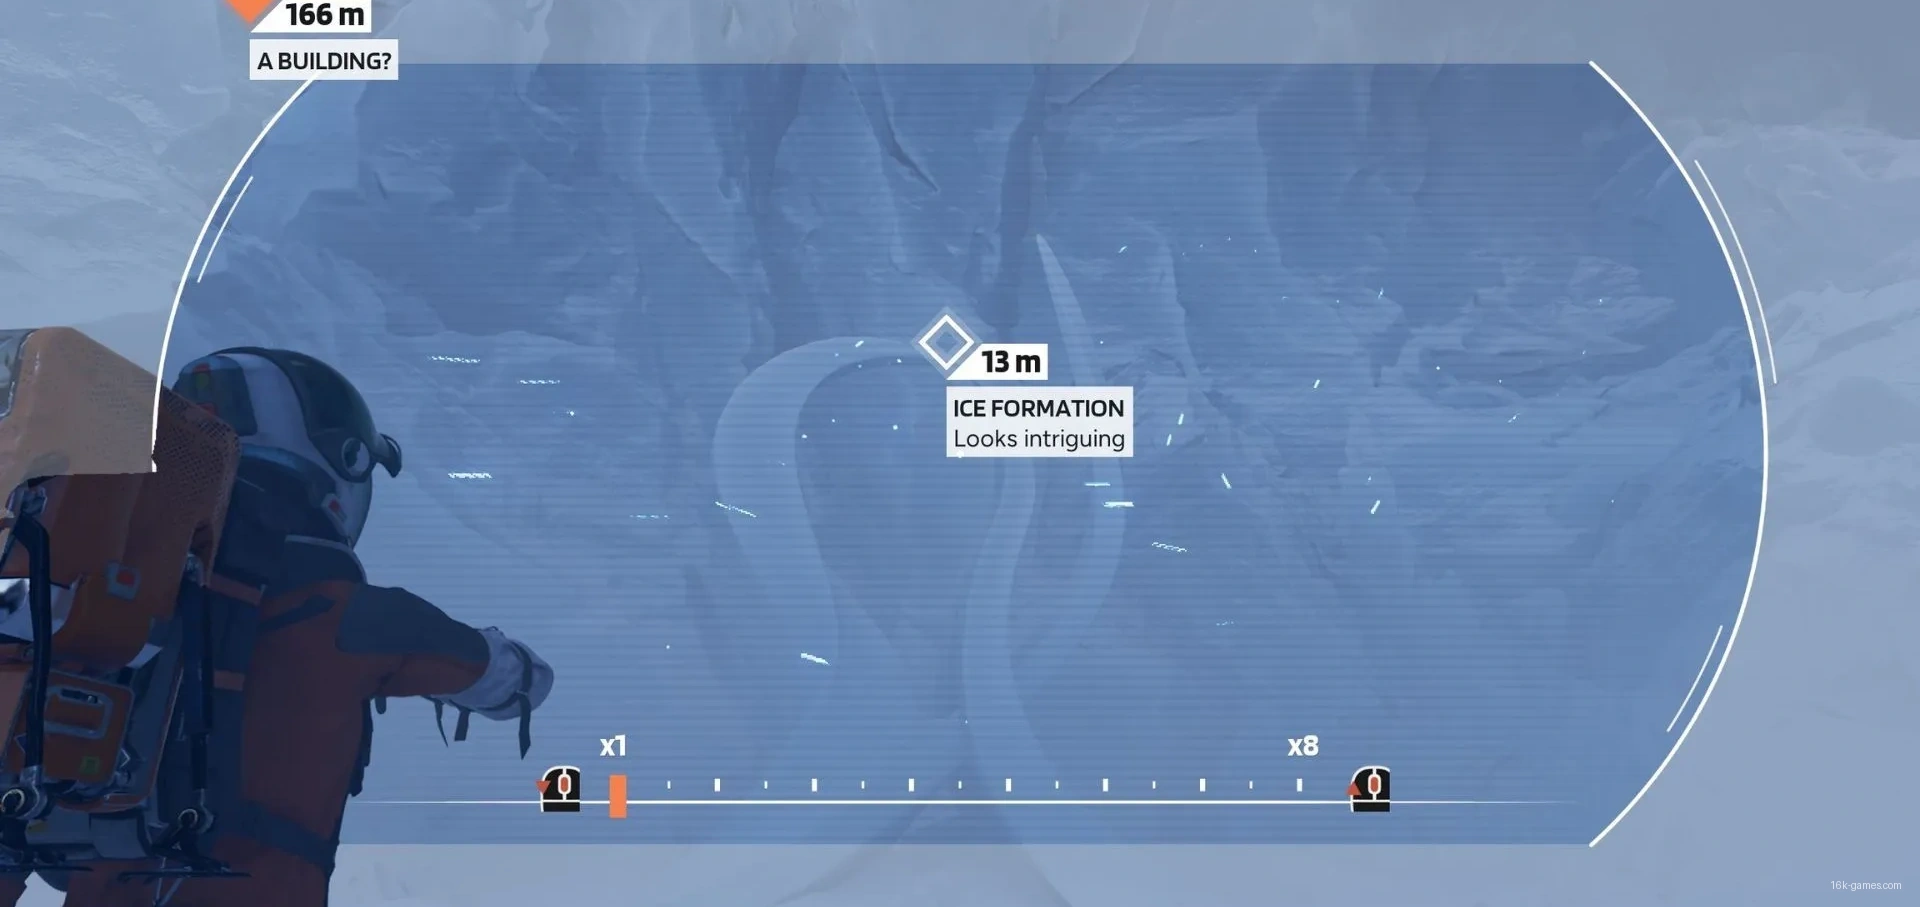
| Ice Formation (Looks intriguing) | 4 | In the geyser‑filled area after the second escape from Nemesis. |
| Ice Formation (Curious shape) | 5 | On the left after exiting the main laboratory on the way to the Annex. |
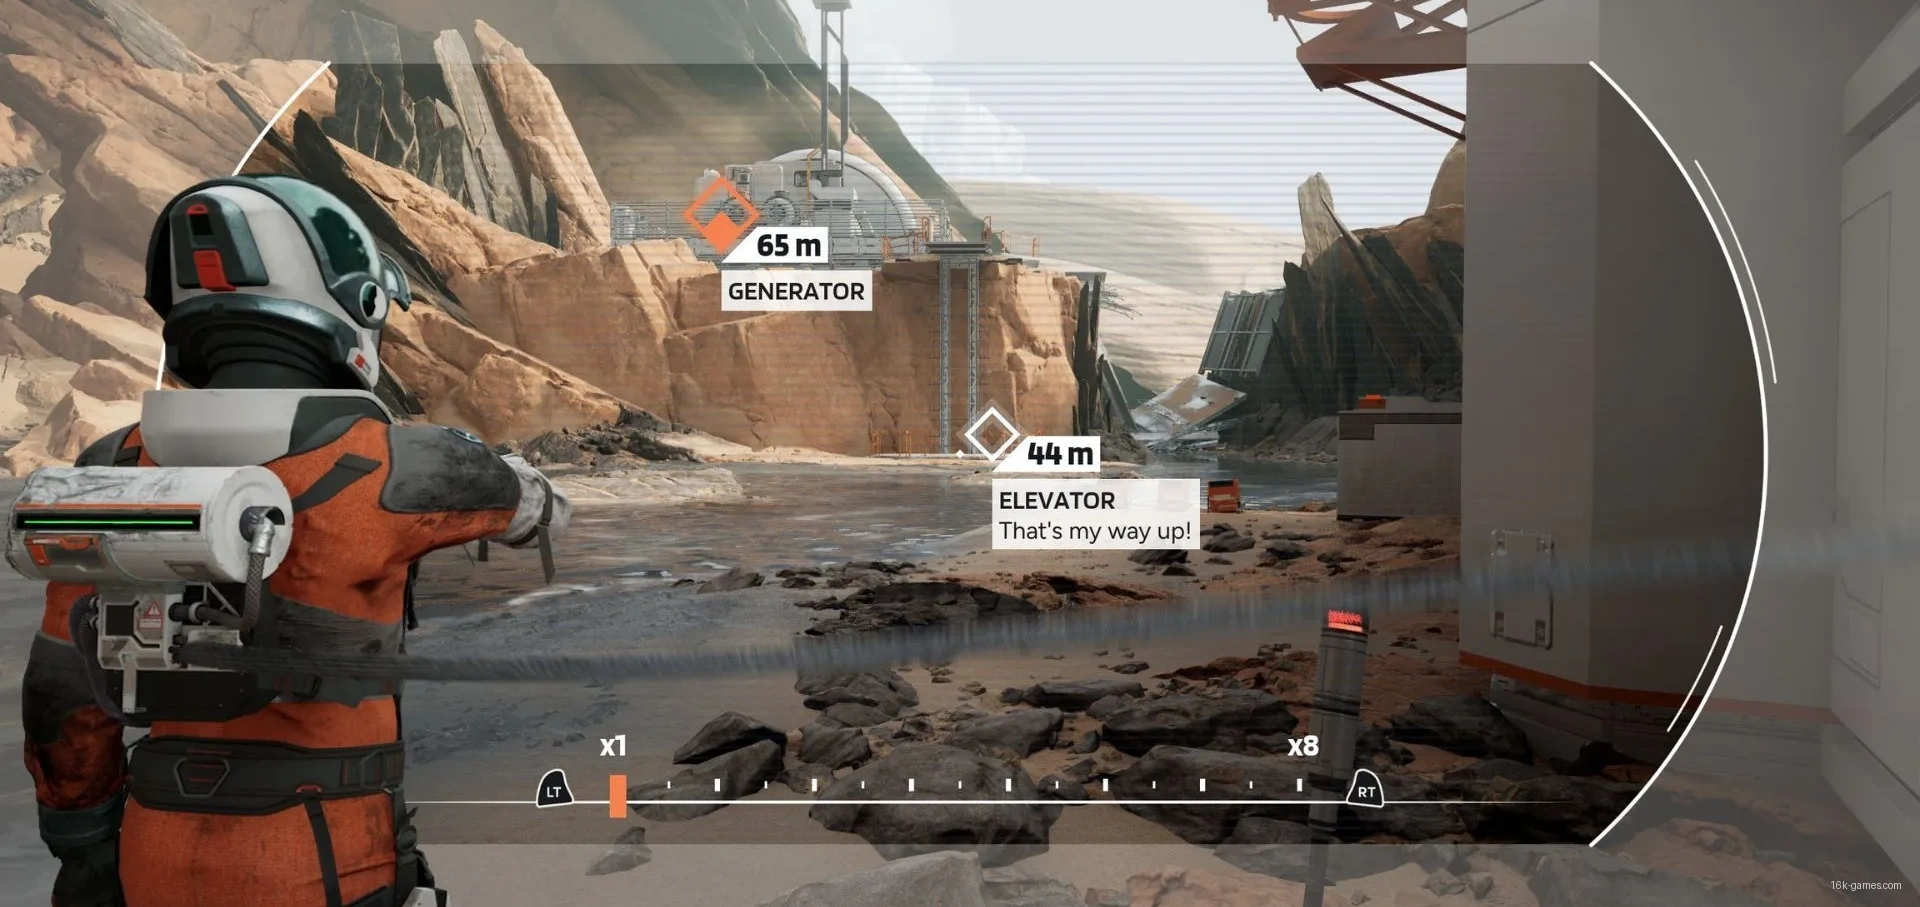
| Elevator | 6 | On the left side of the base, beneath the Generator. |
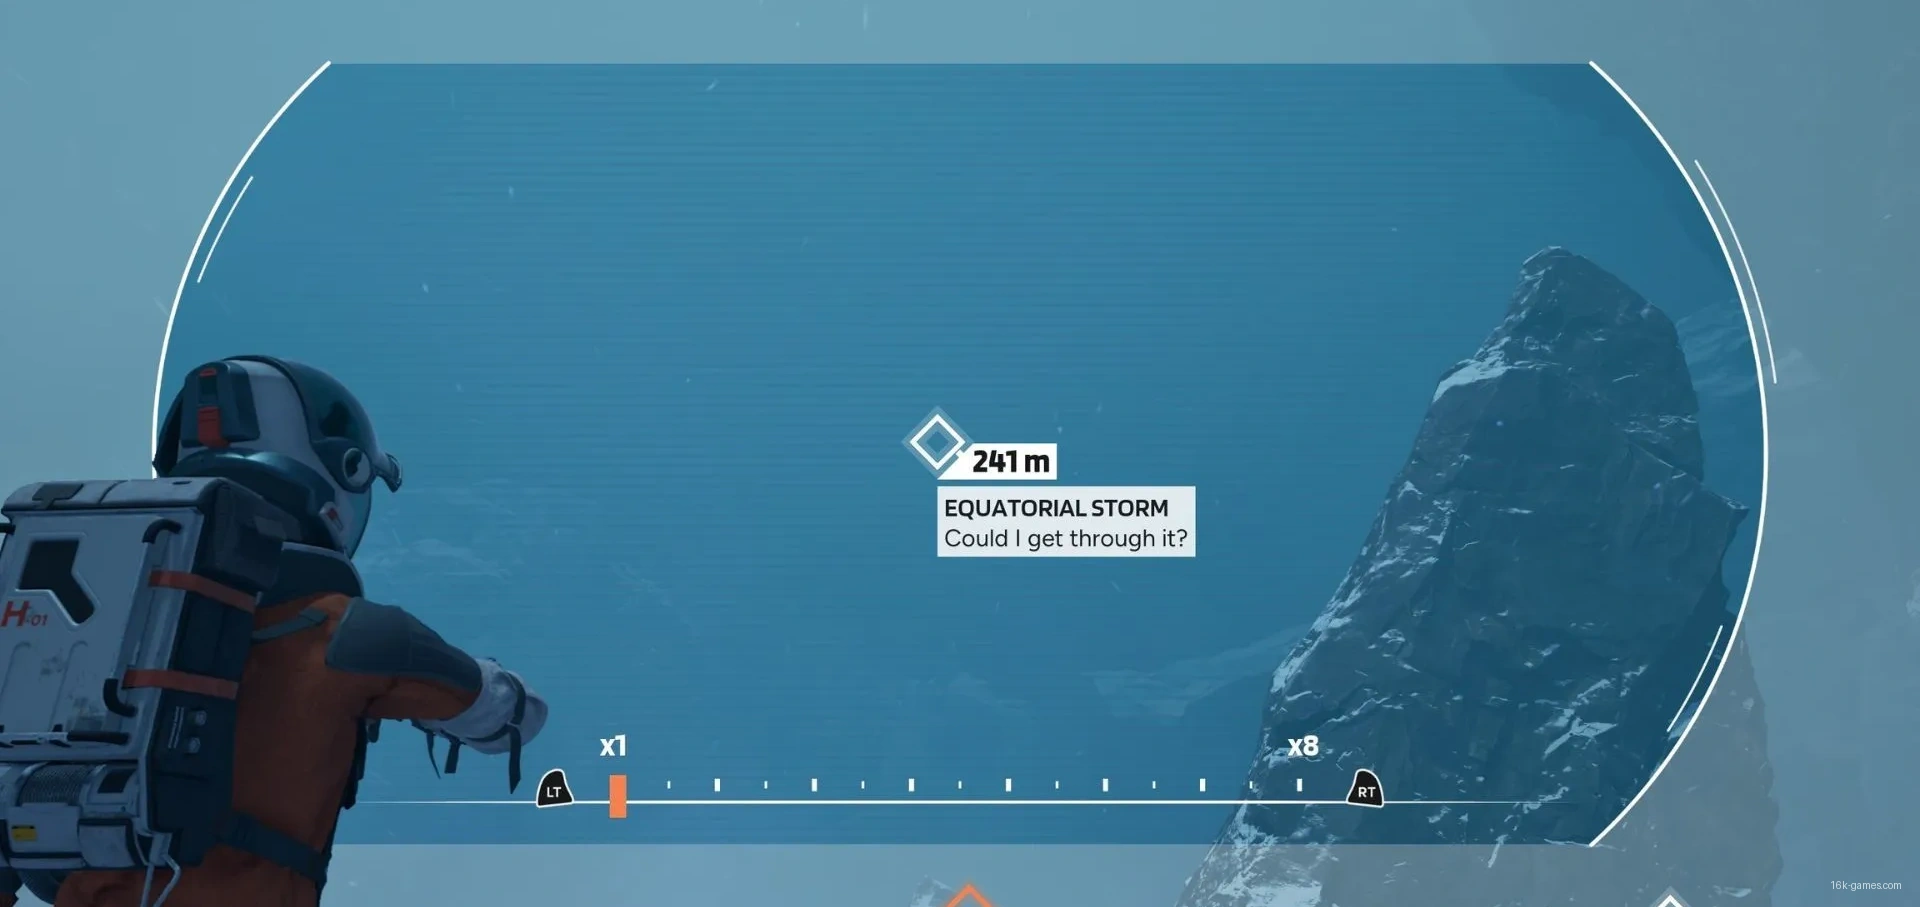
| Equatorial Storm | 7 | After descending the first slope in Chapter 7, look at the sky with the Pathfinder. |
| Ice Formation (The planet’s language?) | 7 | To the left of the third stone column you use for cover during the storm. |
| A Way Out? | 7 | Approaching the end of the cave with Nemesis in this chapter, use the Pathfinder on the way to the exit. |
| Ice Formation (Even underground…) | 7 | Located in the cave explored after escaping the Nemesis Arena. |
| Ice Wall | 8 | After leaving the complex, turn around and look at the large ice wall behind you. |
| Equatorial Storm | 9 | At the start of Chapter 9 use the Pathfinder on the icy peaks behind you. |
| Crashed Elevator | 9 | Looking down at the Nexus, use the Pathfinder on the elevator wreckage. |
| Breach | 10 | Appears when scanning the darkness ahead after Thomas talks about Ariana’s nobility. |
| Ice Formation (What does it mean?) | 10 | In a hidden chamber accessible through a wall slit, after you see Thomas’s mirage walking across a bridge at the start of Chapter 10. |
| Styx River | 10 | After crawling through the opening and emerging at the large river section, scan it to obtain this secondary marker. |
| Ice Formation (Like it’s calling me) | 10 | Upon reaching the second research station along the Styx River, go forward and look right. |
Where to find all secondary markers in Aphelion
How to complete the Webb achievement in Aphelion
We have compiled the following list to take you through the exact locations of all 27 secondary markers in Aphelion. They are sorted by chapter and by their position within each chapter.
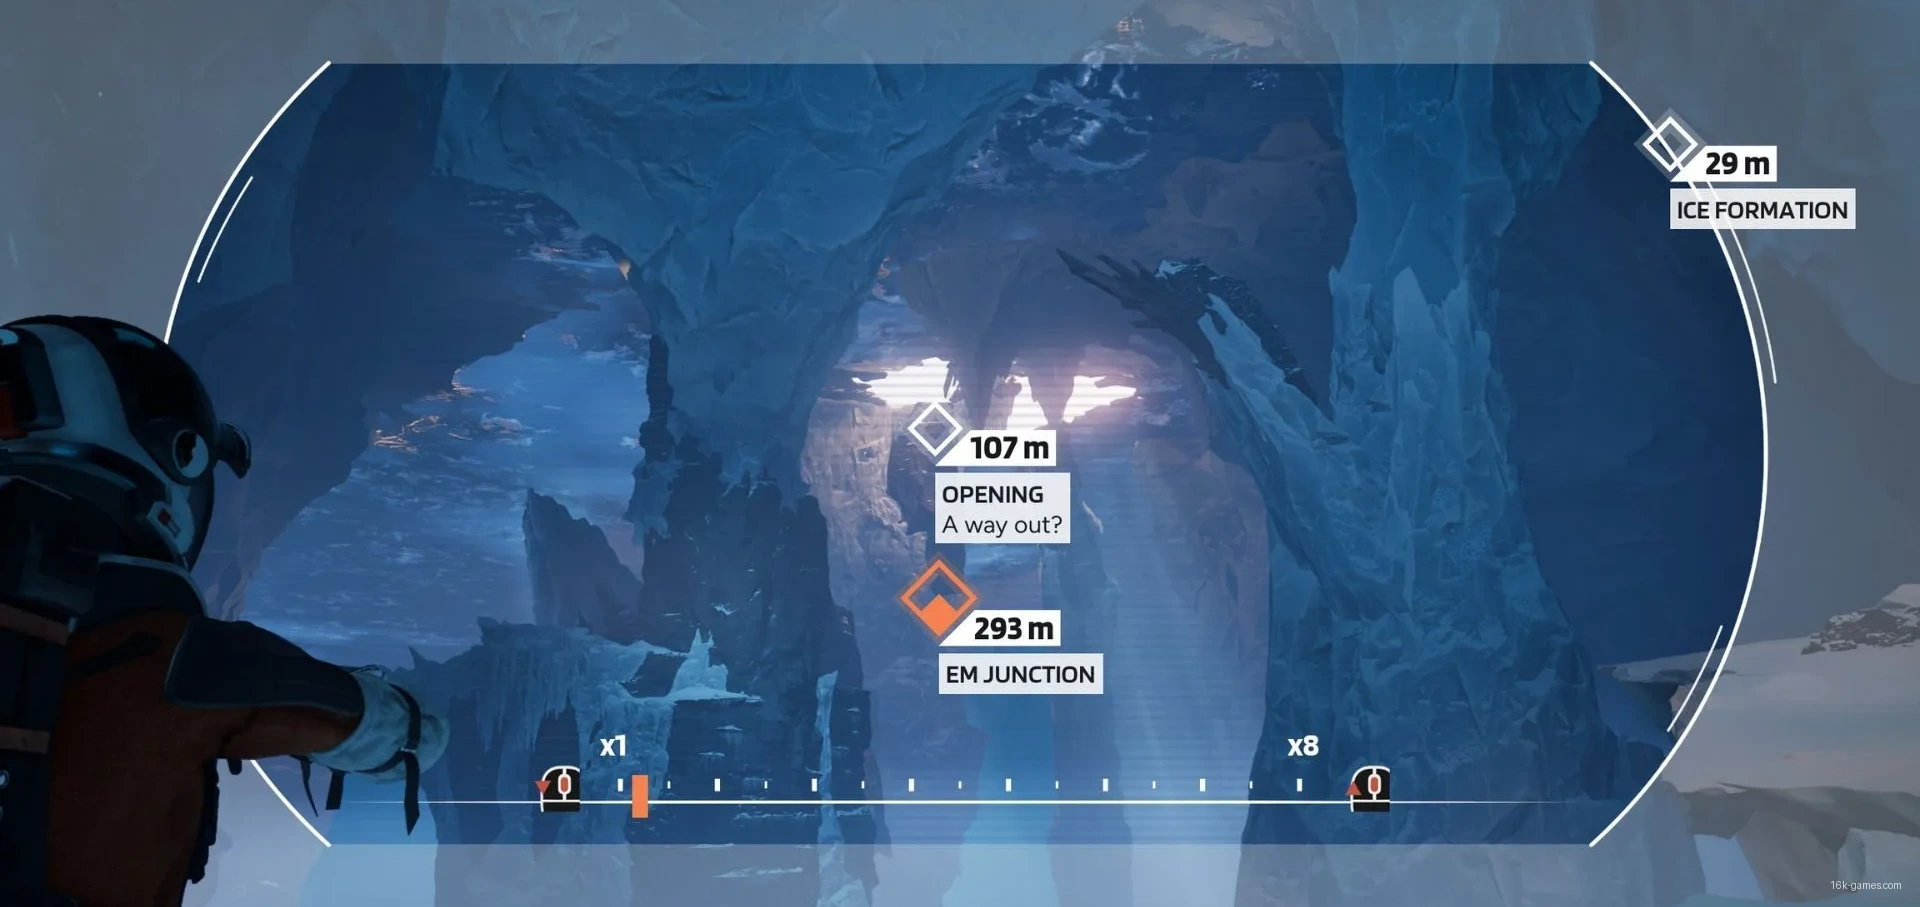
- Marker name: Opening
- Chapter: “Pulse”
The Opening marker introduces players to the concept of secondary markers in Aphelion. After you slip into the icy cave, you’ll be prompted to use the Pathfinder to find the exit. Look at the EM connector and zoom in – this will reveal the secondary marker Opening.
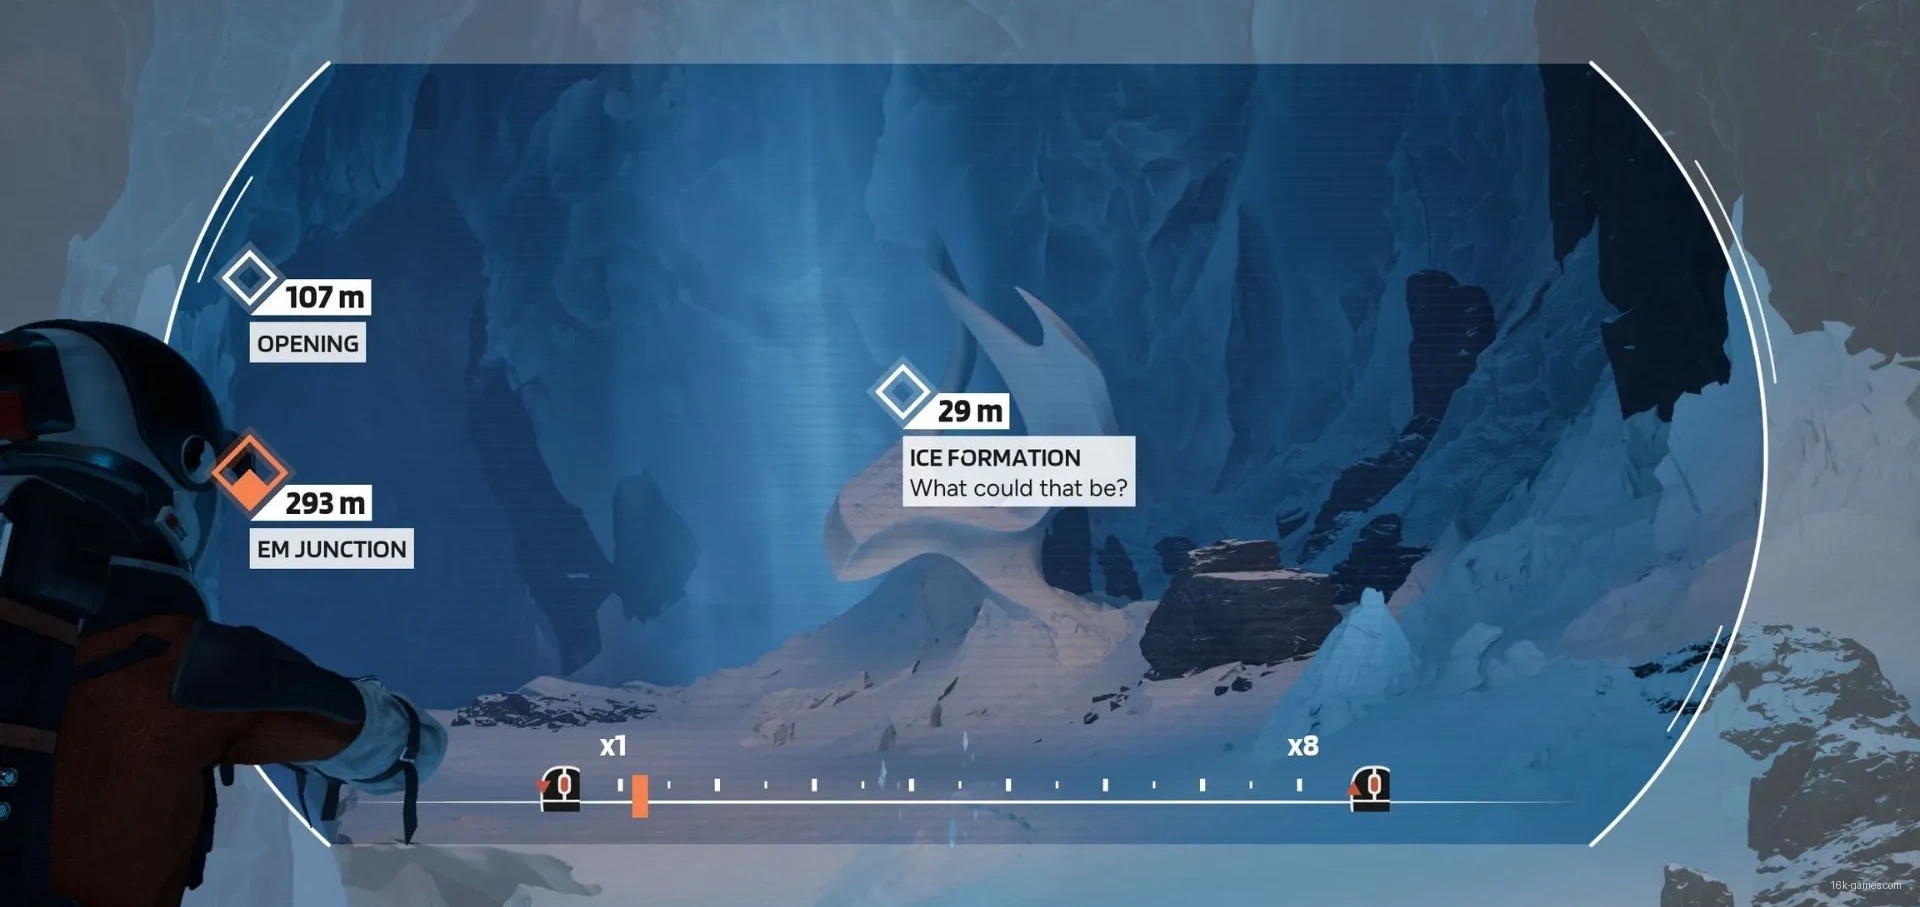
- Marker name: Ice Formation (What could that be?)
- Chapter: “Pulse”
This secondary marker is in the same cave as the first one. After locating the Opening marker, turn the Pathfinder to the right side of the cave. There you’ll see a natural ice sculpture. Scanning it with the Pathfinder will register your second secondary marker.
Pay special attention to this marker, as the first Glyph is located nearby.
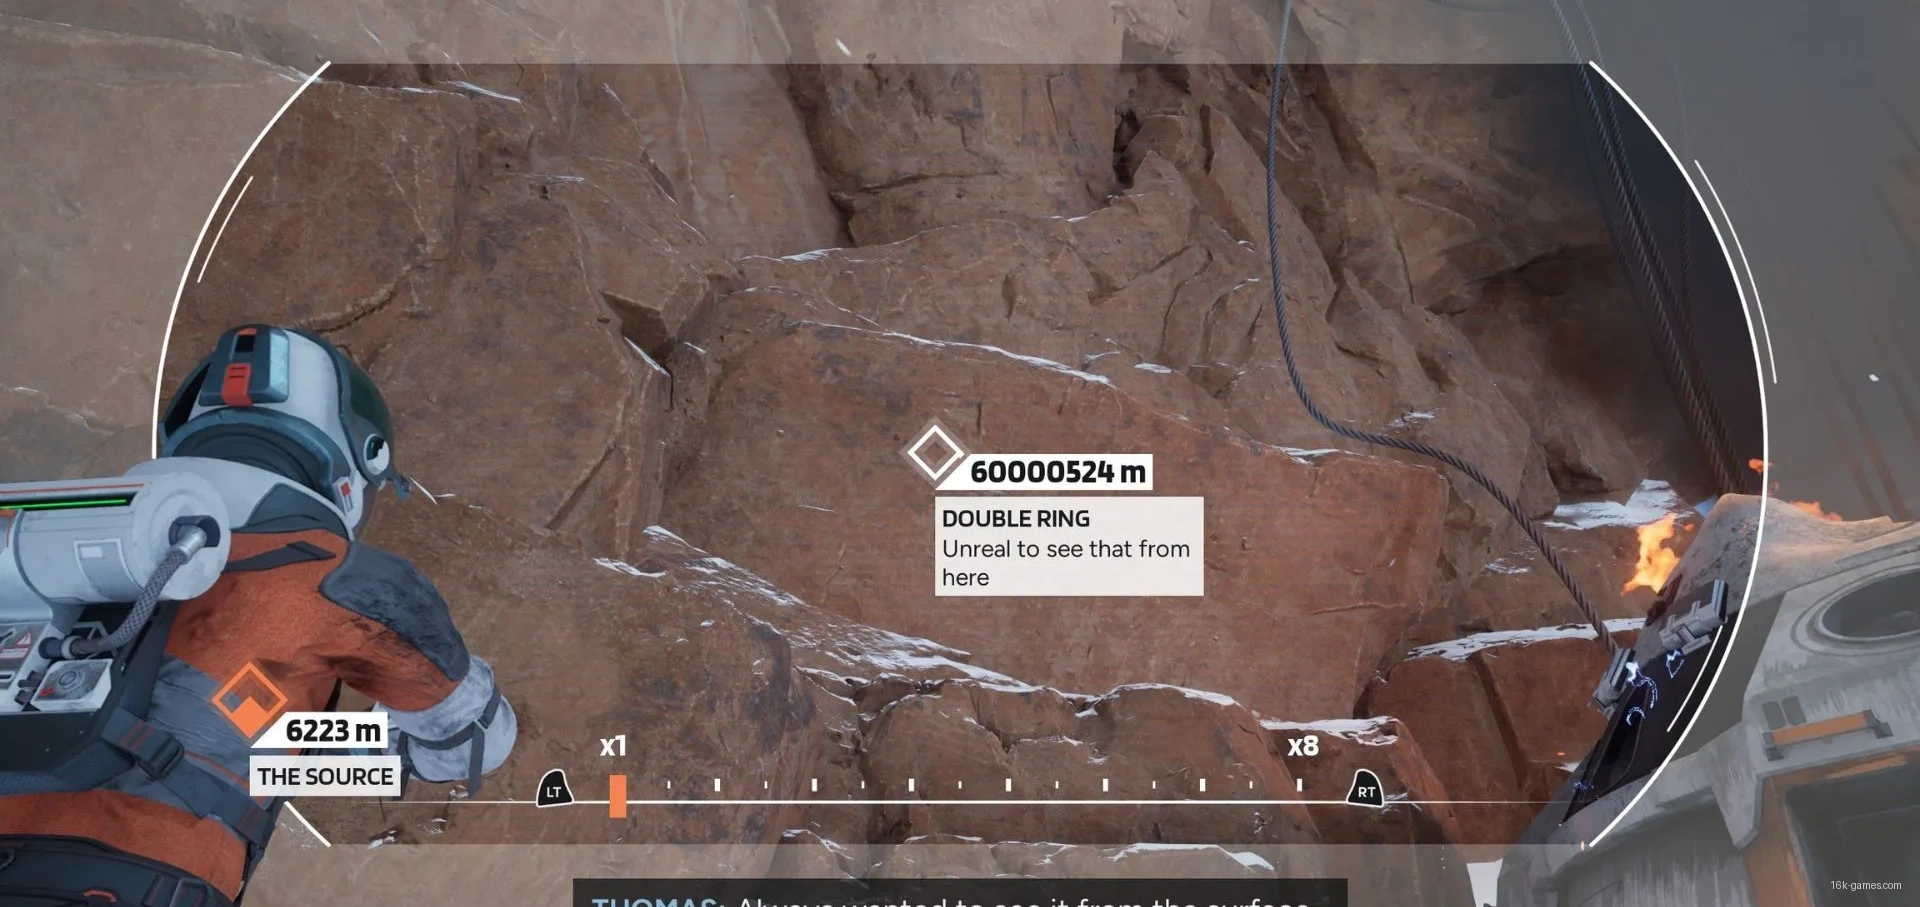
- Marker name: Double Ring
- Chapter: “Rescue Capsule”
After you take control of Thomas outside the rescue capsule in Chapter 3, immediately turn right, facing the wall. Use the Pathfinder to see the Double Ring marker through the wall.
If you miss it here, don’t worry! You can spot this marker many more times throughout Chapter 3, just remember to keep checking the sky.
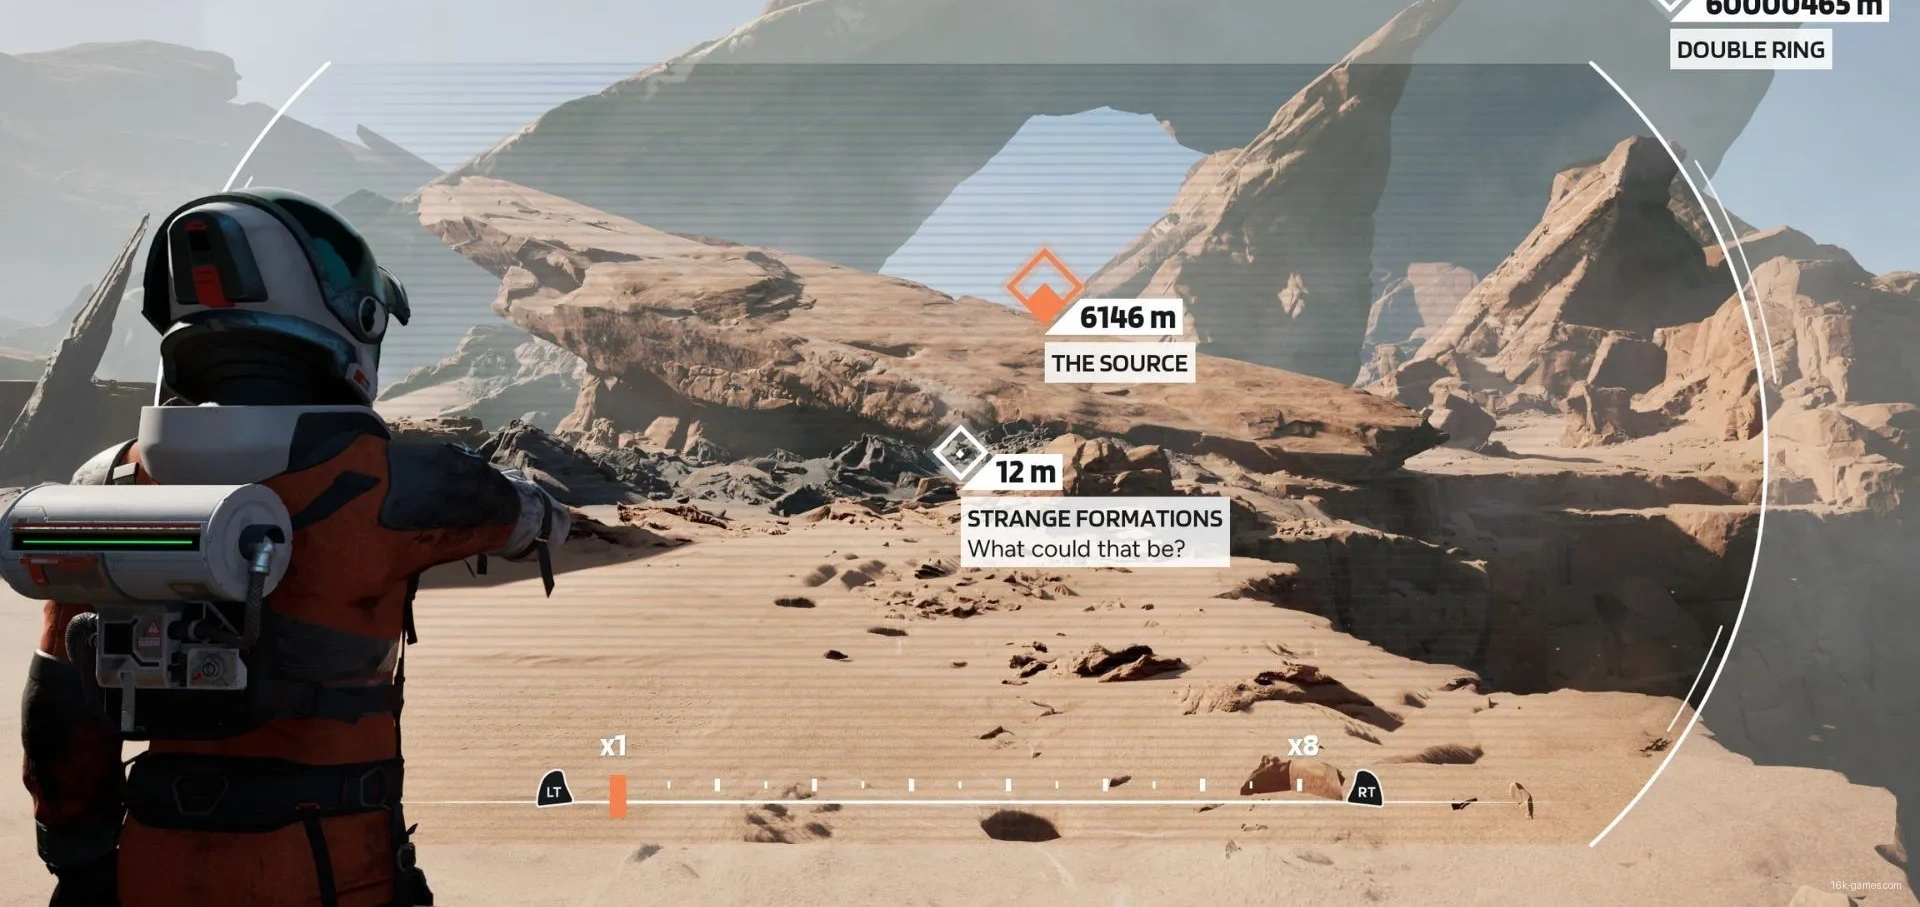
- Marker name: Strange Formations
- Chapter: “Rescue Capsule”
Following the path in Chapter 3, you’ll arrive at the river with strange holes nearby. Look at those holes through the Pathfinder to register their secondary marker.

- Marker name: Pit
- Chapter: “Rescue Capsule”
This secondary marker appears in Chapter 3 near the Strange Formations marker. When you reach the more open river‑filled area, look right to see a large pit. Scan it to obtain the secondary marker.
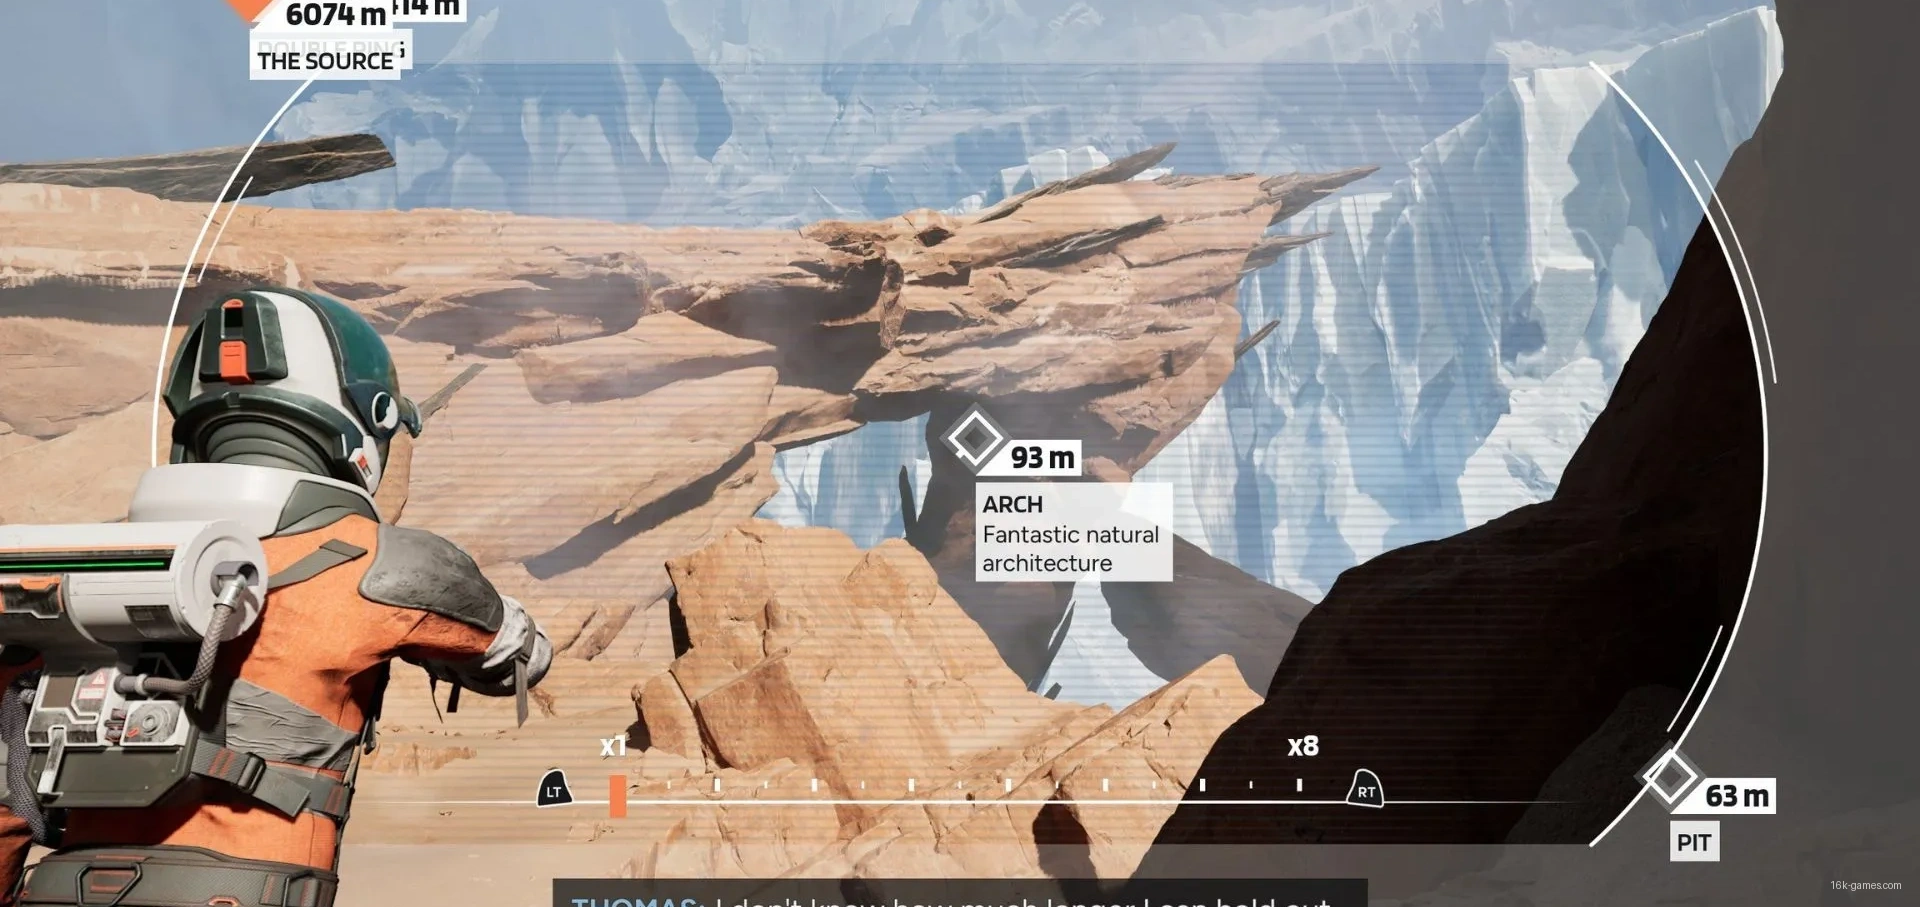
- Marker name: Arch
- Chapter: “Rescue Capsule”
Although you can notice Arch earlier in the chapter, you need to get close enough to scan it. We found that we were close enough after squeezing through the wall gap behind the Strange Formations and Pit markers.

- Marker name: Unknown Machine
- Chapter: “Rescue Capsule”
Following the path at the start of this chapter, you’ll hear a strange squeak. After squeezing through a small opening you’ll reach a clearing with a tiny mechanism beside the river. Use the Pathfinder to scan the mechanism and discover its secondary marker.

- Marker name: Abandoned Equipment
- Chapter: “Rescue Capsule”
Entering the Abandoned Station zone, you’ll need to constantly connect Thomas to oxygen sources to keep him breathing. After connecting to the second oxygen station, look at it through the Pathfinder to get the secondary marker Abandoned Equipment.
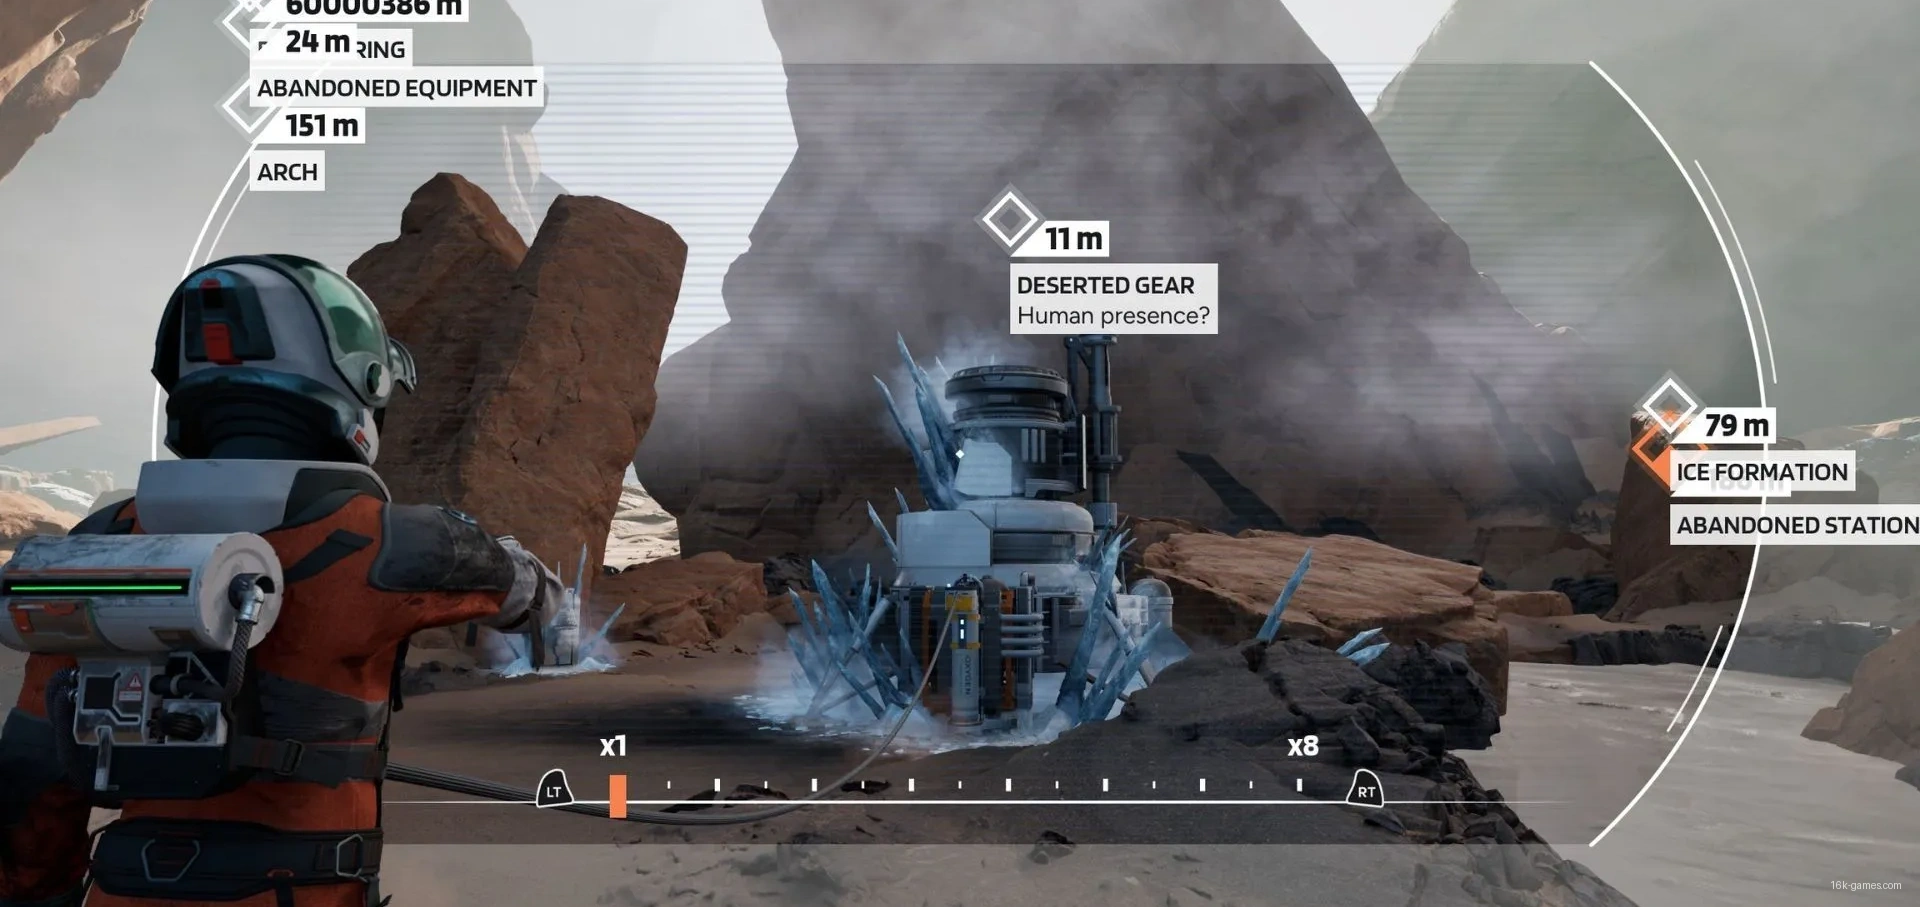
- Marker name: Deserted Gear
- Chapter: “Rescue Capsule”
The Deserted Gear marker is at the third oxygen station in the Abandoned Station area. After connecting to the ice‑covered oxygen tank, scan the area above it to obtain this marker.
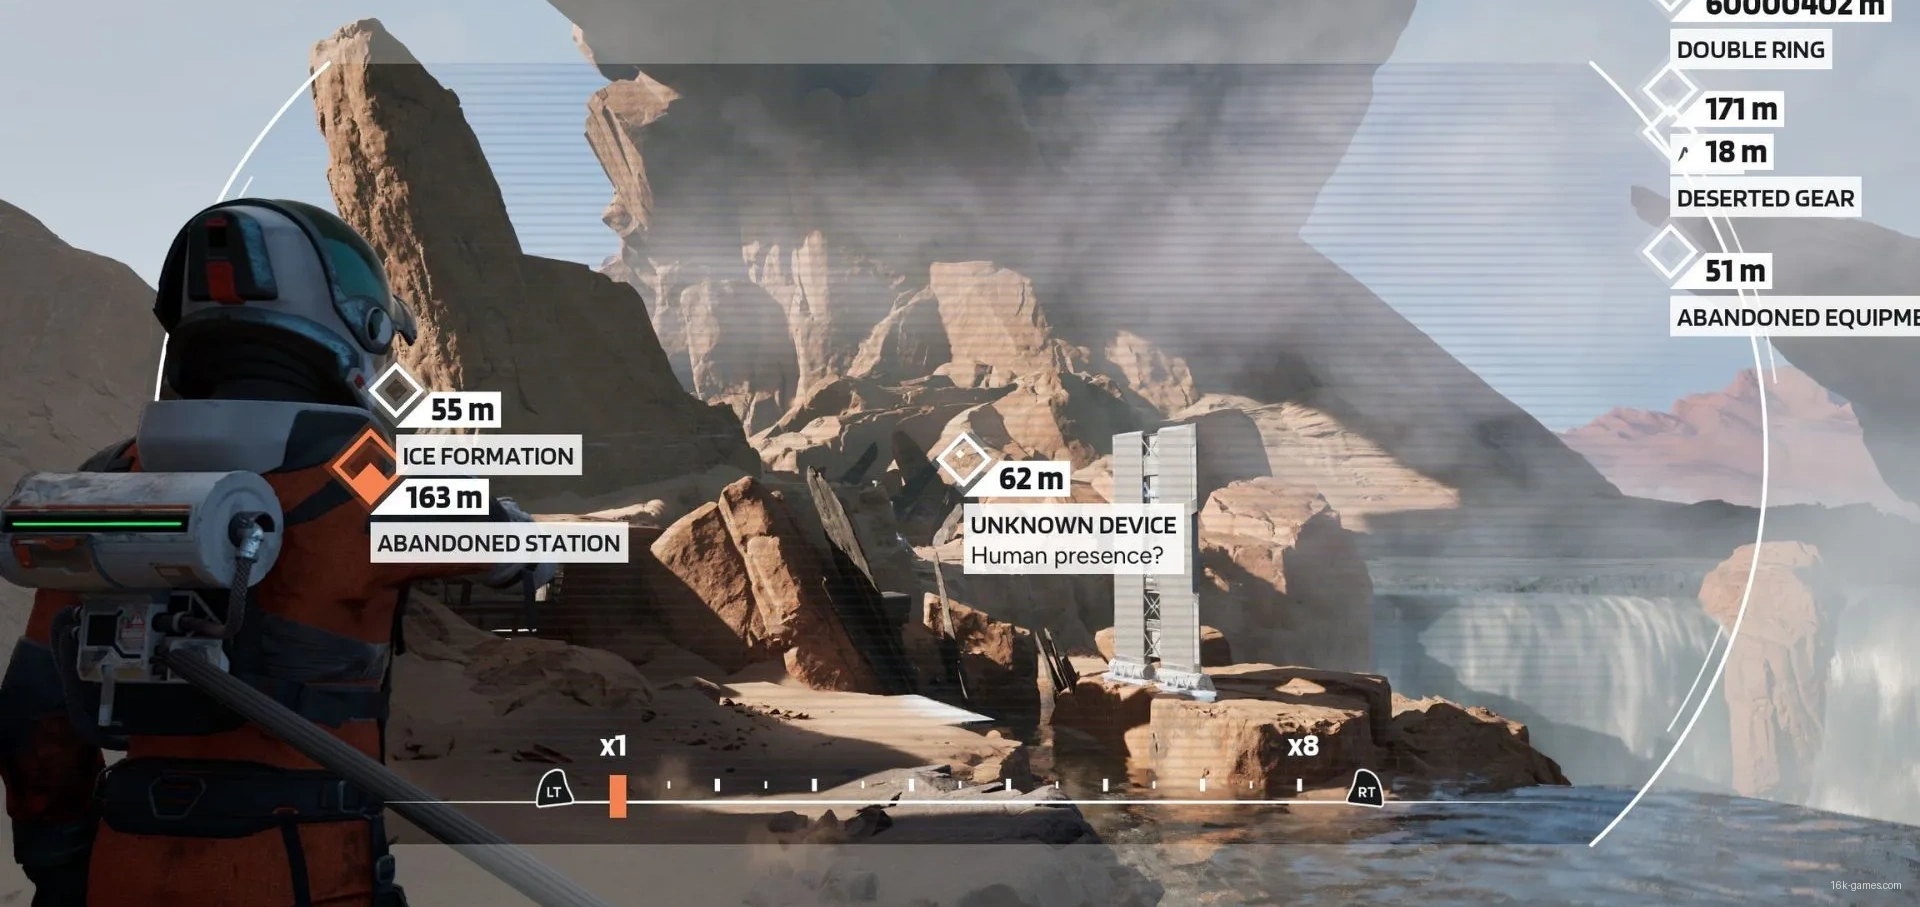
- Marker name: Unknown Device
- Chapter: “Rescue Capsule”
After connecting to the frozen oxygen tank near the Deserted Gear marker, look right. Scanning through the fissure with the Pathfinder will reveal the secondary marker Unknown Device.
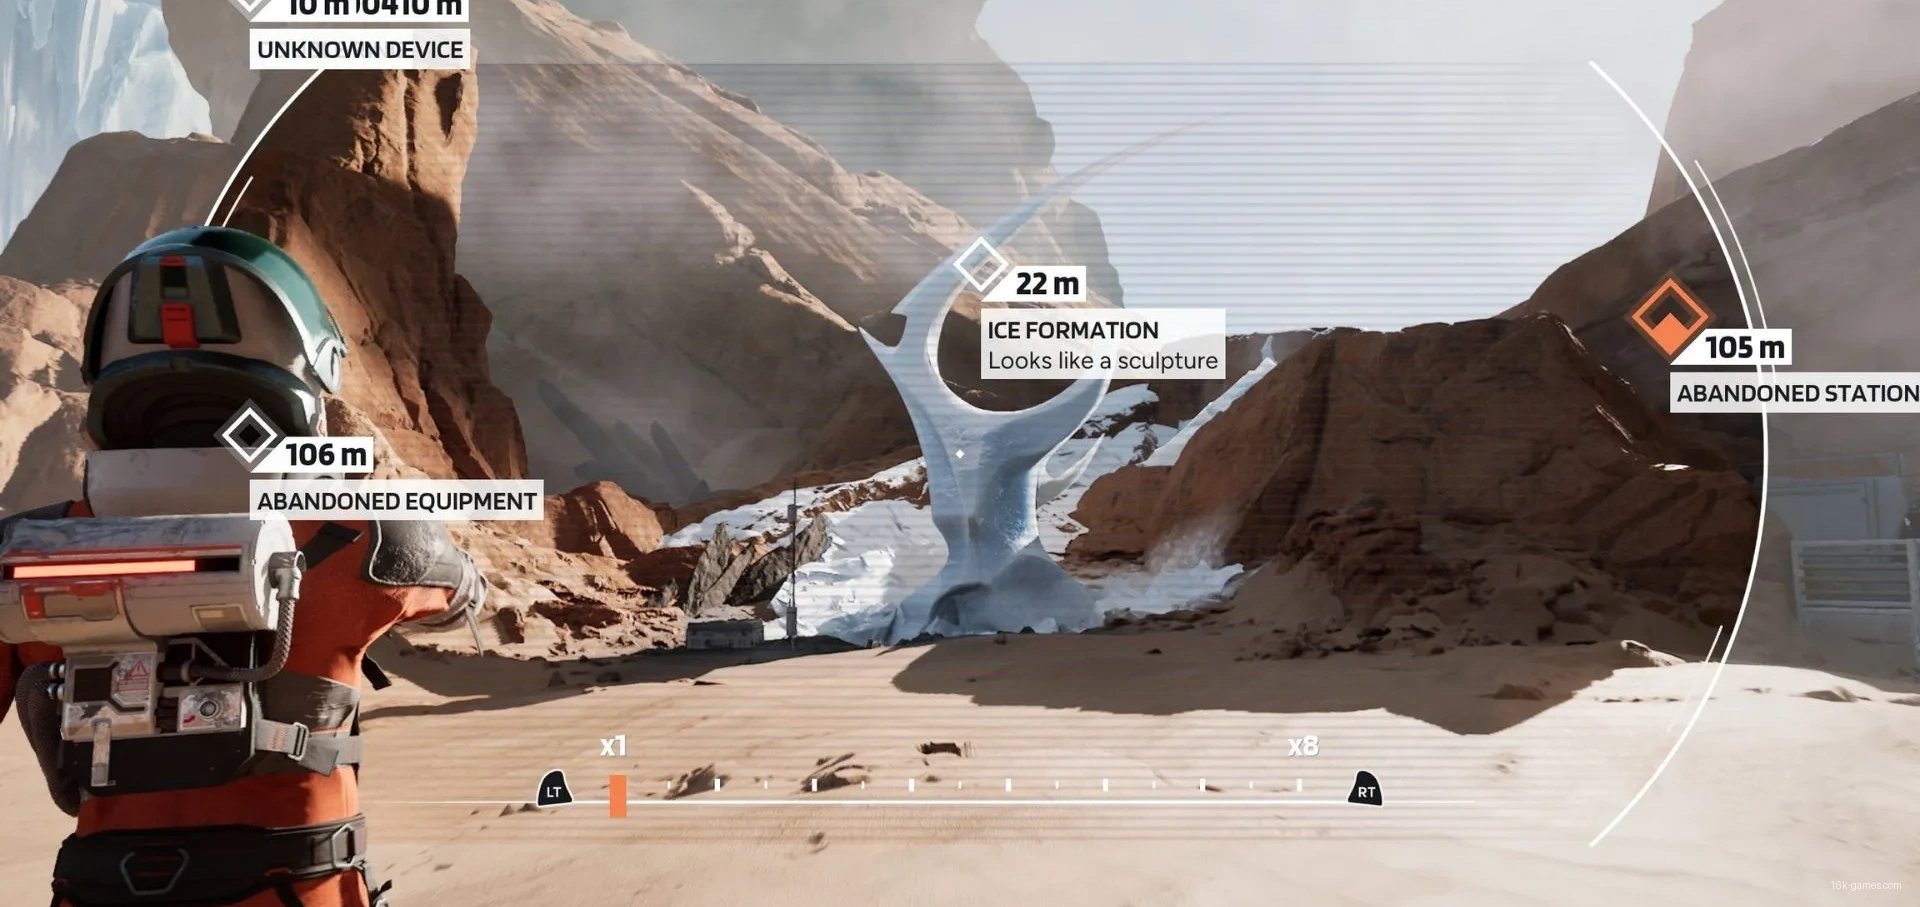
- Marker name: Ice Formation (Looks like a sculpture)
- Chapter: “Rescue Capsule”
Going deeper into the Abandoned Station you’ll reach a clearing without an easily accessible oxygen tank. The Unknown Device marker will be on the right, and the Ice Formation on the left.
On our first run we spent too much time scanning the ice formation. When we tried to reach the next oxygen tank we ran out of oxygen and had to restart. We strongly recommend finding the next oxygen tank first, then scanning and interacting with the ice formation to avoid dying.

- Marker name: Cave
- Chapter: “Onyx Forest”
After escaping Nemesis and exiting her cave, players will scan the distant Light Reflection. Then look left and slightly up to find the secondary marker Cave.

- Marker name: Ice Formation (Another one)
- Chapter: “Onyx Forest”
This secondary marker is in the same area as Cave and Light Reflection. It is located in the lower‑left corner of that zone.
After scanning the Cave marker, move a bit closer to the edge of the ledge you’re standing on. The Ice Formation (Another one) marker will be diagonally left of the Cave marker, beneath the overhang.

- Marker name: Ice Formation (Looks intriguing)
- Chapter: “Onyx Forest”
Although this is the second “Ice Formation” marker in Chapter 4, it counts as a unique location. Players will find it in the geyser area that opens after the second escape from Nemesis.
Follow the path until you reach a fork. At the fork turn right to come to a fissure with a single platform in the middle. You’ll need to jump over that platform to the other side without getting hit by the geyser jets to reach the secondary marker.
A Glyph is near this marker, so get close to unlock both.

- Marker name: Ice Formation (Curious shape)
- Chapter: “Outpost”
After you explore the Outpost and repair the rover, you’ll step outside to reach the Annex. Immediately after entering the main laboratory, look left. You’ll see this ice formation, which can be scanned right away.
- Marker name: Elevator
- Chapter: “Base”
Attempting to enter the base will show that the power is offline. To restore power you need to start the generator on the hill to the left of the base. Look at this generator through the Pathfinder to discover the secondary marker Elevator beneath it.
- Marker name: Equatorial Storm
- Chapter: “Storm”
After descending the first slope in Chapter 7, look at the sky. The secondary marker Equatorial Storm will appear.
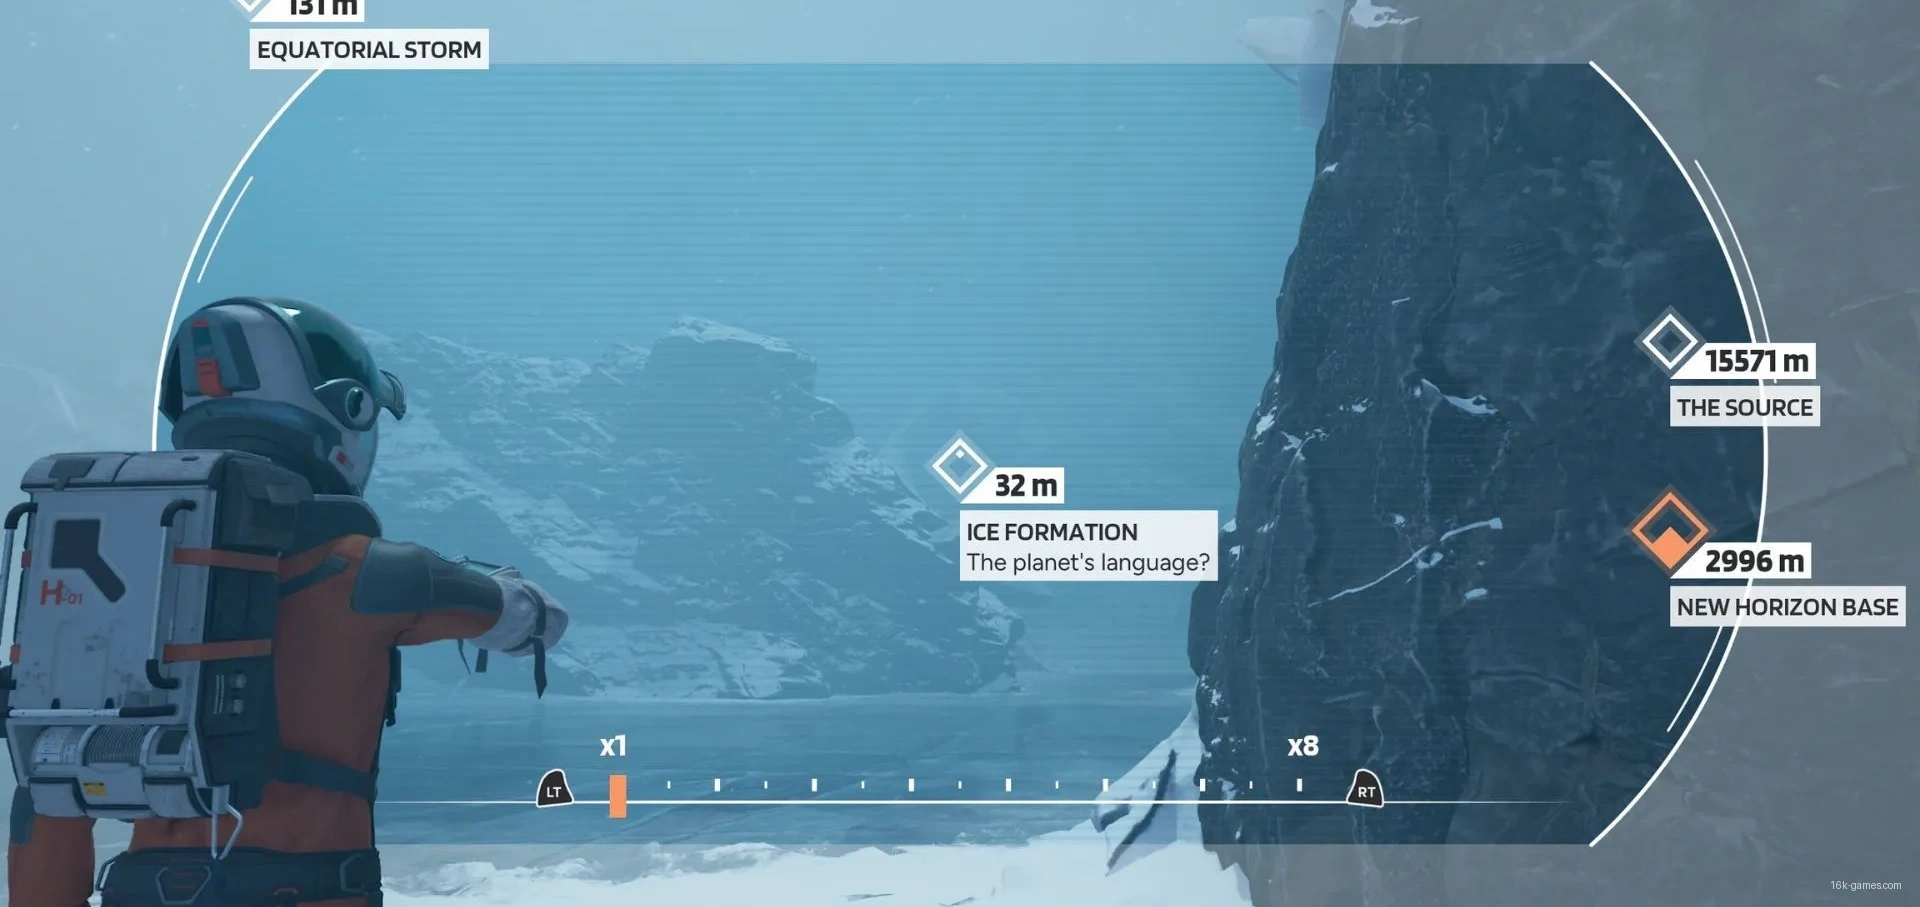
- Marker name: Ice Formation (The planet’s language?)
- Chapter: “Storm”
When you first enter the equatorial storm, you’ll take cover behind three different rocks before climbing onto a platform. The third rock is to the right of the ice patch. Look through that ice to find the formation behind it.
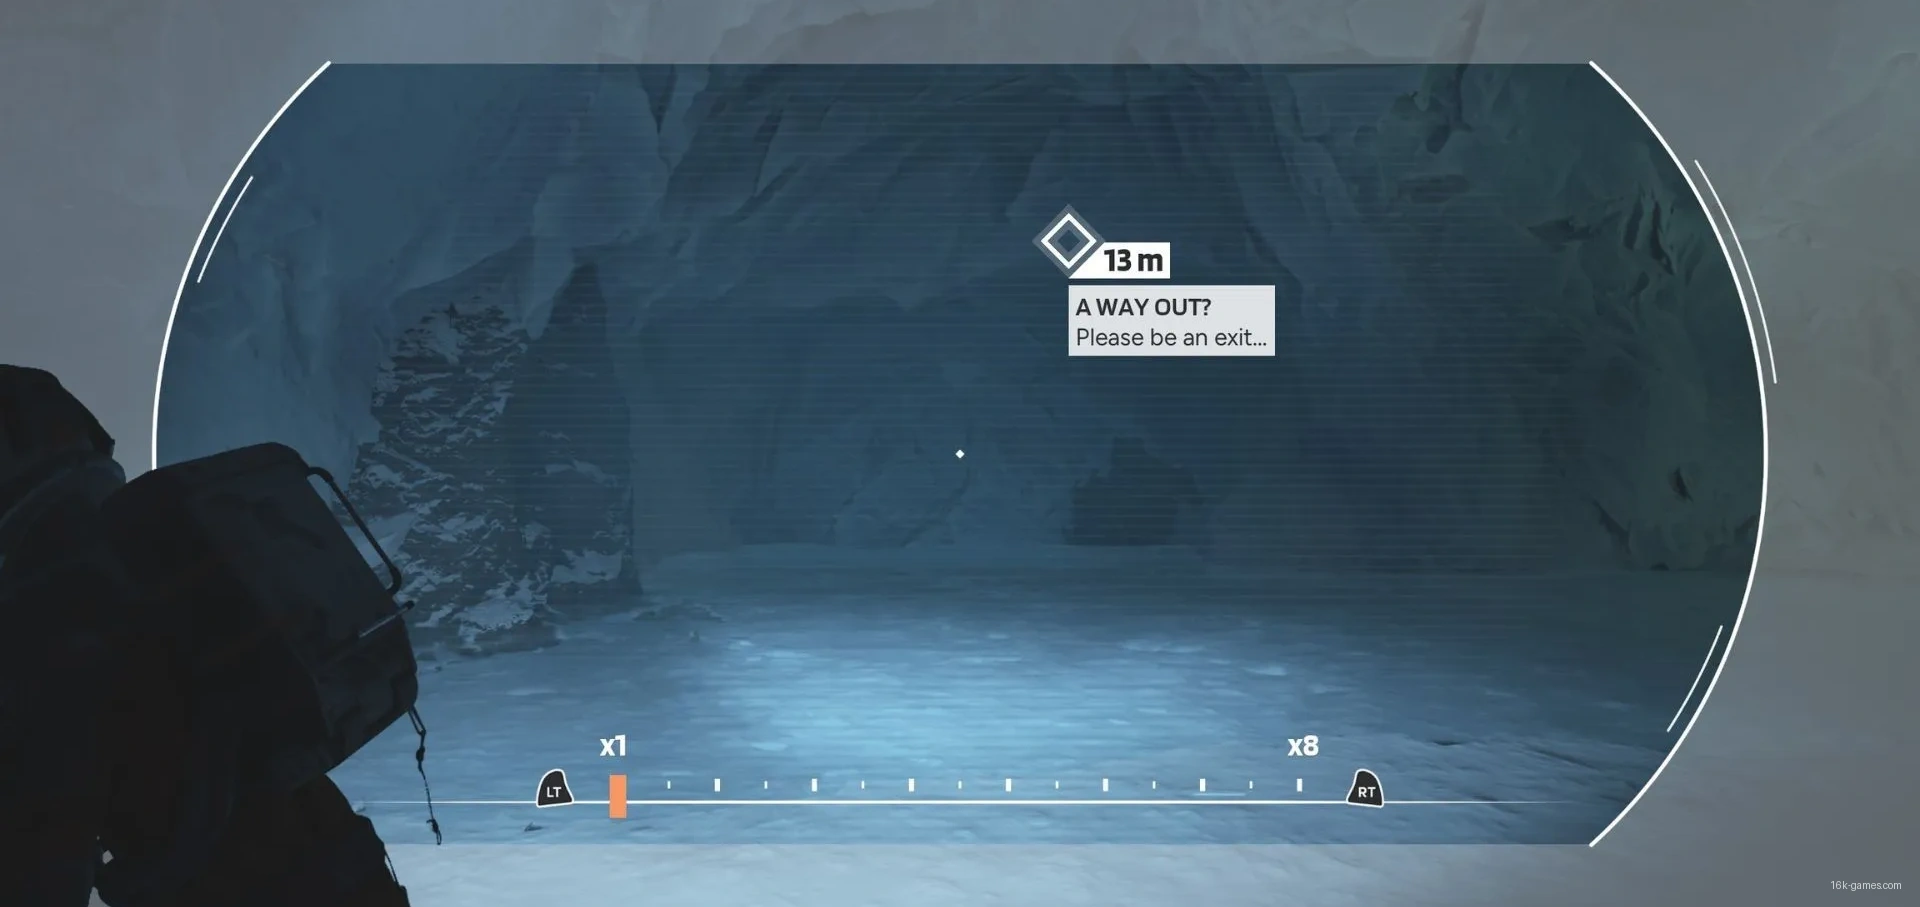
- Marker name: A Way Out?
- Chapter: “Storm”
Entering the cave in this chapter you’ll need to avoid Nemesis while searching for an exit. Use the Anomaly Bait in the first room to quickly bypass Nemesis and reach the second chamber of the cave. On the opposite side of the chamber there is a water slide leading to the cave exit.
Use the Pathfinder to look at the cave exit and find this secondary marker. After scanning, activate the Anomaly Bait in that room and slide down the water to the exit.
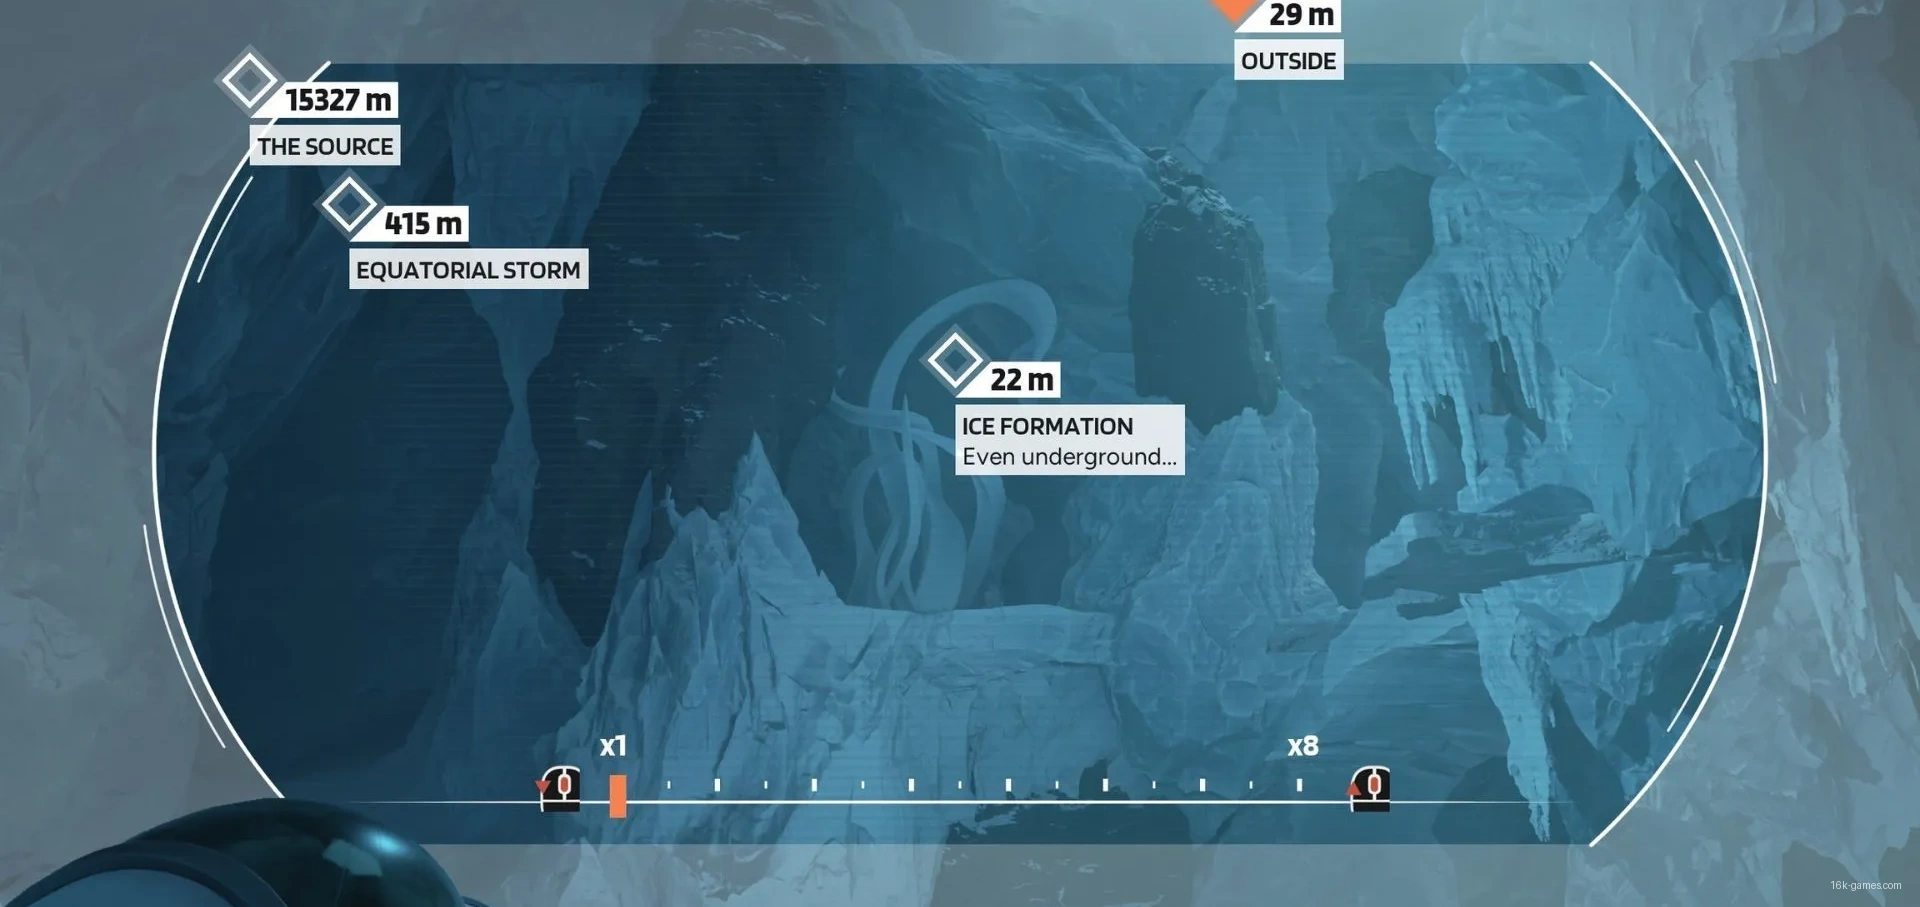
- Marker name: Ice Formation (Even underground…)
- Chapter: “Storm”
After escaping the Nemesis Arena you’ll continue the ascent toward the surface world. Along the way you’ll see another ice formation. Scan it to obtain the secondary marker.
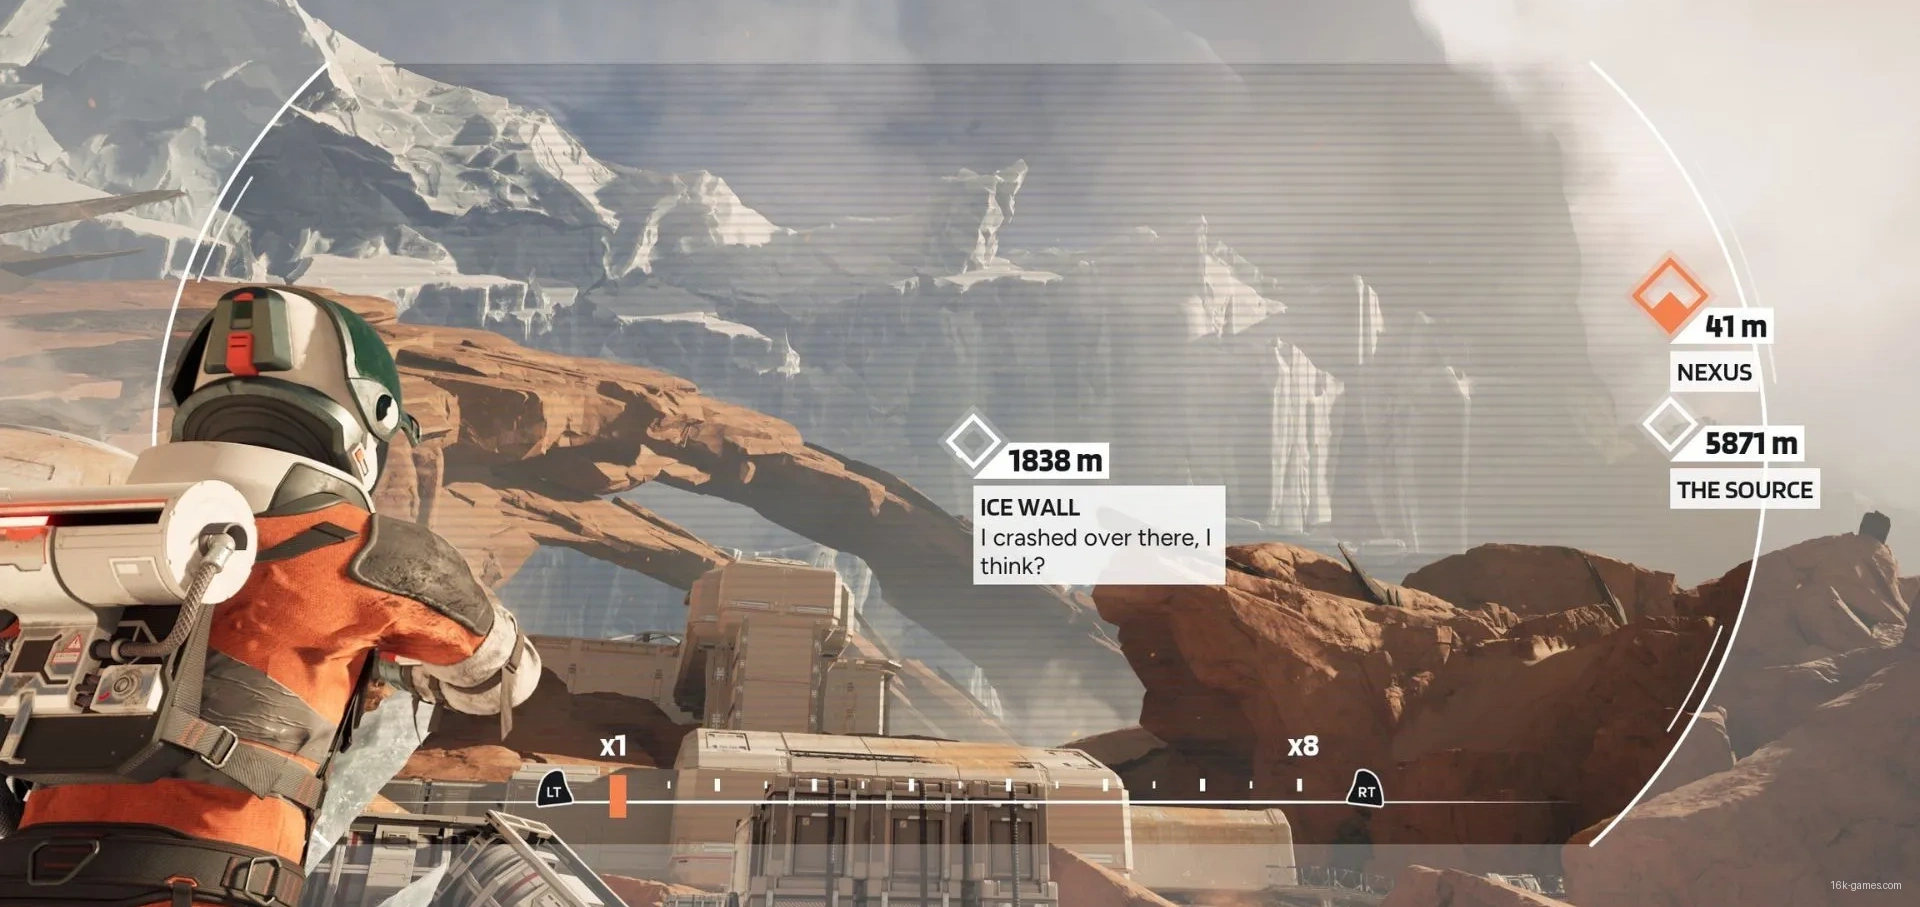
- Marker name: Ice Wall
- Chapter: “Nexus”
After visiting the Medical Bay, players will exit the Base area. As you follow the path, the camera will pull back to show the surroundings. When it zooms back in, turn around and activate the scanner to find the Ice Wall marker.
If your oxygen runs out quickly, you can still see this secondary marker from the first oxygen station in this zone.
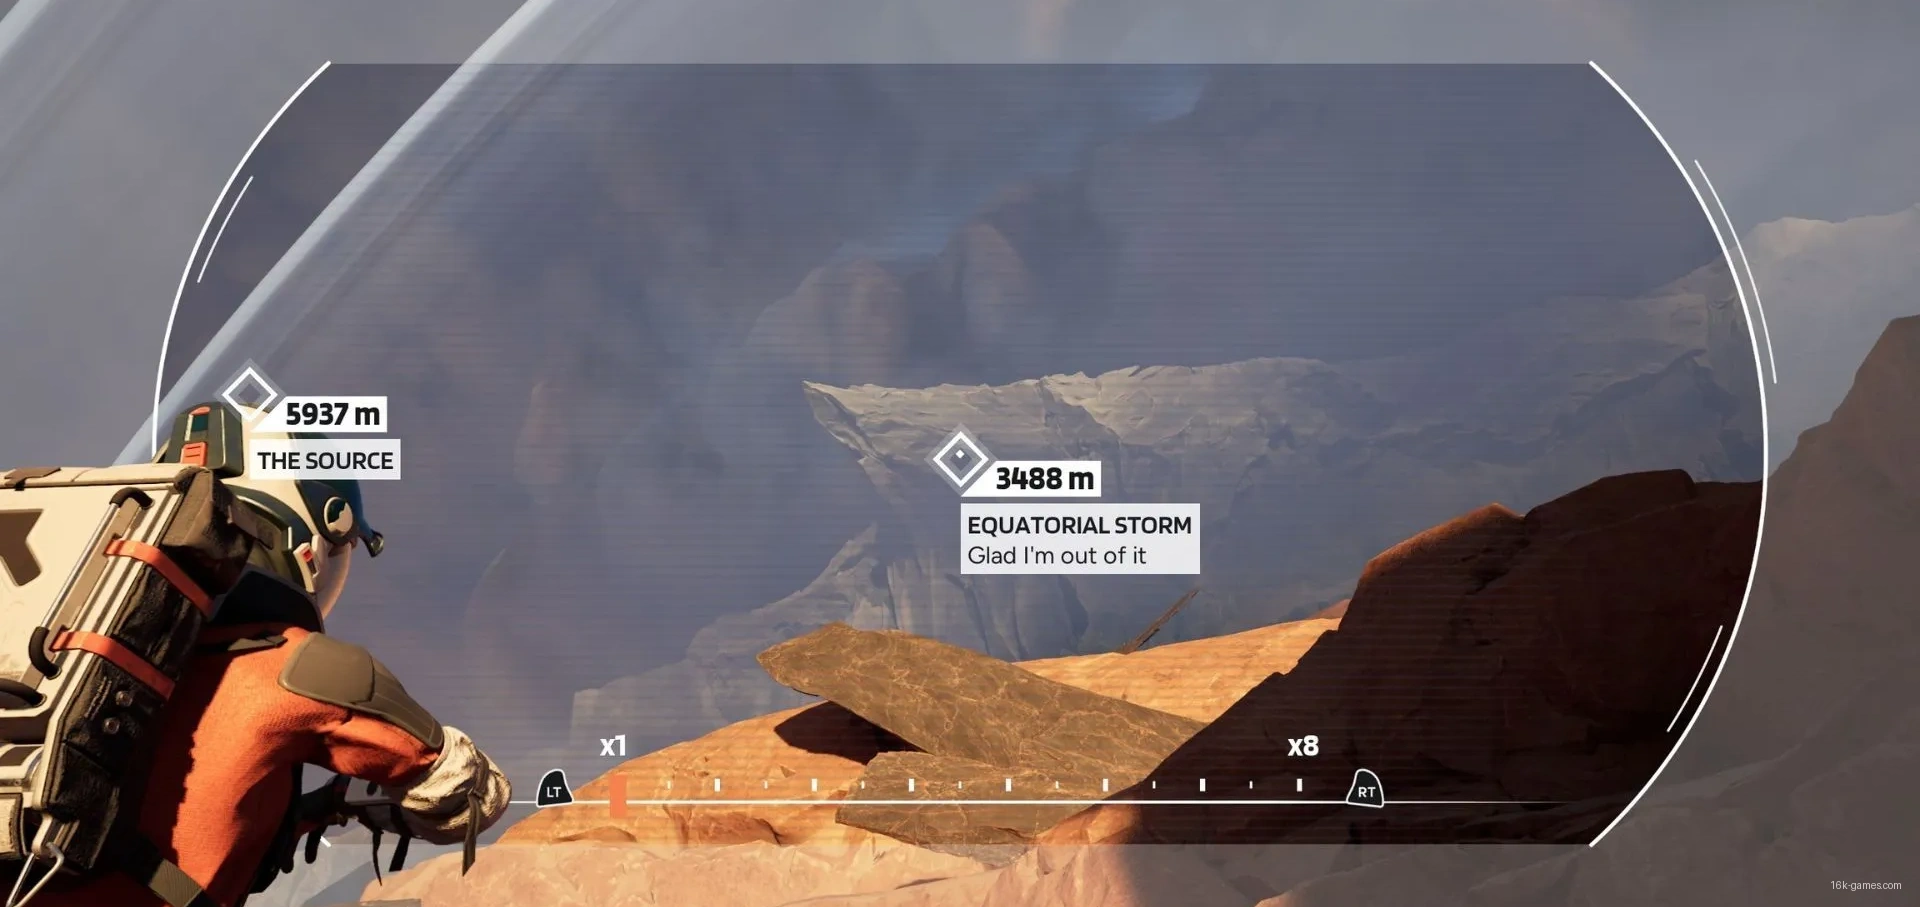
- Marker name: Equatorial Storm
- Chapter: “Reunion”
This secondary marker is available immediately after entering Chapter 9. Face the icy cliffs and activate the Pathfinder. The Equatorial Storm marker appears here, at one of the cliff edges.
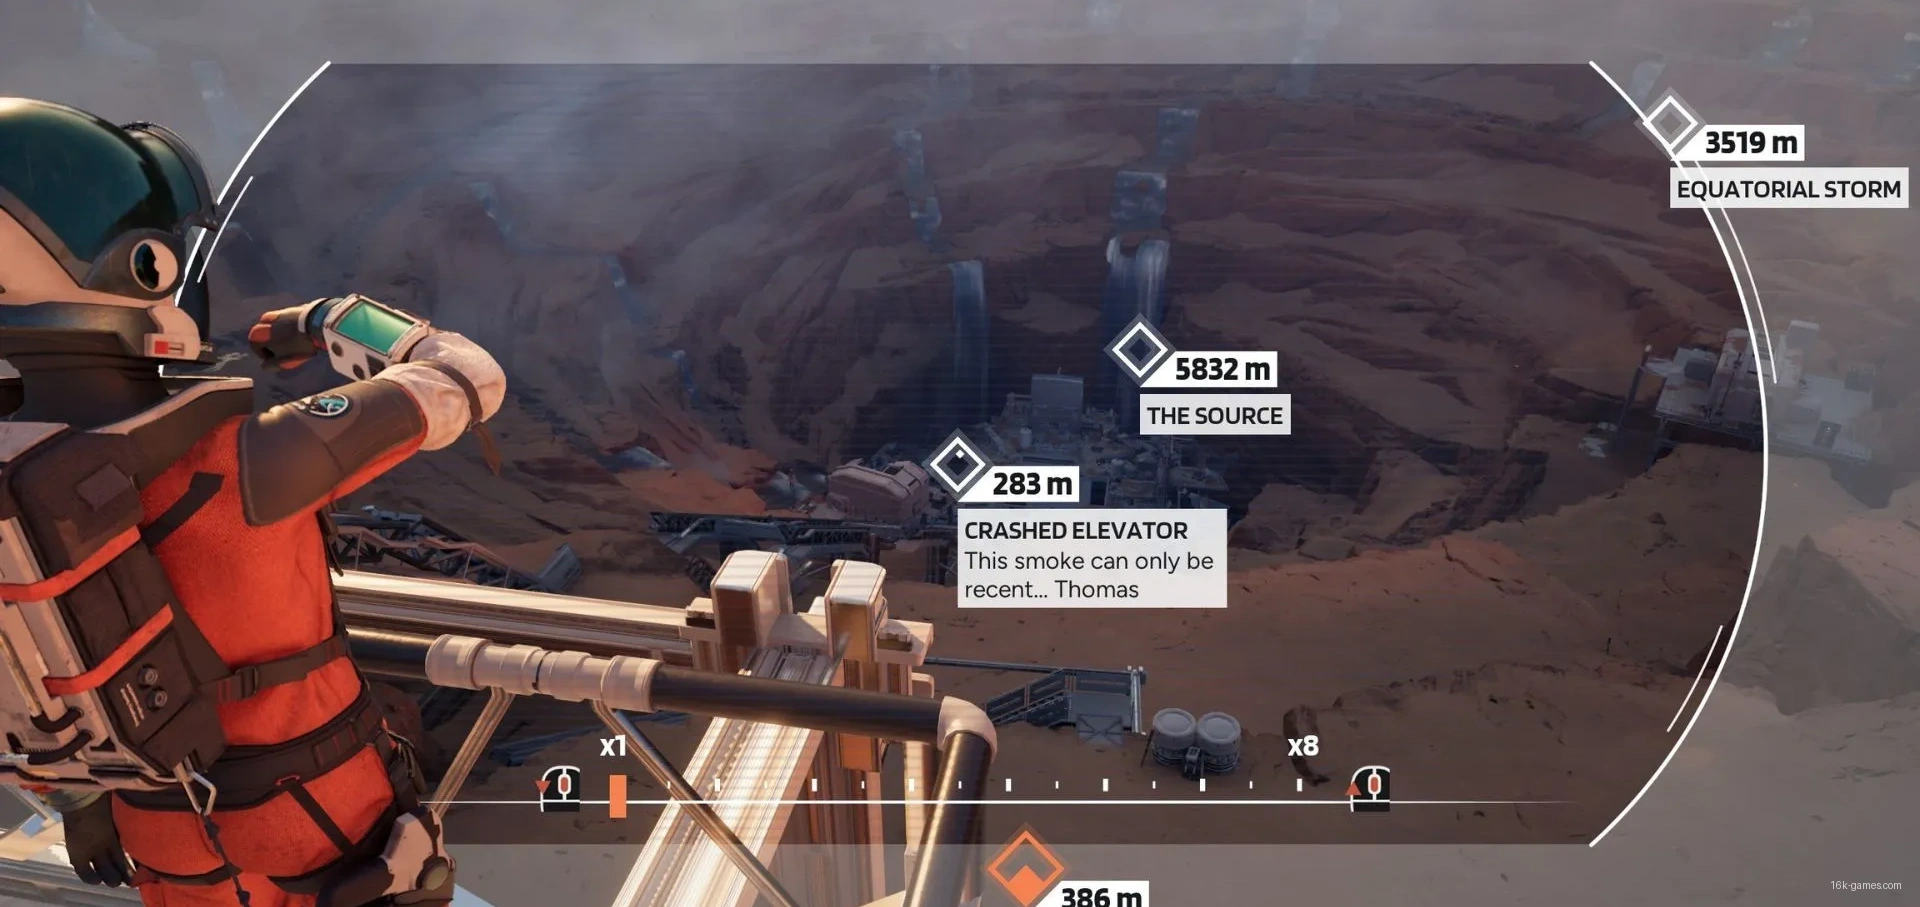
- Marker name: Crashed Elevator
- Chapter: “Reunion”
Seeing that the elevator to the Nexus has vanished, you’ll need to jump over a large crate to reach the staircase on the right. When Ariana surveys the area and records another message, use the Pathfinder on the spot where the elevator wreckage lies to find this secondary marker.
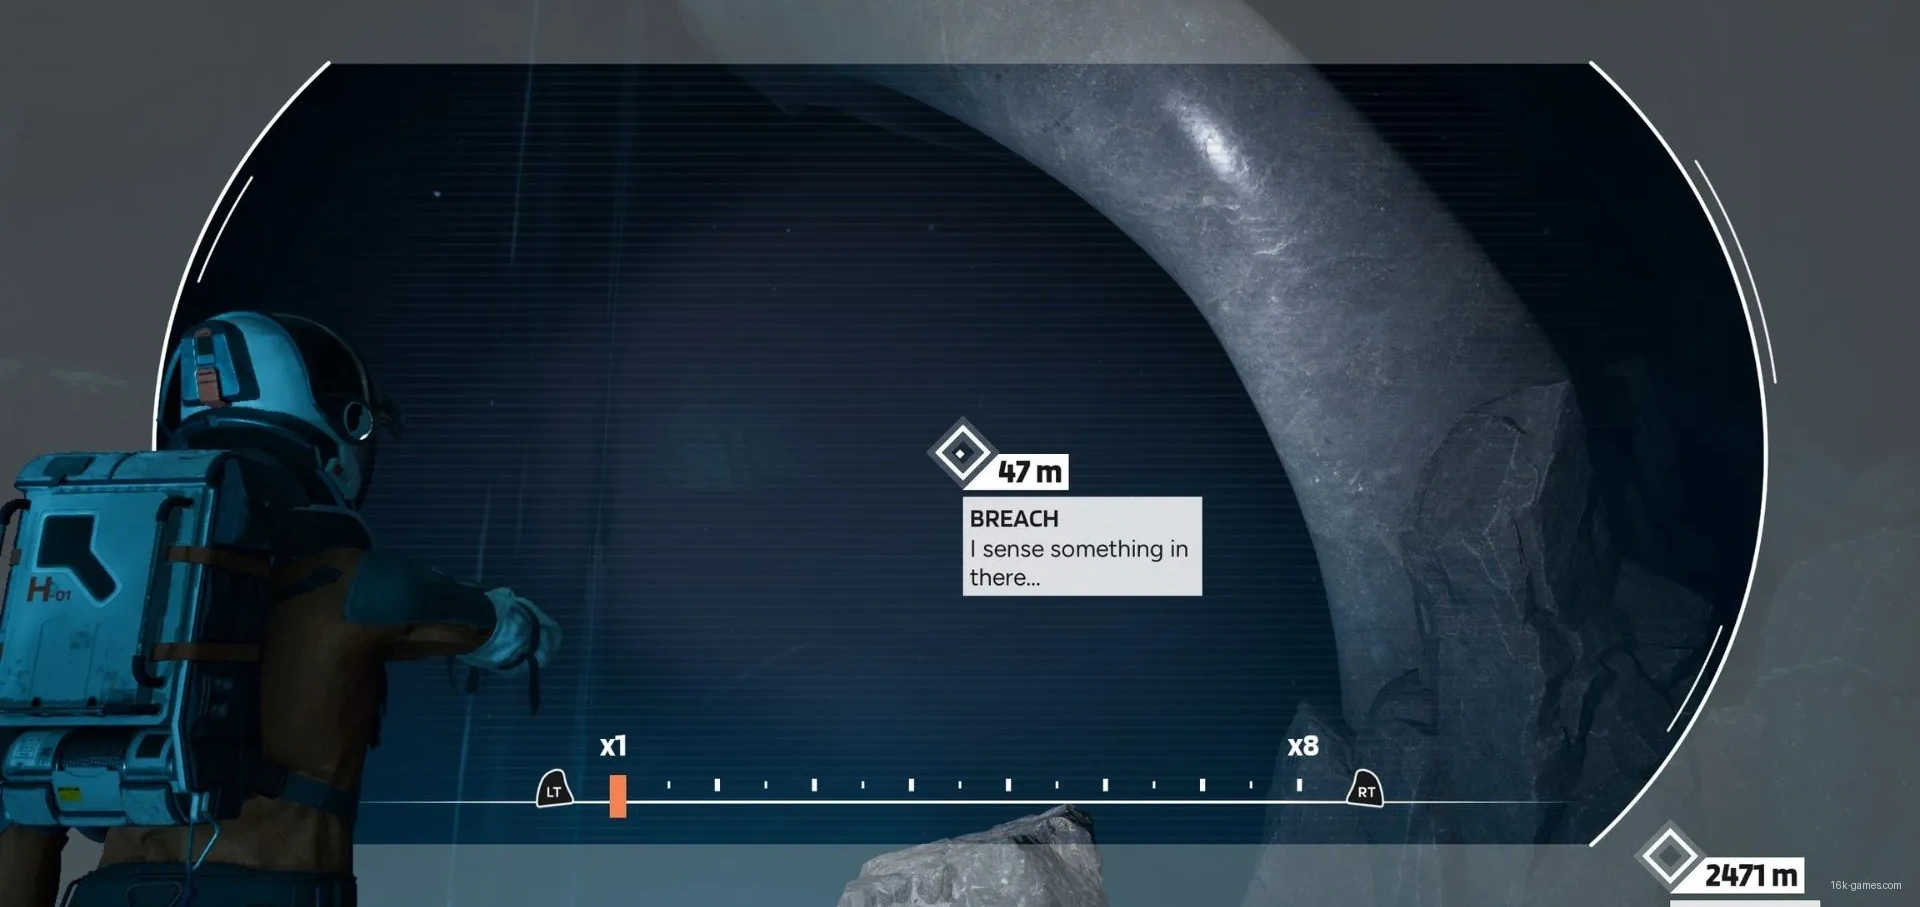
- Marker name: Breach
- Chapter: “Styx”
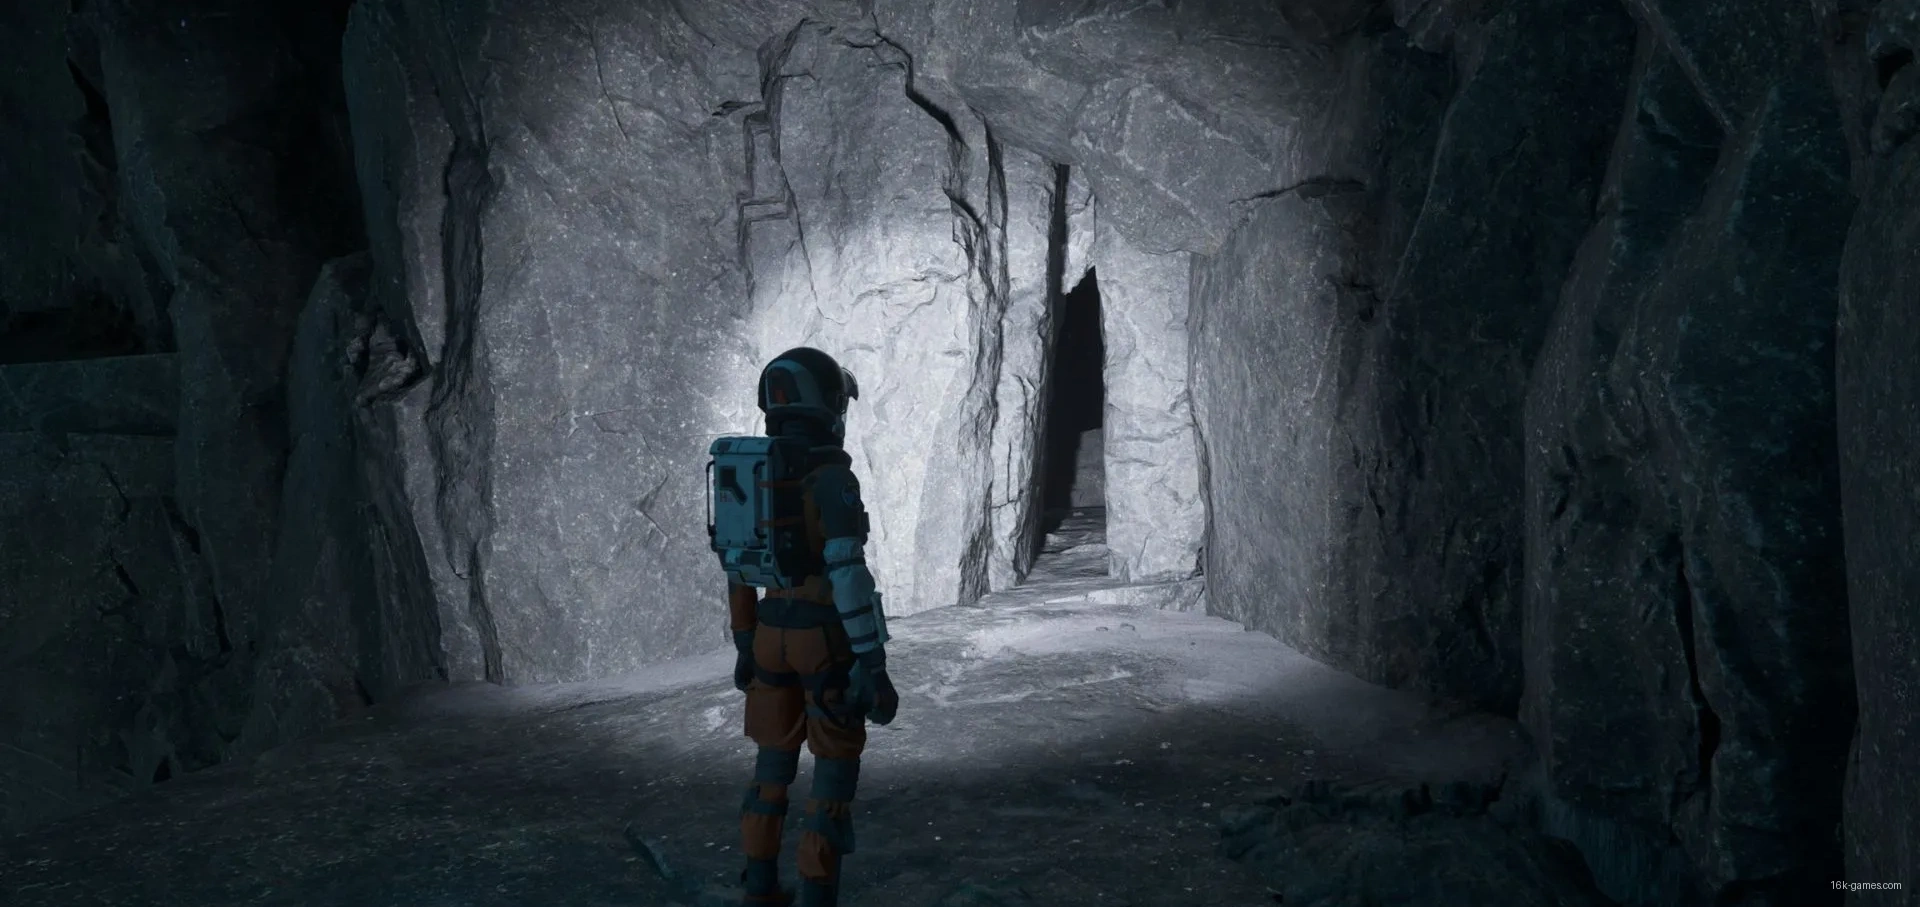
Following Thomas’s mirages through the cave system, one of his mirages will speak about Ariana’s nobility. To reach this mirage you must jump across several platforms in the river and climb a ledge leading to it. The mirage will then walk across a narrow bridge and disappear.
Do not follow the mirage across the bridge. Instead, turn facing the darkness and activate the Pathfinder. From there you can spot the secondary marker Breach.


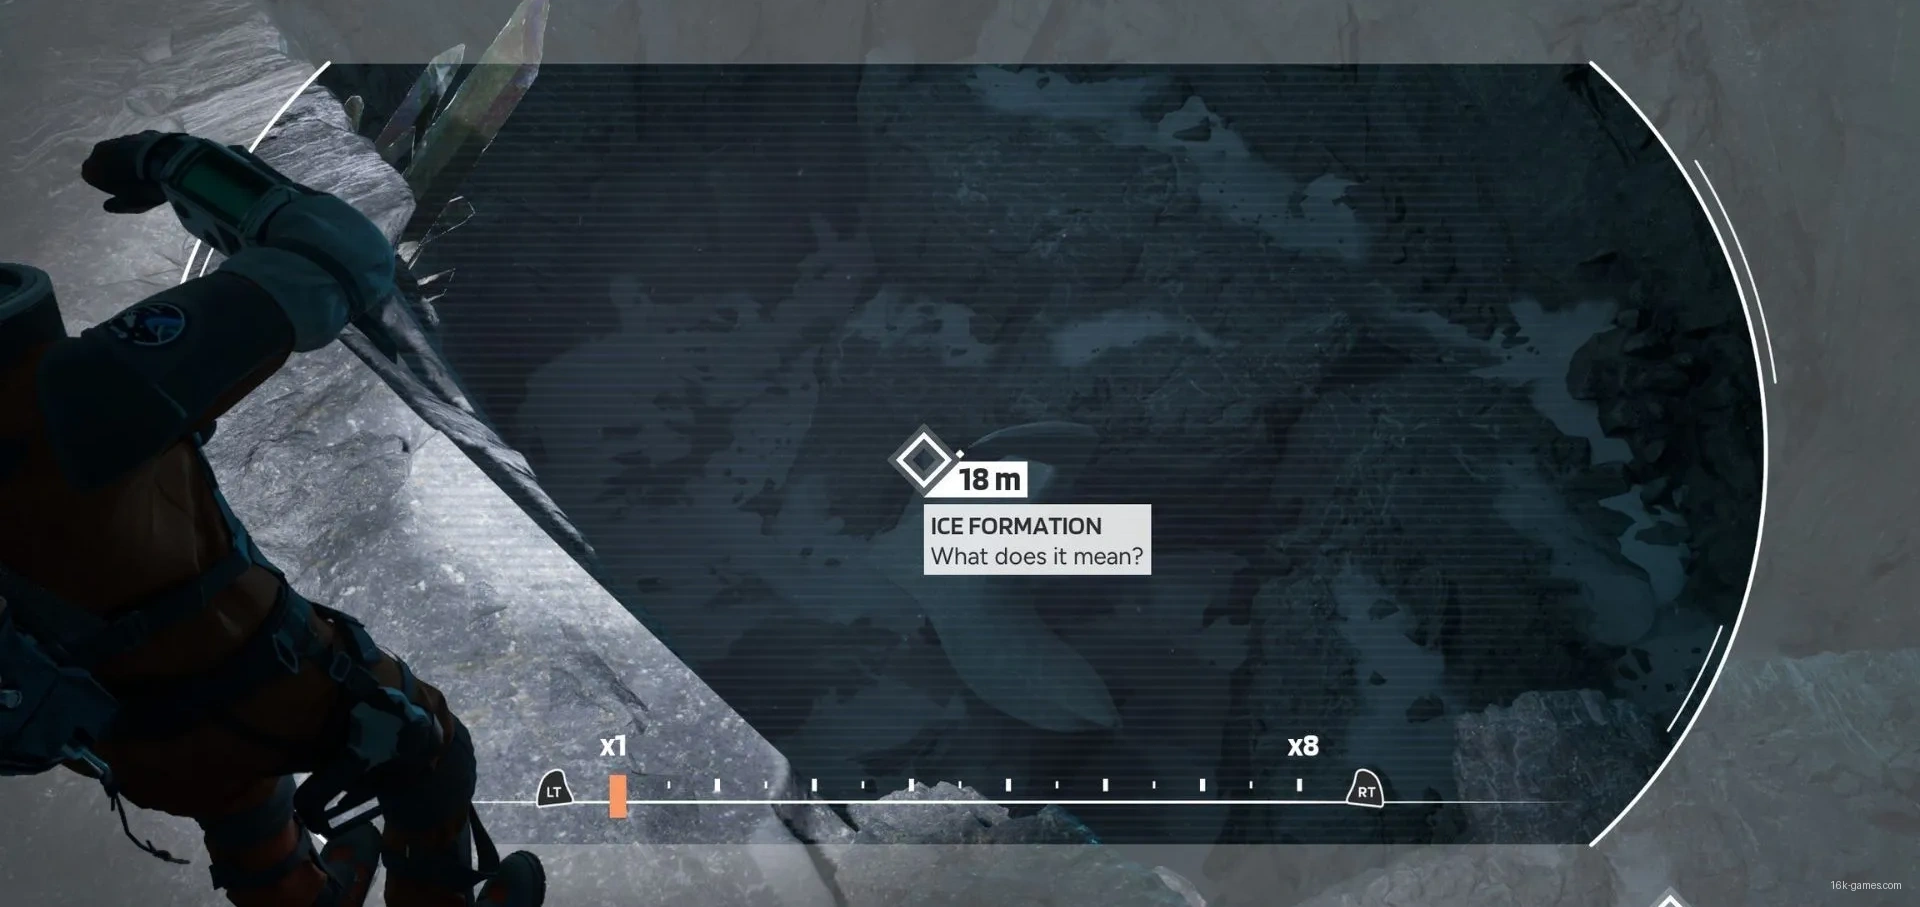
- Marker name: Ice Formation (What does it mean?)
- Chapter: “Styx”
This is one of the easiest secondary markers to miss in Aphelion. The path to it starts at the end of a long bridge where one of Thomas’s mirages walks at the beginning of the level.
When you climb onto this wall, go all the way to the top and shift right to reach a higher ledge.
Proceed to the end of that ledge and clear the anomaly to connect a cable to the crystal protruding from the wall. Jump to the opposite platform, then turn left and find a slit in the wall. Enter the slit and look at the floor of the room to discover the hidden ice formation.
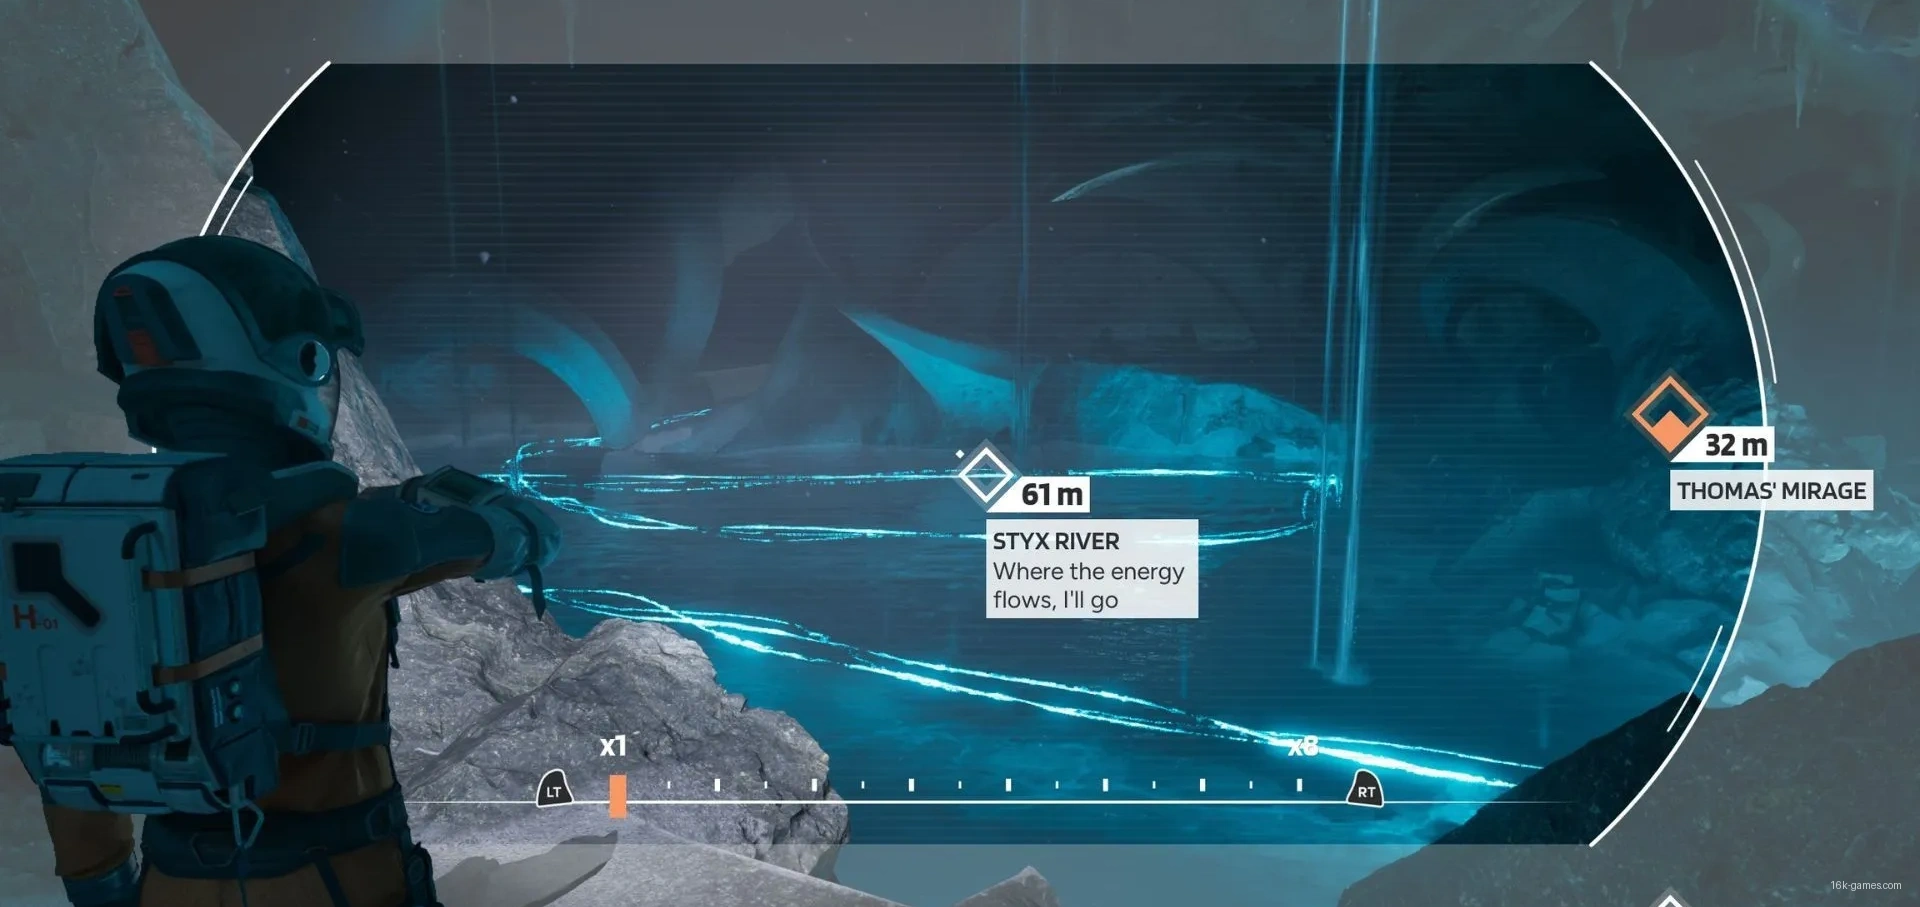
- Marker name: Styx River
- Chapter: “Styx”
After finding Fedra Duan’s body and descending another level, you’ll enter a small work area of the “Project Aphelion” team. To proceed you must break a small wall blocking the passage. Crawl through the opening, then use the Pathfinder on the wide section of the river ahead to unlock this marker.
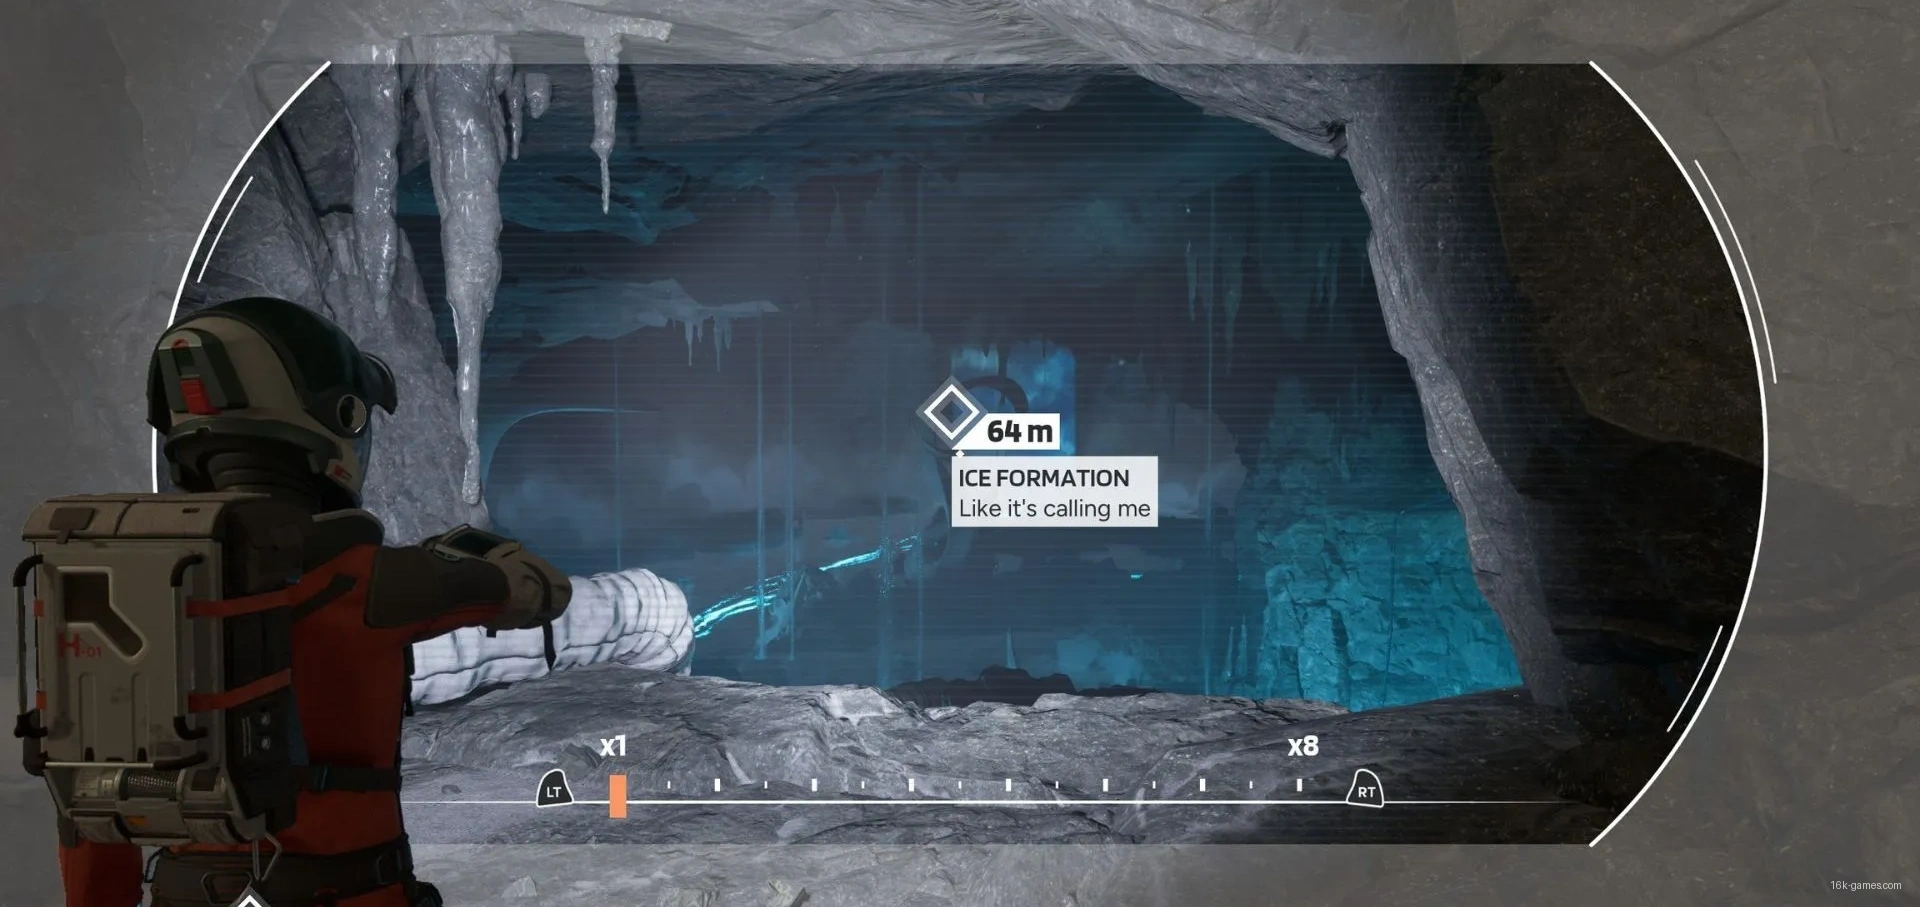
- Marker name: Ice Formation (Like it’s calling me)
- Chapter: “Styx”
When you reach the second research station, continue forward along the path. When a slit appears in the wall on the right, look through it. The secondary marker “Ice Formation” will be directly opposite you through that slit.